Prerequisites
Before you begin, make sure you have:- Salesforce Edition: Enterprise, Unlimited, or Developer Edition (Professional Edition requires an API access add-on)
- Salesforce Permissions: System Administrator access
- Conversion Account: Admin access to your Conversion workspace
Update the User

Install the Salesforce Package
Conversion uses a managed package to enable secure communication with your Salesforce organization. This package must be installed before you can connect.The person installing the package needs the Download AppExchange Packages permission in Salesforce. This is typically enabled for system administrators.
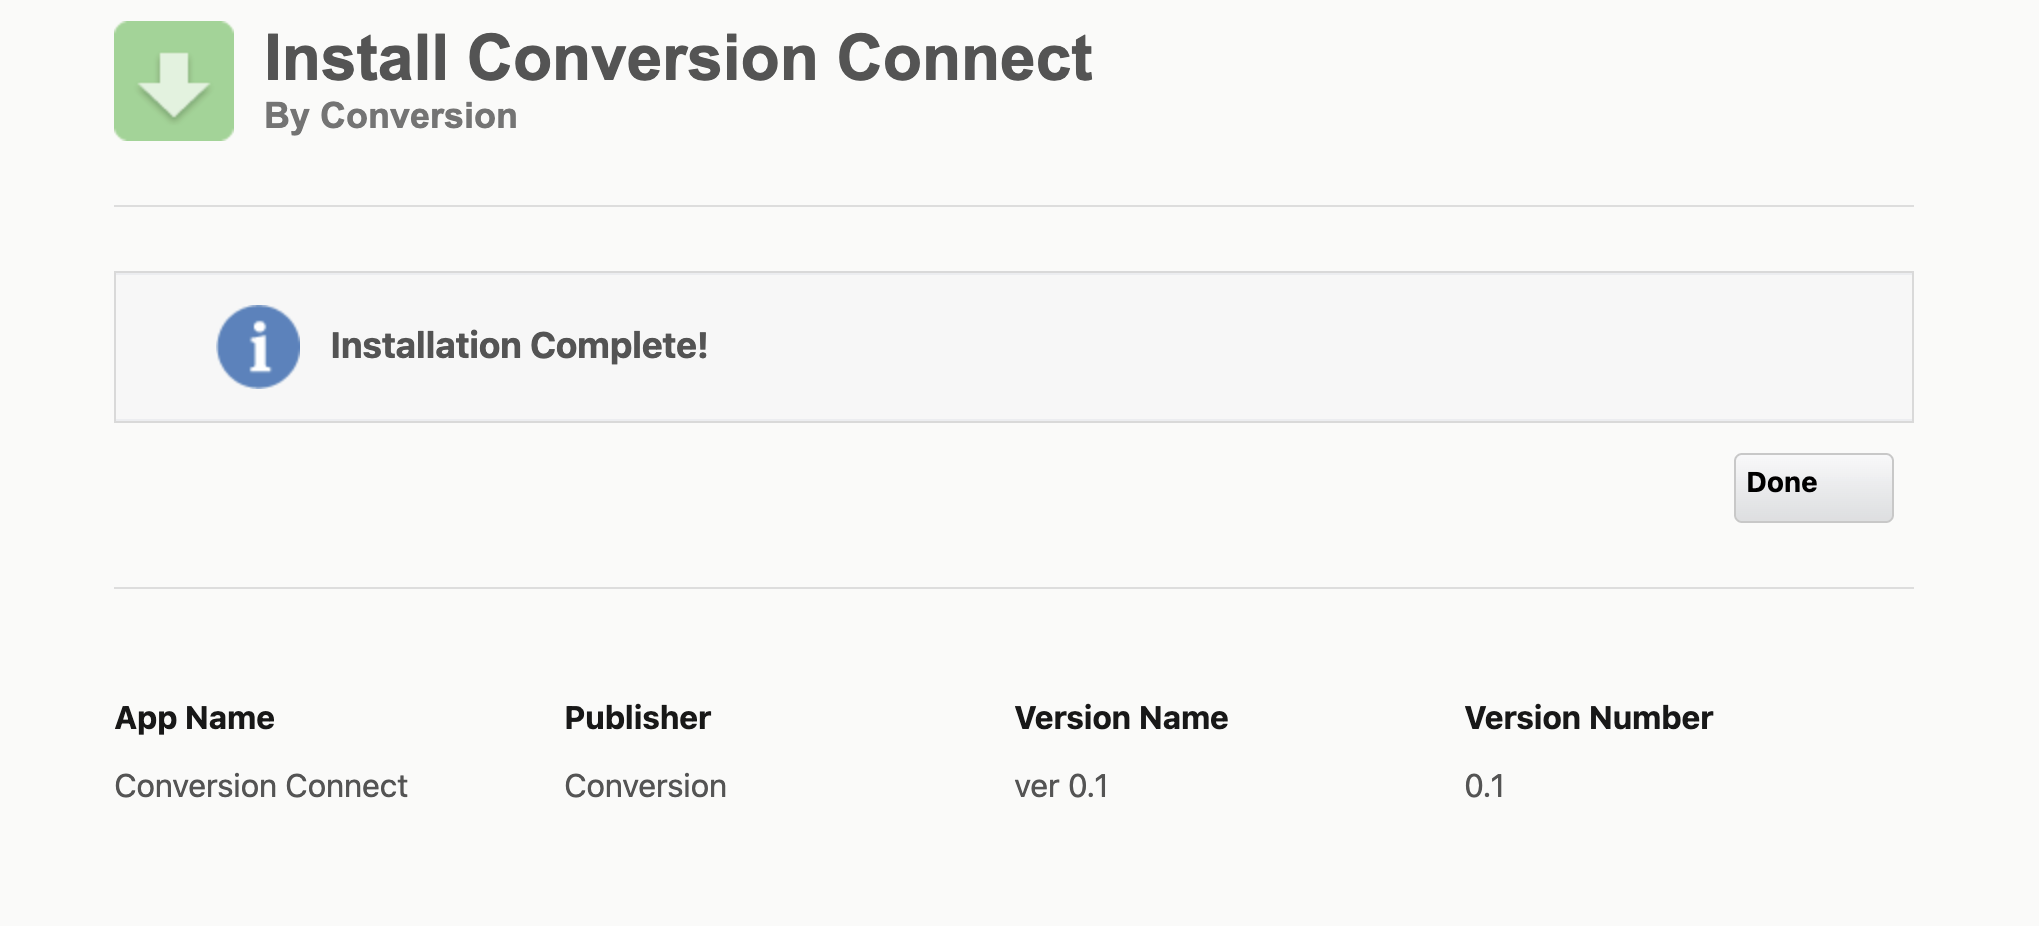
Start the installation
Click the link below to open the Salesforce package installer:You’ll see a page asking which users should have access to the package: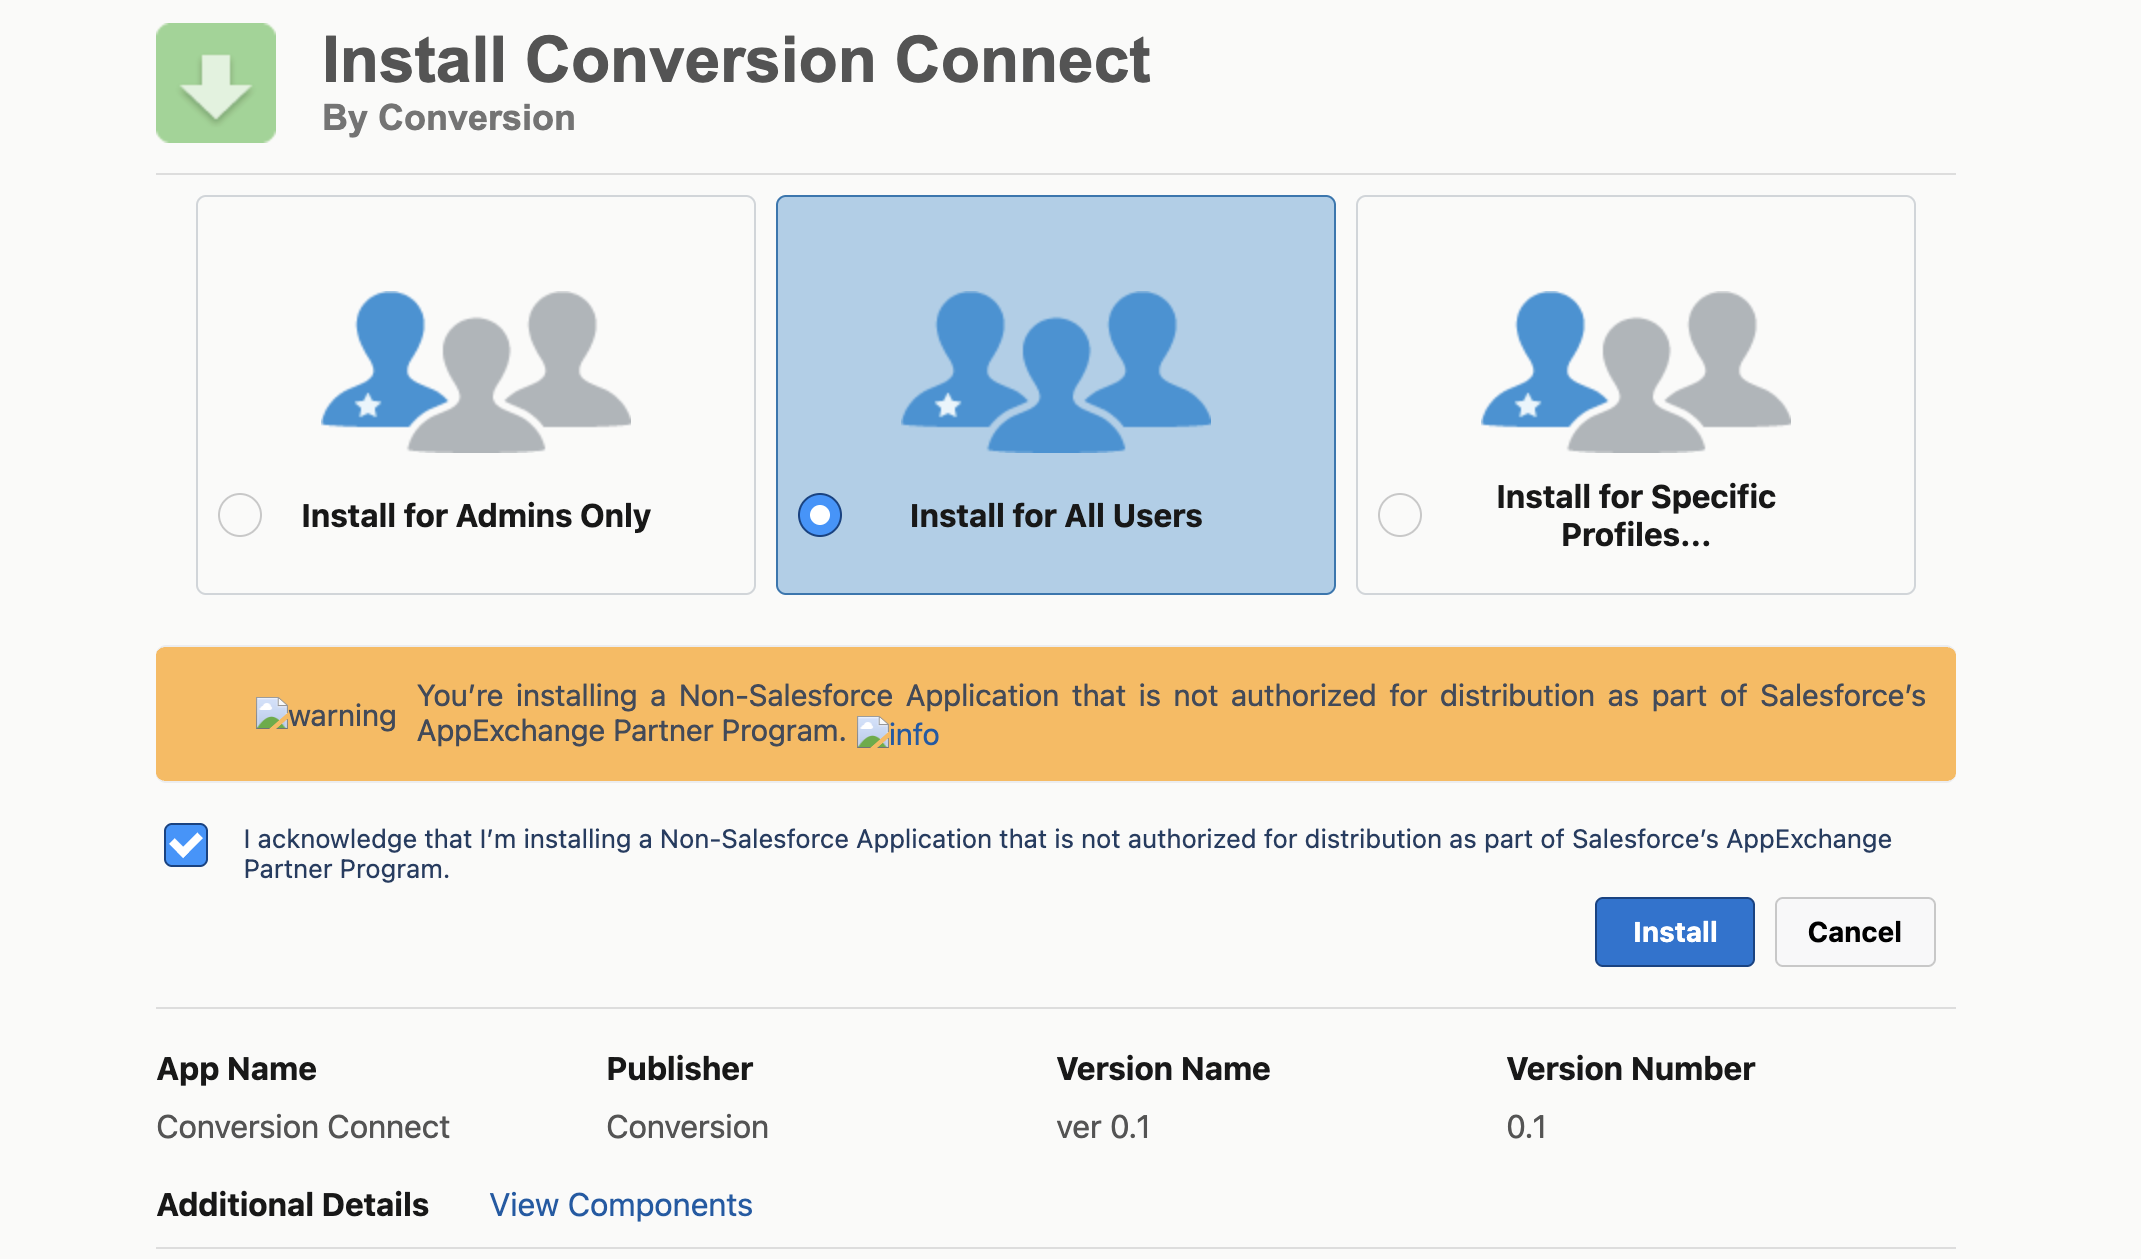
Install Production Package
Opens the package installation page for a production Salesforce instance
Install Sandbox Package
Opens the package installation page for a sandbox Salesforce instance
Connect Conversion to Salesforce
With the package installed, you can now authorize the connection.Navigate to integrations
- Log in to your Conversion workspace
- Go to Settings Syncing
- Find Salesforce and click Connect
Authorize with Salesforce
A Salesforce login window will appear. Log in with your admin user credentials.
Wait for the initial sync
After granting the requested permissions, Conversion automatically begins syncing your Salesforce data.The initial sync imports all your existing records and may take anywhere from a few minutes to several hours depending on your data volume. You can monitor progress in Settings Syncing.