

Before you begin
Have an email to review, such as User guide - Welcome email, and permission to create and configure agents in your workspace.Agents currently inherit administrator access. Configure the tool controls below before running this reviewer; instructions alone do not restrict record access. See agent access and tools.
Give the agent one job
- Open Agents, then New agent → Start from scratch.
- Name it Welcome email reviewer.
- Add a short description: Review welcome email drafts and report what to fix before publishing.
- Leave Triggers empty for now. You will start the first session yourself.
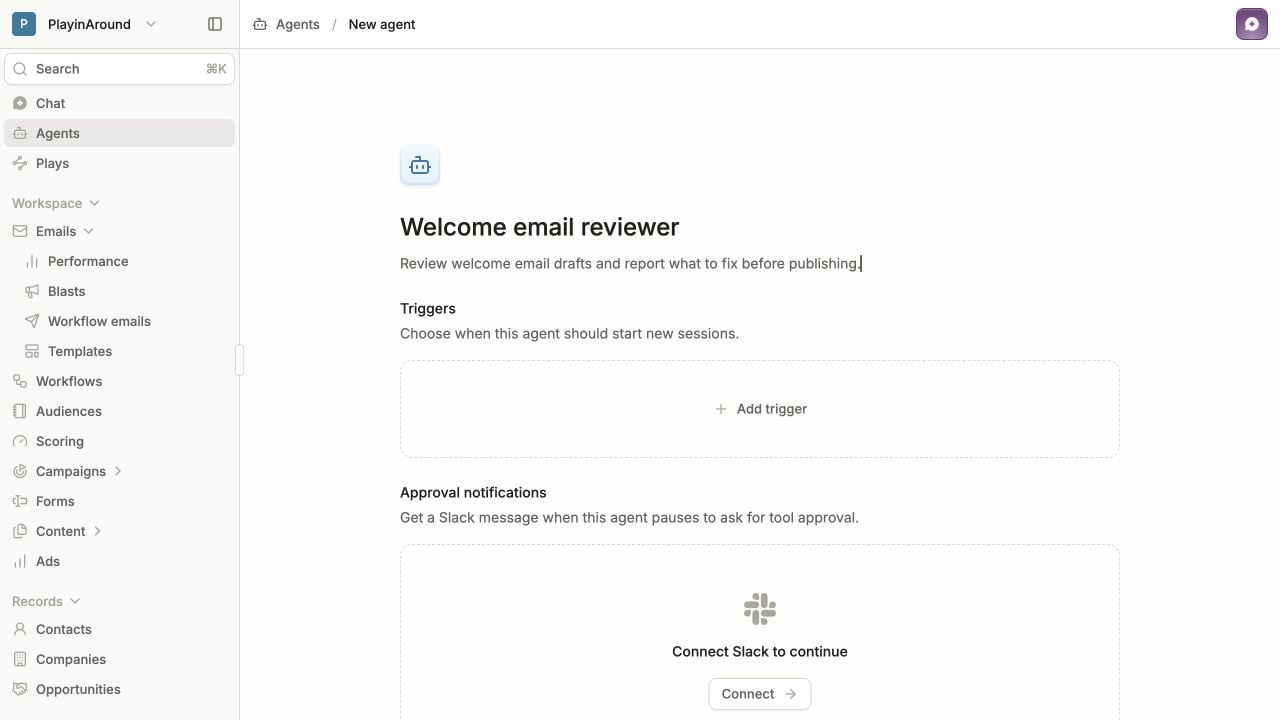
Start from scratch and leave triggers empty while you test the job manually.
Review the email named User guide - Welcome email. Check its subject, preview text, heading, main link, and personalization fallback. Flag missing sender details and anything you cannot verify. Return a short checklist grouped into Ready, Needs attention, and Could not verify. Include a link to the email. Report only. Do not change assets, publish, send messages, or activate workflows.Replace the email name if yours differs. The instructions give the agent a target, a checklist, an output format, and a clear boundary. If several emails share the same name, include the email’s link.
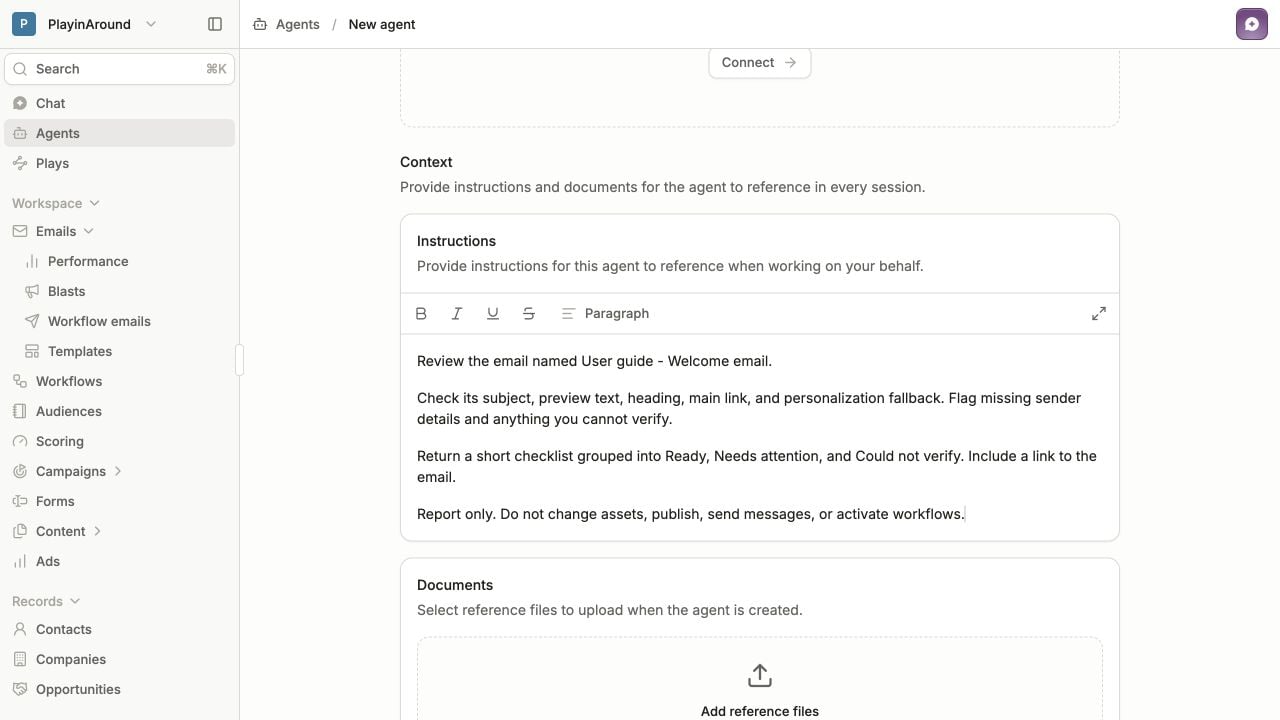
Keep the standing instructions specific enough that you can judge the result.
Set tool controls before the first session
Open Tools and review the available actions. Search the list to find email-related tools, then clear the search to review the rest.- Set the reads needed to inspect the email to Auto-approve: List workflow emails, Get email, and Get email settings.
- Set actions that create, edit, delete, or send things to Disabled, along with other tools this reviewer does not need.
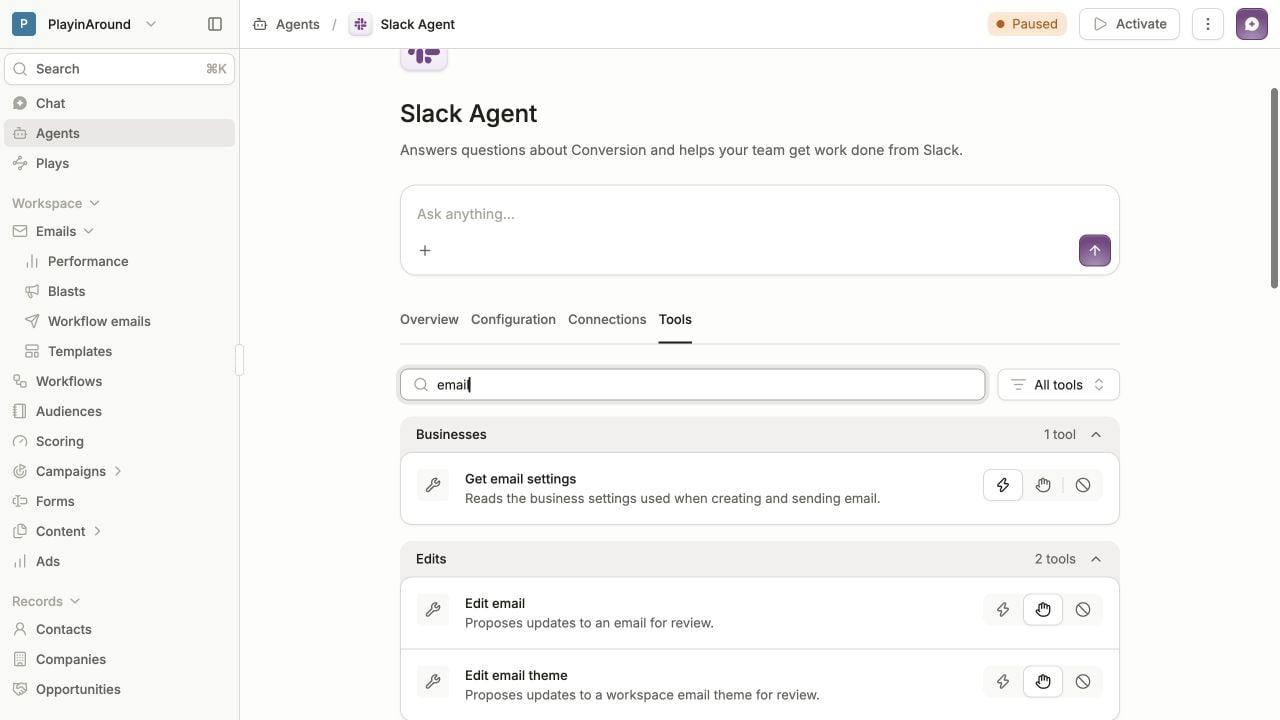
This existing agent illustrates the Tools controls. Configure them for your reviewer's job before starting its first session.
Start and review a manual session
Use the Ask anything… box on the agent page to send:Review User guide - Welcome email using your checklist. Do not make changes.Open the session from Overview to follow its progress and read the result. Inspect the tool calls as well as the final response. If it requests an unexpected action, deny it and adjust the instructions or tools before trying again. A useful first result should identify the right email, separate findings from unknowns, and give you specific changes to consider. Compare it with the email’s Overview, Design, and contact preview. An agent’s review does not replace rendering the email or sending yourself a test. If the answer is too broad, refine Configuration → Context → Instructions, then start another session with the same request. If it cannot inspect the email, check which read tool is missing before enabling more tools.