Create a welcome email, build its layout, preview it for a contact, and prepare it for a workflow.
You will build a short welcome email with a heading, a paragraph, and a button. By the end, you will have a draft you can preview and use in your first workflow.Before you start, choose a destination URL for the button. To send a test, you also need a configured sender and an inbox you control.
In the sidebar, expand Emails and open Workflow emails.
Click New. Choose a saved template, or click Start from scratch to follow this example.
Click the email’s name at the top. Enter User guide - Welcome email, then click Confirm and rename.
Use a workflow email for this guide because the next exercise will send it from a workflow. For a one-time send to a chosen audience, start from Emails > Blasts instead. The design steps are the same; the blast guide covers recipients and scheduling.
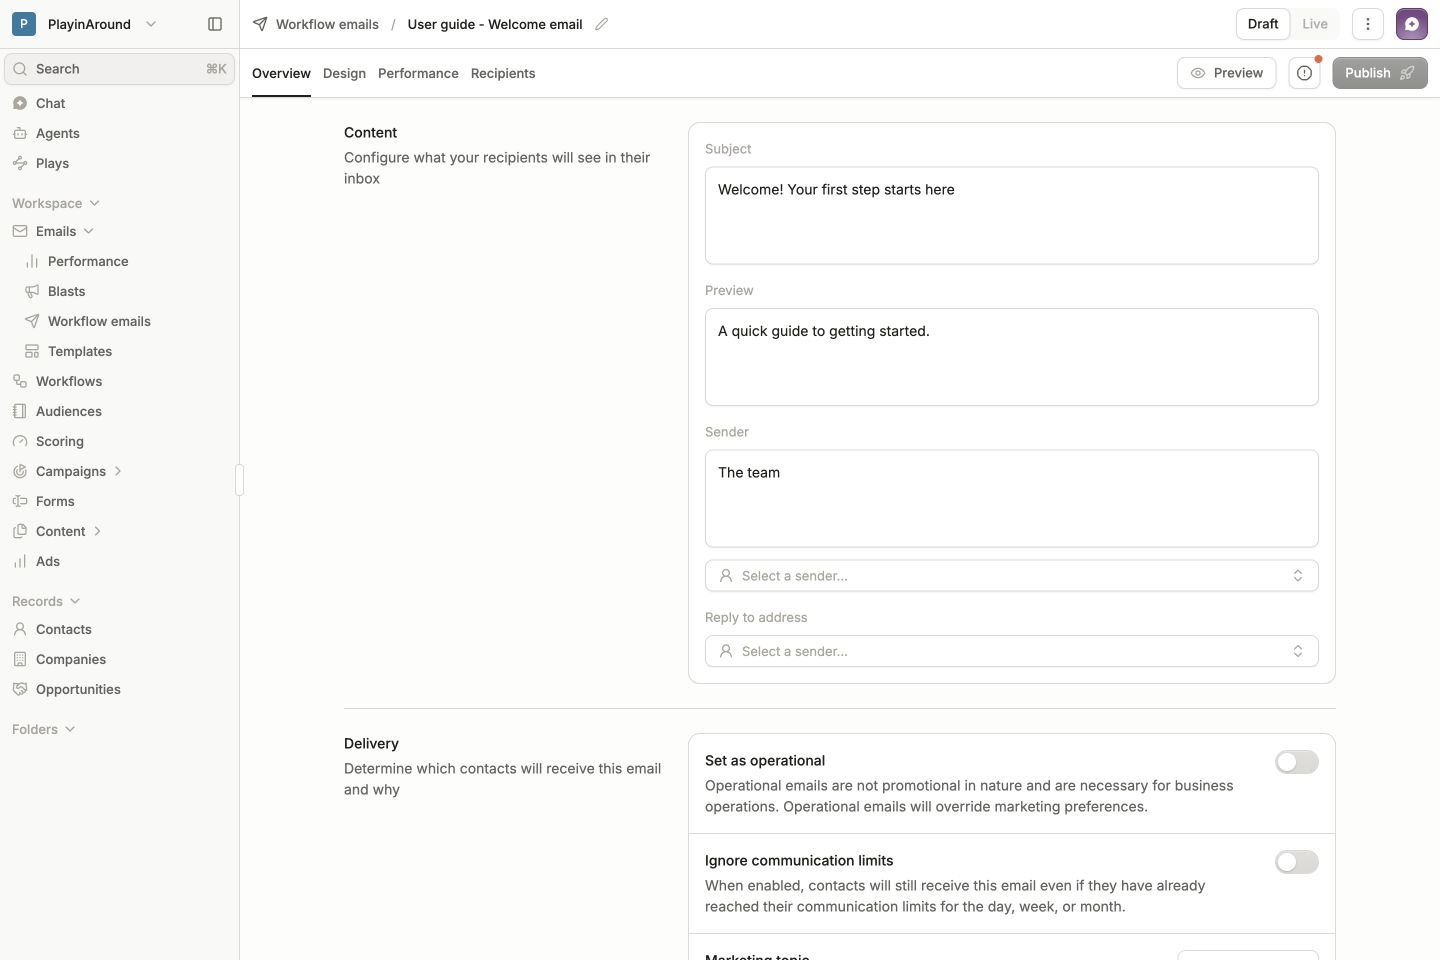
On Overview, fill in the email’s content settings:
Open Overview to set the subject and sender. This draft still needs a sending address and reply-to address before it can send.
Field
Example or action
Subject
Welcome! Your first step starts here
Preview
A quick guide to getting started.
Sender
Enter the display name you want recipients to recognize, then choose a configured sending address.
Reply to address
Choose the address that should receive replies.
Marketing topic
Choose the topic that fits the message.
For this marketing example, leave Set as operational and Ignore communication limits off. Those settings change how delivery respects marketing preferences and sending limits.
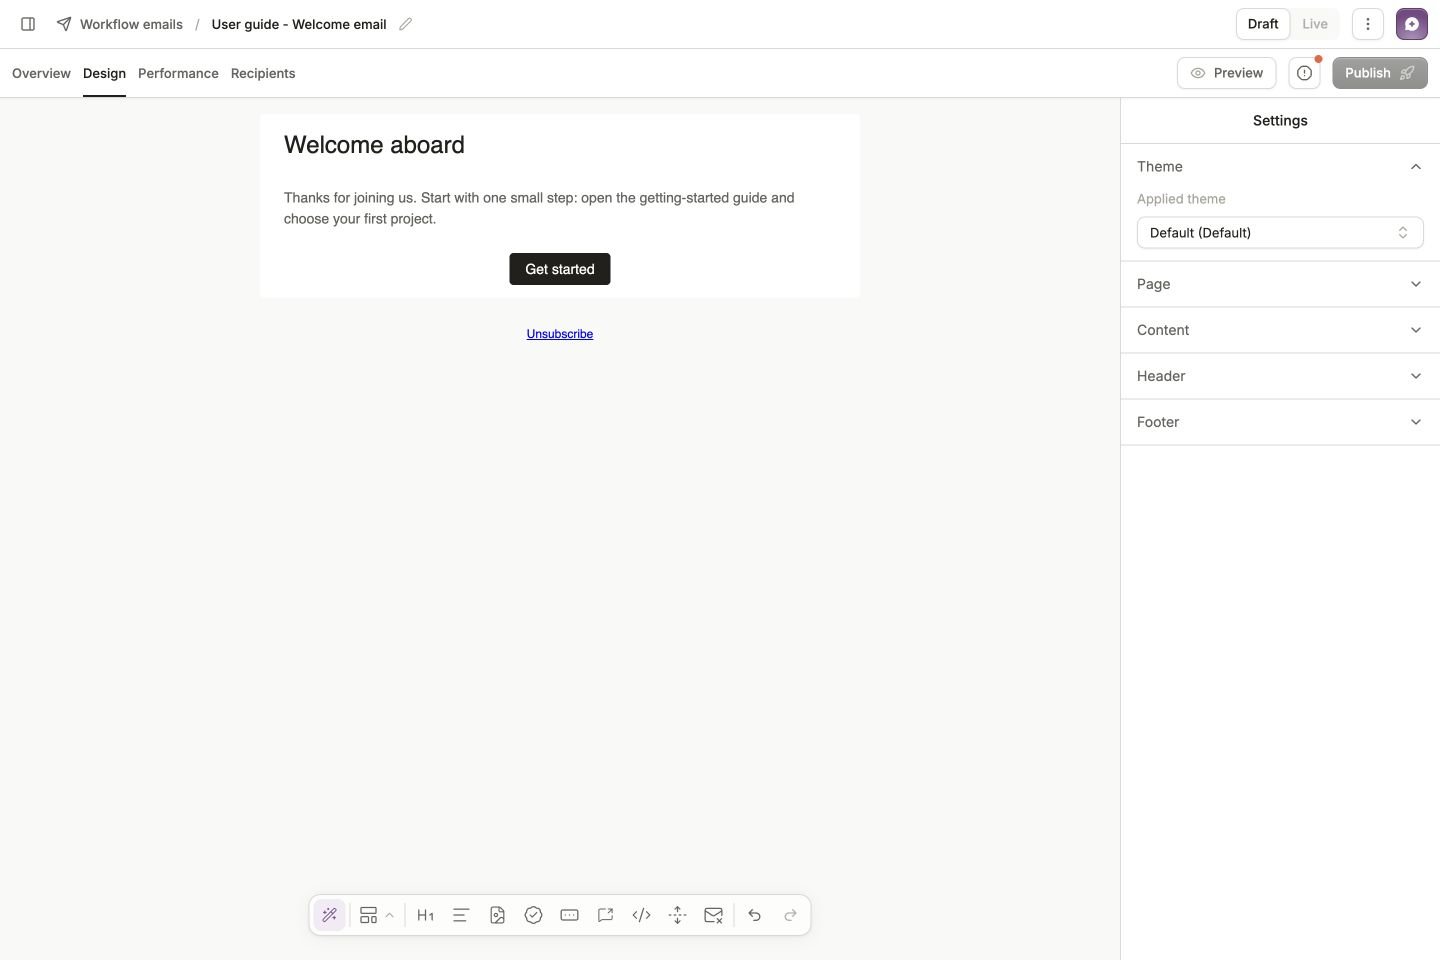
Open Design. The canvas is your email, the bottom toolbar contains blocks, and the right panel shows settings for the selected block. With no block selected, it shows the email’s theme and page settings.
Use the bottom toolbar to add blocks to the canvas. This example shows the layout you are building, with a personalized greeting added in the next guide.
1
Add a heading
Drag the Heading block from the bottom toolbar into Drag a block here. Click its text and enter Welcome aboard.
2
Add the message
Drag a Text block below the heading. Write a short paragraph that explains the next step, for example:
Thanks for joining us. Start with one small step: open the getting-started guide and choose your first project.
3
Add one clear action
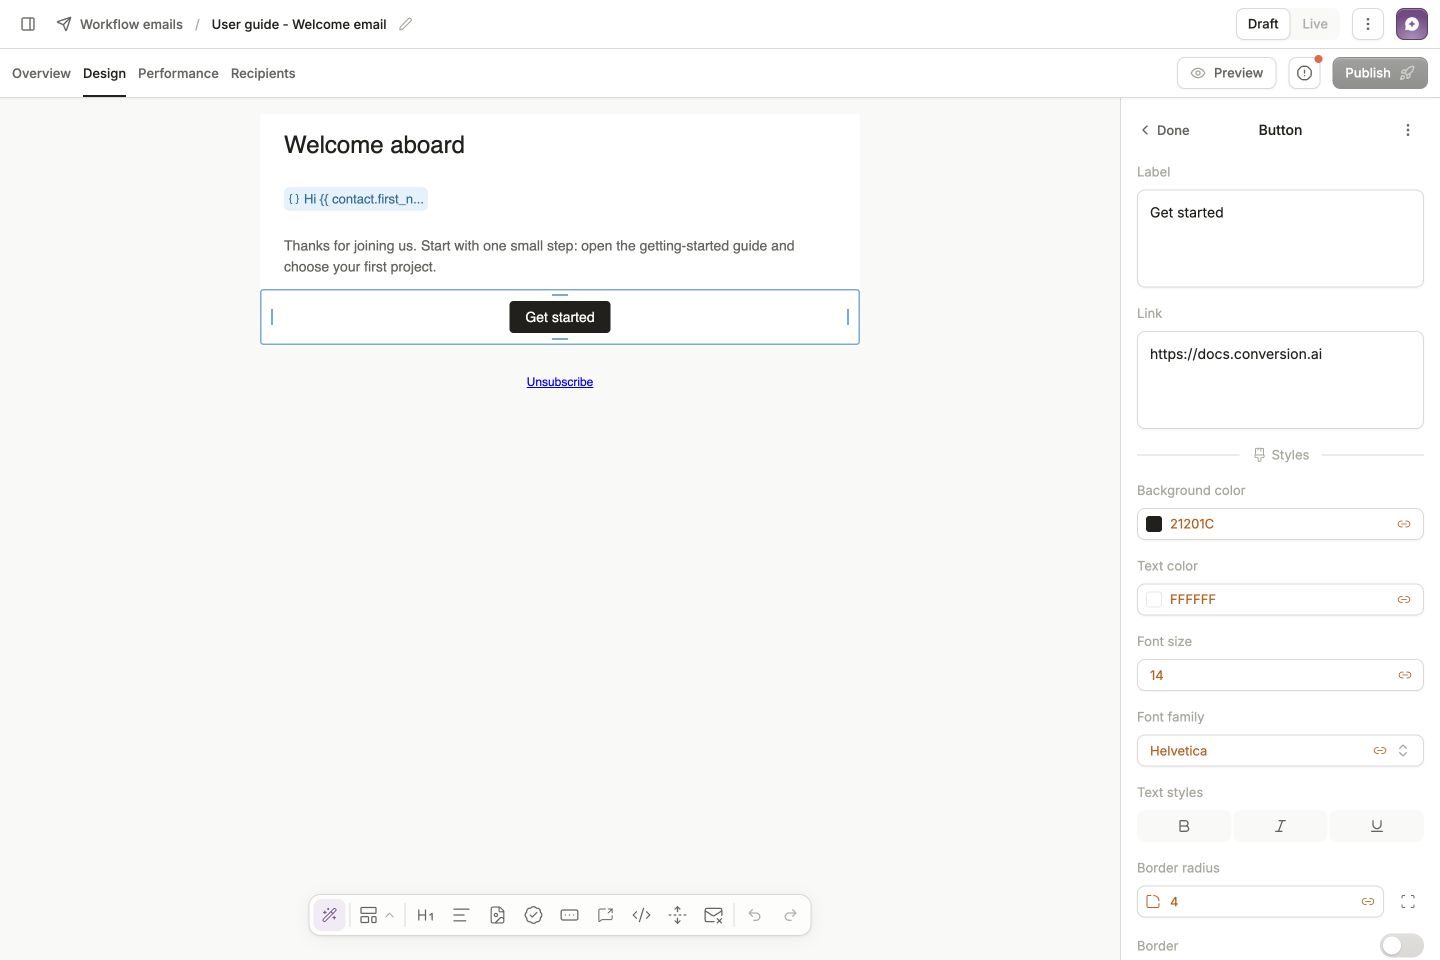
Drag a Button block below the paragraph. In its right-hand settings, change Label to Get started and set Link to your destination URL.Use the full URL, including https://. The screenshot uses the Conversion docs; use a page that fits your own welcome message.
Select the button on the canvas. Its Label and Link appear in the right panel.
4
Check the overall design
Click Done to return to the email settings. Use your team’s existing theme when one is available. Check spacing, text size, and button contrast, and keep the unsubscribe link in the footer.
Your draft saves as you work. For other layouts and block types, see the email block reference.
To greet each person by name, follow Personalize with Liquid. That guide adds a greeting with a fallback, uses AI to generate it, and checks the result against contact data.You can also finish this email with ordinary text first and add personalization later.
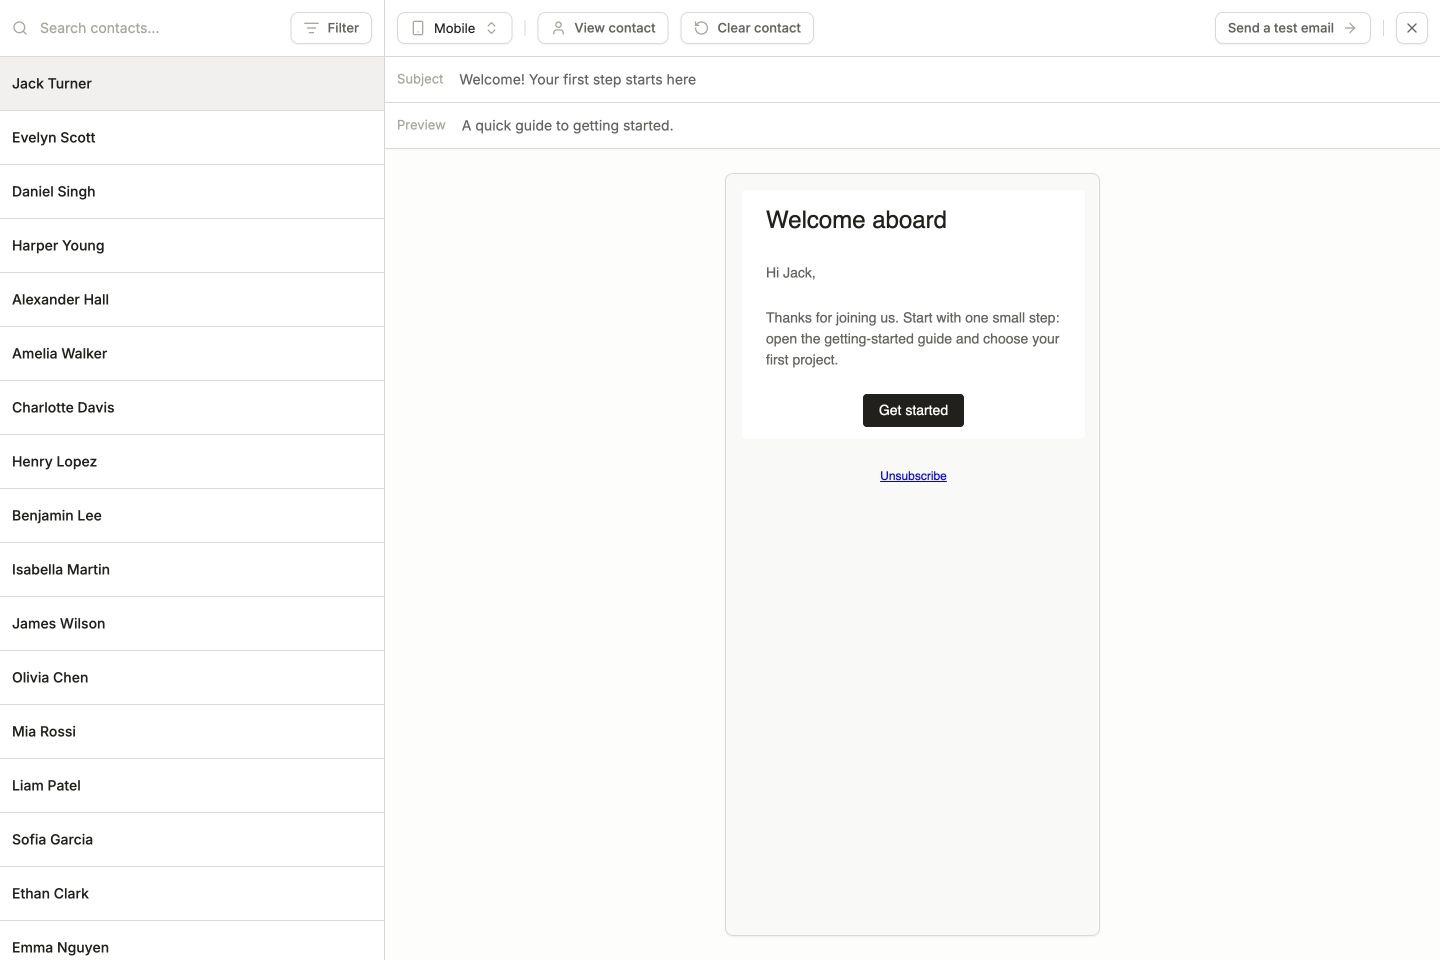
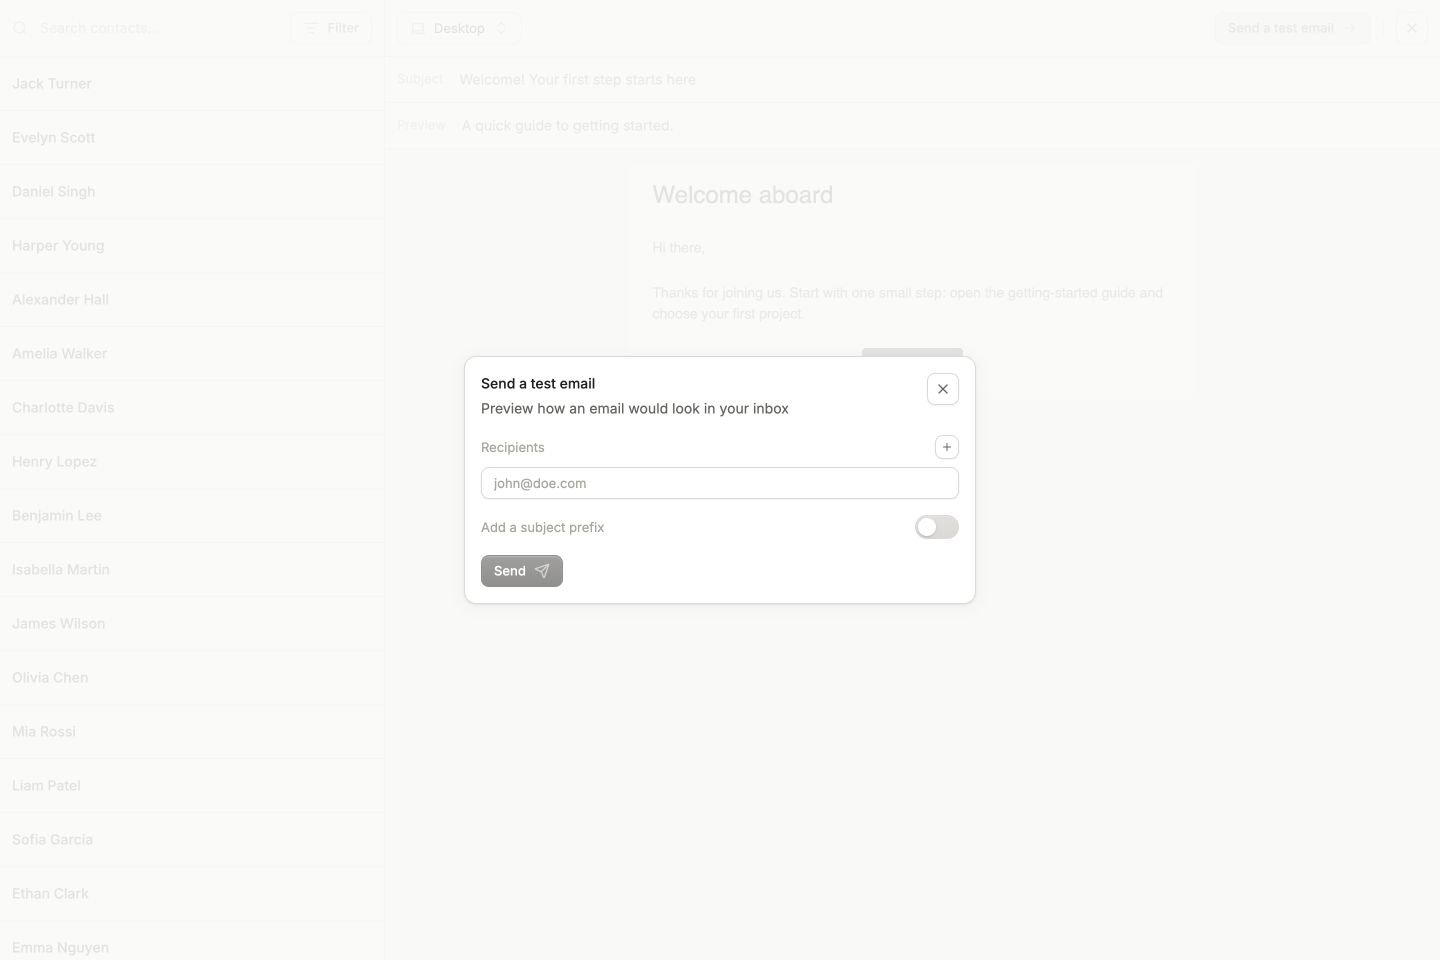
From the preview, click Send a test email. Enter your own address under Recipients. Optionally enable Add a subject prefix so the test is easy to recognize, then click Send.The selected preview contact supplies personalization data. The addresses in Recipients receive the test. Selecting a contact in the preview does not send an email to that contact.
Choose the inboxes that should receive the test. A subject prefix helps separate a test from a real campaign.
In your inbox, check the sender name, subject, greeting, layout, and destination of each link. Return to Design to fix anything you find, then preview again.
Keep working in Draft until the email is ready. Publish makes the reviewed version available for workflows to use; saving a draft alone does not do that. Publishing a new, unused workflow email does not enroll contacts or start a workflow.If Publish is unavailable, open the issue indicator beside it and resolve the listed problems, such as an incomplete sender or invalid content.
When you later edit an email already used by an active workflow, publishing updates the version that workflow can send. Review changes with the same care as the first version.
You are ready for your first workflow when the email looks right, the sender and links are correct, and the version you want to send is published. You can also build a paused workflow while finishing these checks.
Was this page helpful?
Assistant
Responses are generated using AI and may contain mistakes.