

Open the right workspace settings
Click the workspace name at the top left, choose Workspace settings, then CRM and syncing. Use a workspace with Salesforce already connected. Under CRM, confirm that the organization is the one you intend to use. Review changes with your workspace administrator and use a test contact you can inspect in both systems.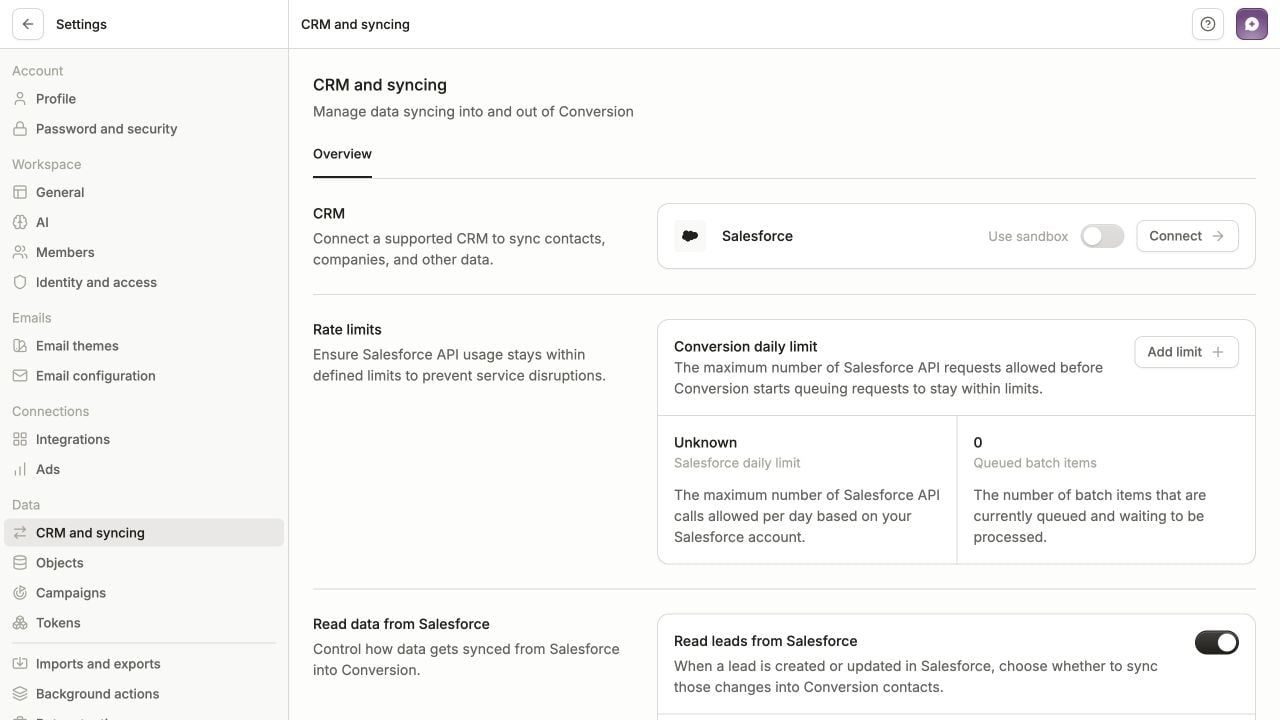
CRM and syncing brings together the connection, API limits, and record sync rules. This example workspace is not yet connected.
Settings on the CRM and syncing → Overview page save as you change them. Review the intended behavior first; there is no final Save button for the whole page.
Decide which records move in each direction
For your welcome email and contact records, agree on these choices with your administrator:- Should Salesforce leads, contacts, or both be available to receive the welcome email? Review Read data from Salesforce.
- Should changes made in Conversion update Salesforce? Review Write data to Salesforce.
- When a new contact syncs to Salesforce, should it become a Lead or a Contact linked to an Account? Review New contacts.
Check the fields your email needs
Workspace switches control record sync. Each field mapping separately determines where a value comes from and which value wins. For the welcome email, start with Email and First Name. Include any other field you plan to use for personalization or workflow criteria.- Open Objects, choose Contacts, and open Fields.
- Search for the field by label or key. The key, such as
first_name, is what you use in Liquid. - Open the field’s options menu and choose Edit.
- In Linked Salesforce fields, review the mappings for Lead and Contact separately. A contact field can have a different link for each Salesforce object.
- If a mapping is missing or needs a different mode, follow Linking fields to Salesforce, then return here to test the result.
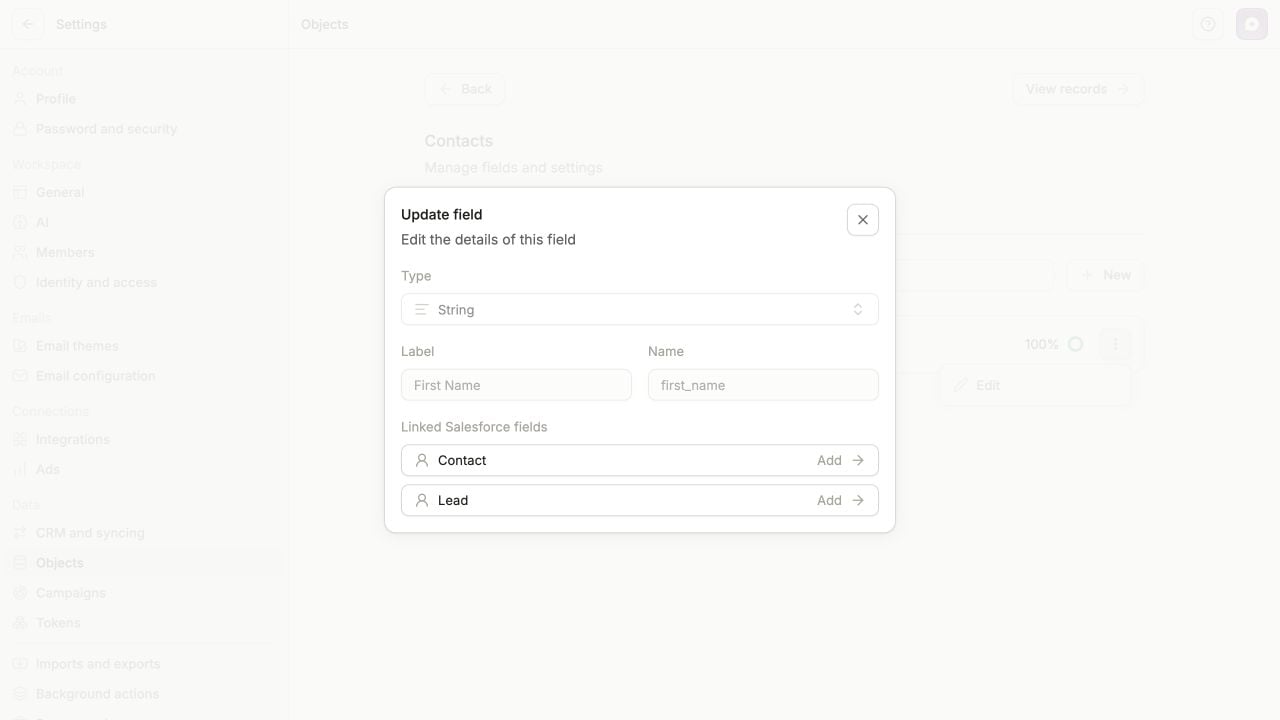
A contact field has separate mapping rows for Salesforce Contact and Lead. This example has no linked fields yet.
Verify one record before relying on the sync
Use a test record and a field whose sync behavior you have agreed on. Record the value you expect to see before making the test change.- If testing inbound sync, change the test record in Salesforce. If testing outbound sync, make the intended change in Conversion’s record editor.
- Return to CRM and syncing → Overview → View logs in Recent sync health.
- Choose Inbound or Outbound and a recent time range. Open the relevant batch with View.
- Find the test record and inspect its status and field details. A completed batch can still contain skipped records.
- Open the destination record and compare the actual field value with your expected value. Then preview the welcome email with that contact to check the data where it will be used.