

Prerequisites
Before you begin, make sure you have:- Salesforce Edition: Enterprise, Unlimited, or Developer Edition (Professional Edition requires an API access add-on)
- Salesforce Permissions: System Administrator access, or an admin who can create users and install packages
- Conversion Account: Admin access to your Conversion workspace
Setting Up an Integration User
Salesforce recommends using a dedicated “Integration User” for third-party integrations rather than connecting with a personal admin account. This provides better security, clearer audit trails, and ensures the integration won’t break if someone leaves your organization.Create the User
1
Create a new user in Salesforce
- Navigate to Setup Users Users
- Click New User
- Fill in the General Information (typically the information of an engineer or admin managing your integrations)
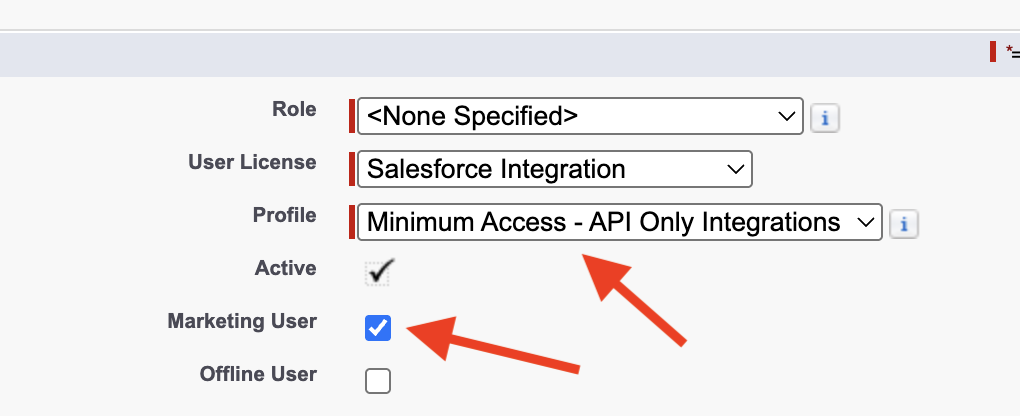
- For User License, select Salesforce Integration
- For Profile, select Minimum Access – API Only Integrations (or “Salesforce API Only System Integrations” if the former isn’t available)
- Check the Marketing User box (to enable Campaign syncing)
- Click Save
2
Enable API access for the user
Only needed if the integration user is an API Only user
- In Setup Users, click on the name of your new integration user
- Scroll to Permission Set License Assignments and click Edit Assignments
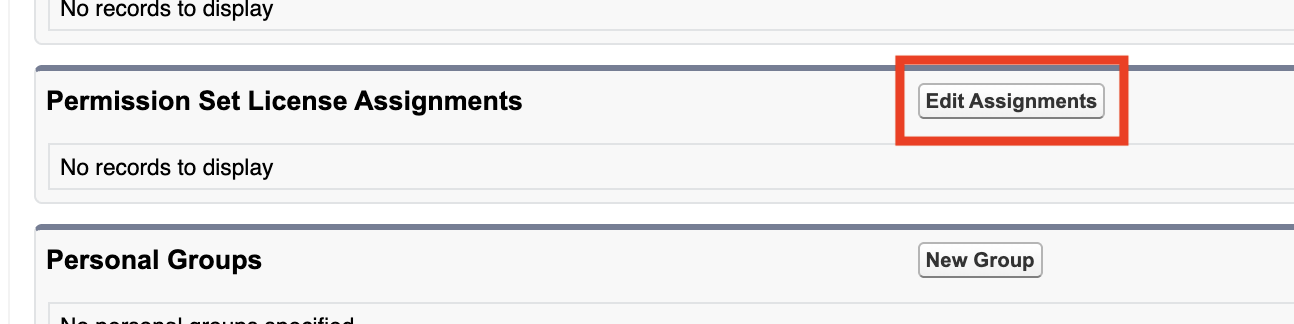
- Find Salesforce API Integration and enable it

- Click Save
Assign Permissions
1
Create a permission set
- Navigate to Setup Users Permission Sets
- Click New
- Name it “Conversion Integration Permissions”
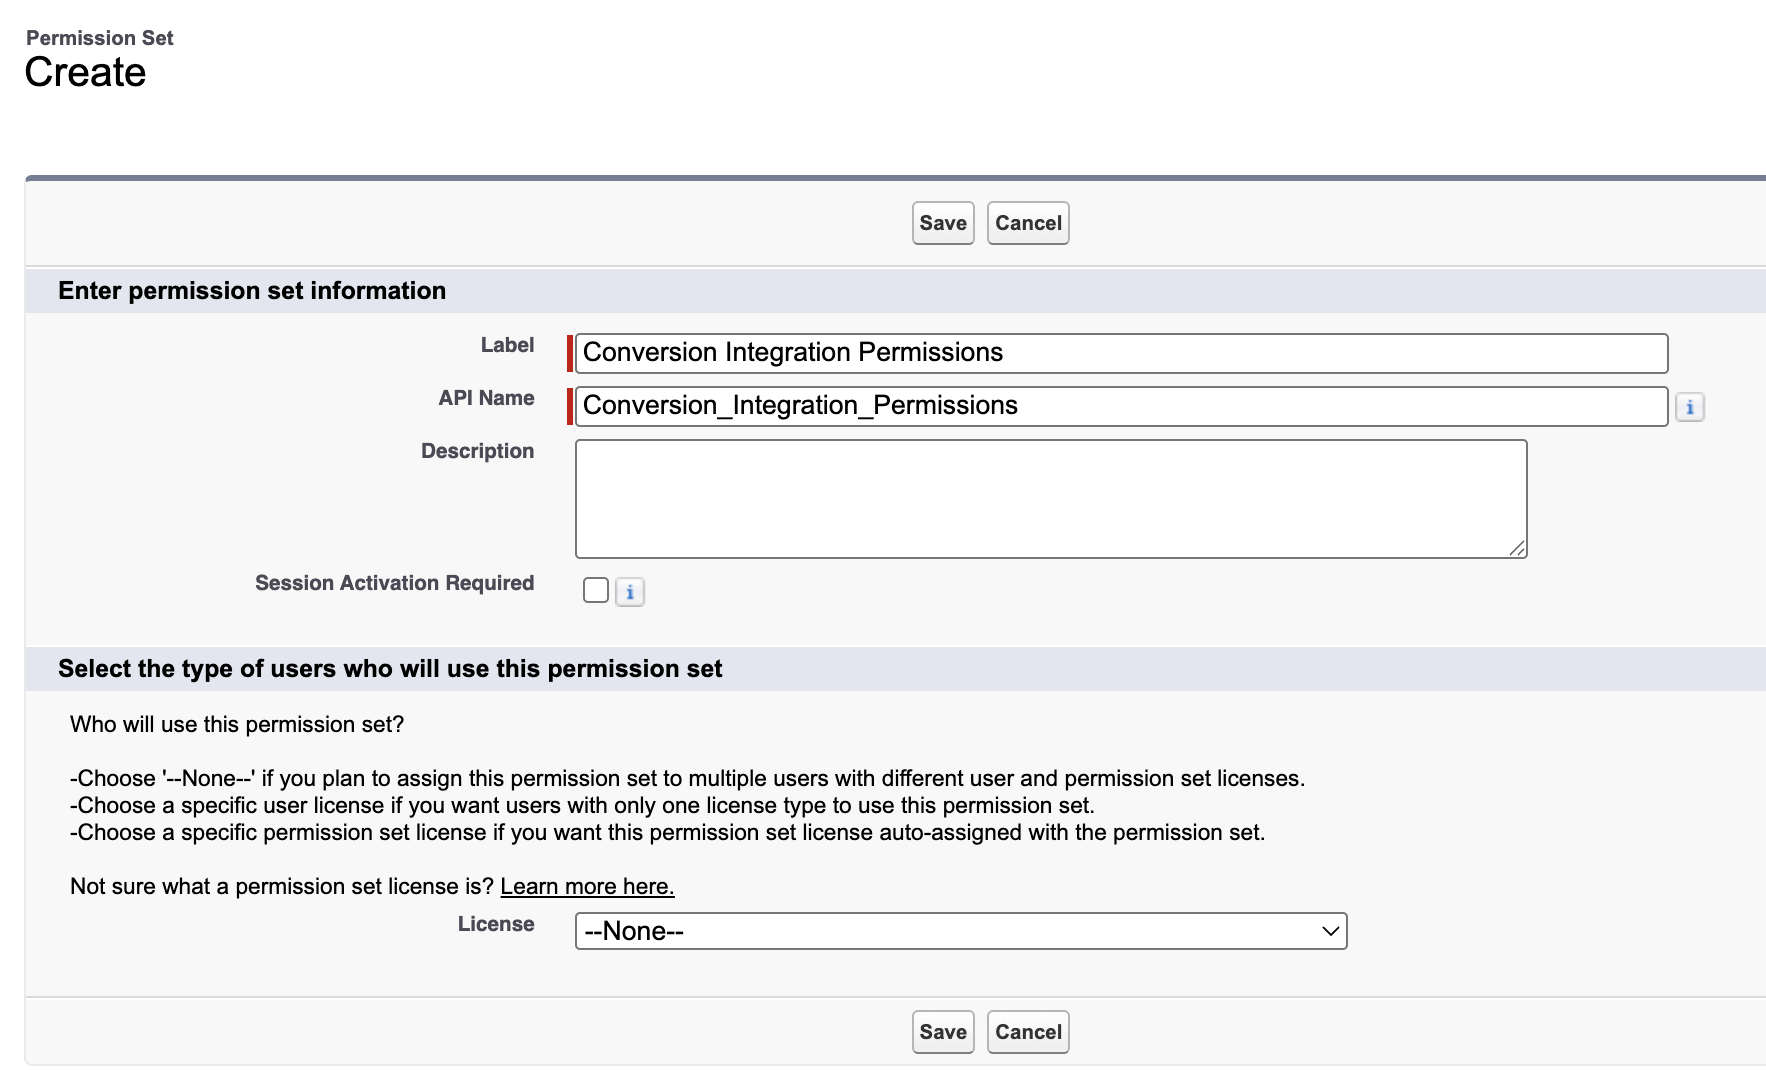
- Click Save
2
Configure object permissions
Conversion interacts with several standard Salesforce objects. You’ll need to grant permissions for each one.In the newly created “Conversion Integration Permissions” permission set, go to Object Settings.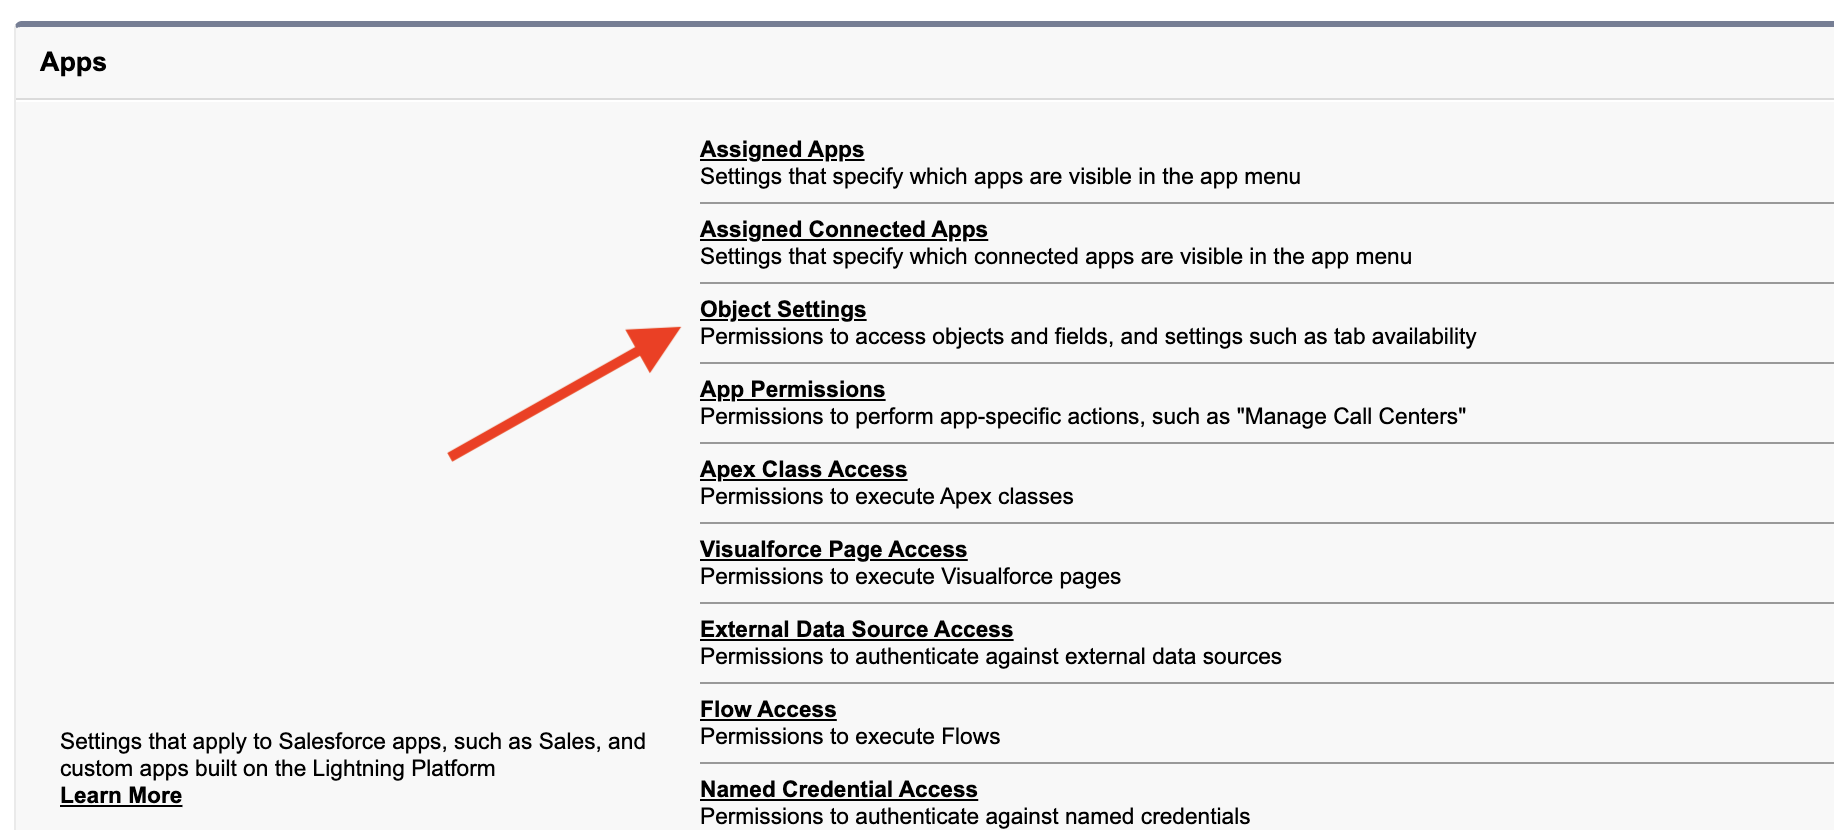
- Select each object (ex. “Account”)
- Click Edit
- For Object Permissions, grant all access. For Field Permissions, grant Read Access and Edit Access
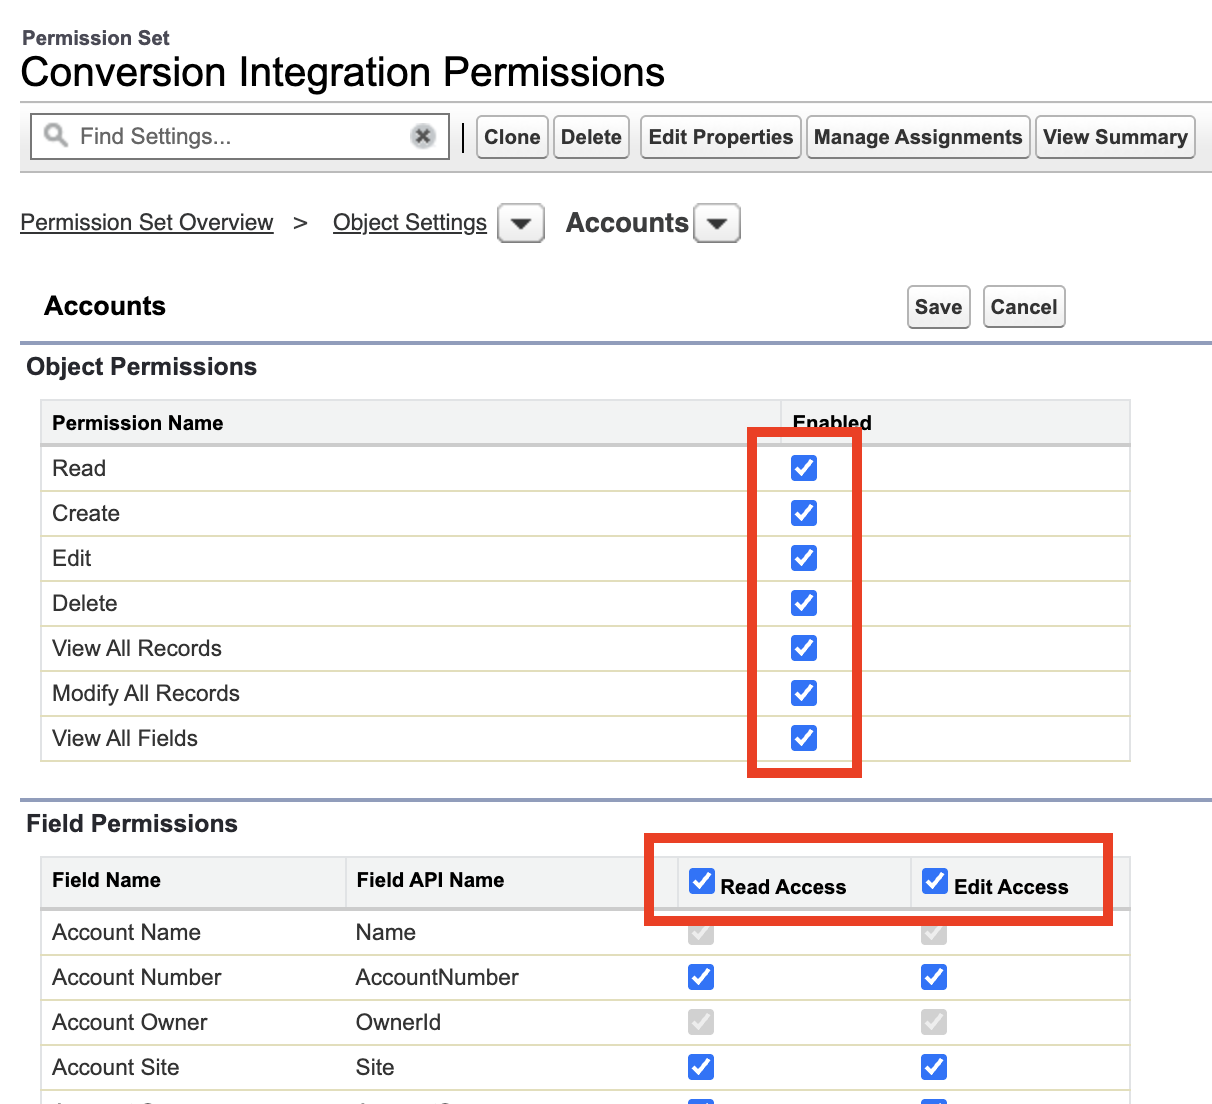
- Click Save
For Tasks and Events, there is no “Modify All Records” permission available—grant all other listed permissions instead. Also ensure both Visible and Available checkboxes are enabled where they appear.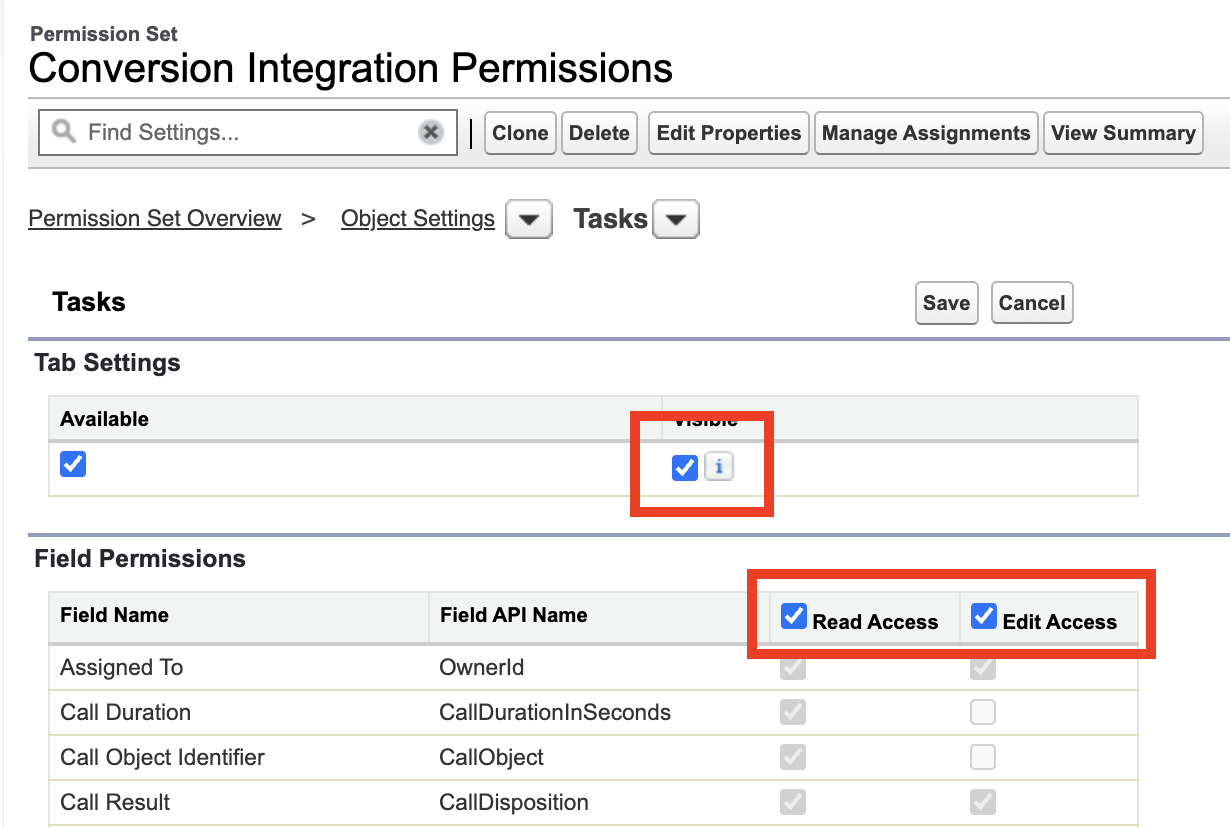
3
Configure system permissions
- In the “Conversion Integration Permissions” permission set, go to System Permissions and click Edit

- Enable the following permissions:
- Click Save
Enabling “Customize Application” automatically enables “View Setup and Configuration” and “Manage Custom Permissions” as well.
4
Assign the permission set to your integration user
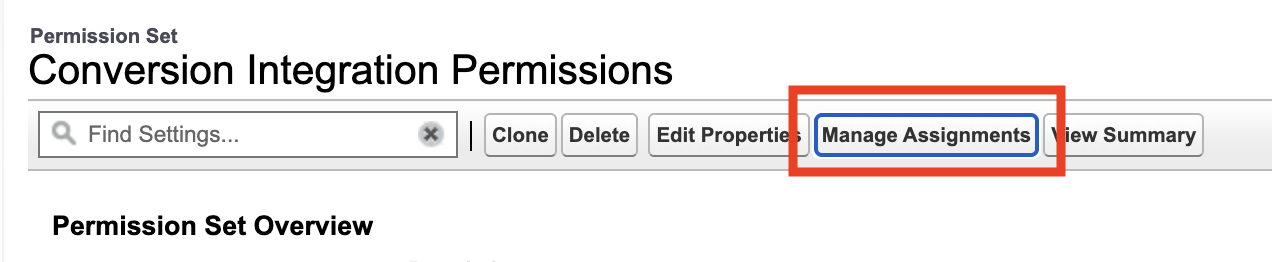
- In the “Conversion Integration Permissions” permission set, click Manage Assignments Add Assignment
- Select your integration user
- Click Next Assign
Install the Salesforce Package
Conversion uses a managed package to enable secure communication with your Salesforce organization. This package must be installed before you can connect.The person installing the package needs the Download AppExchange Packages permission in Salesforce. This is typically a system administrator—not the integration user you created above.
1
Start the installation
Click the link below to open the Salesforce package installer:You’ll see a page asking which users should have access to the package: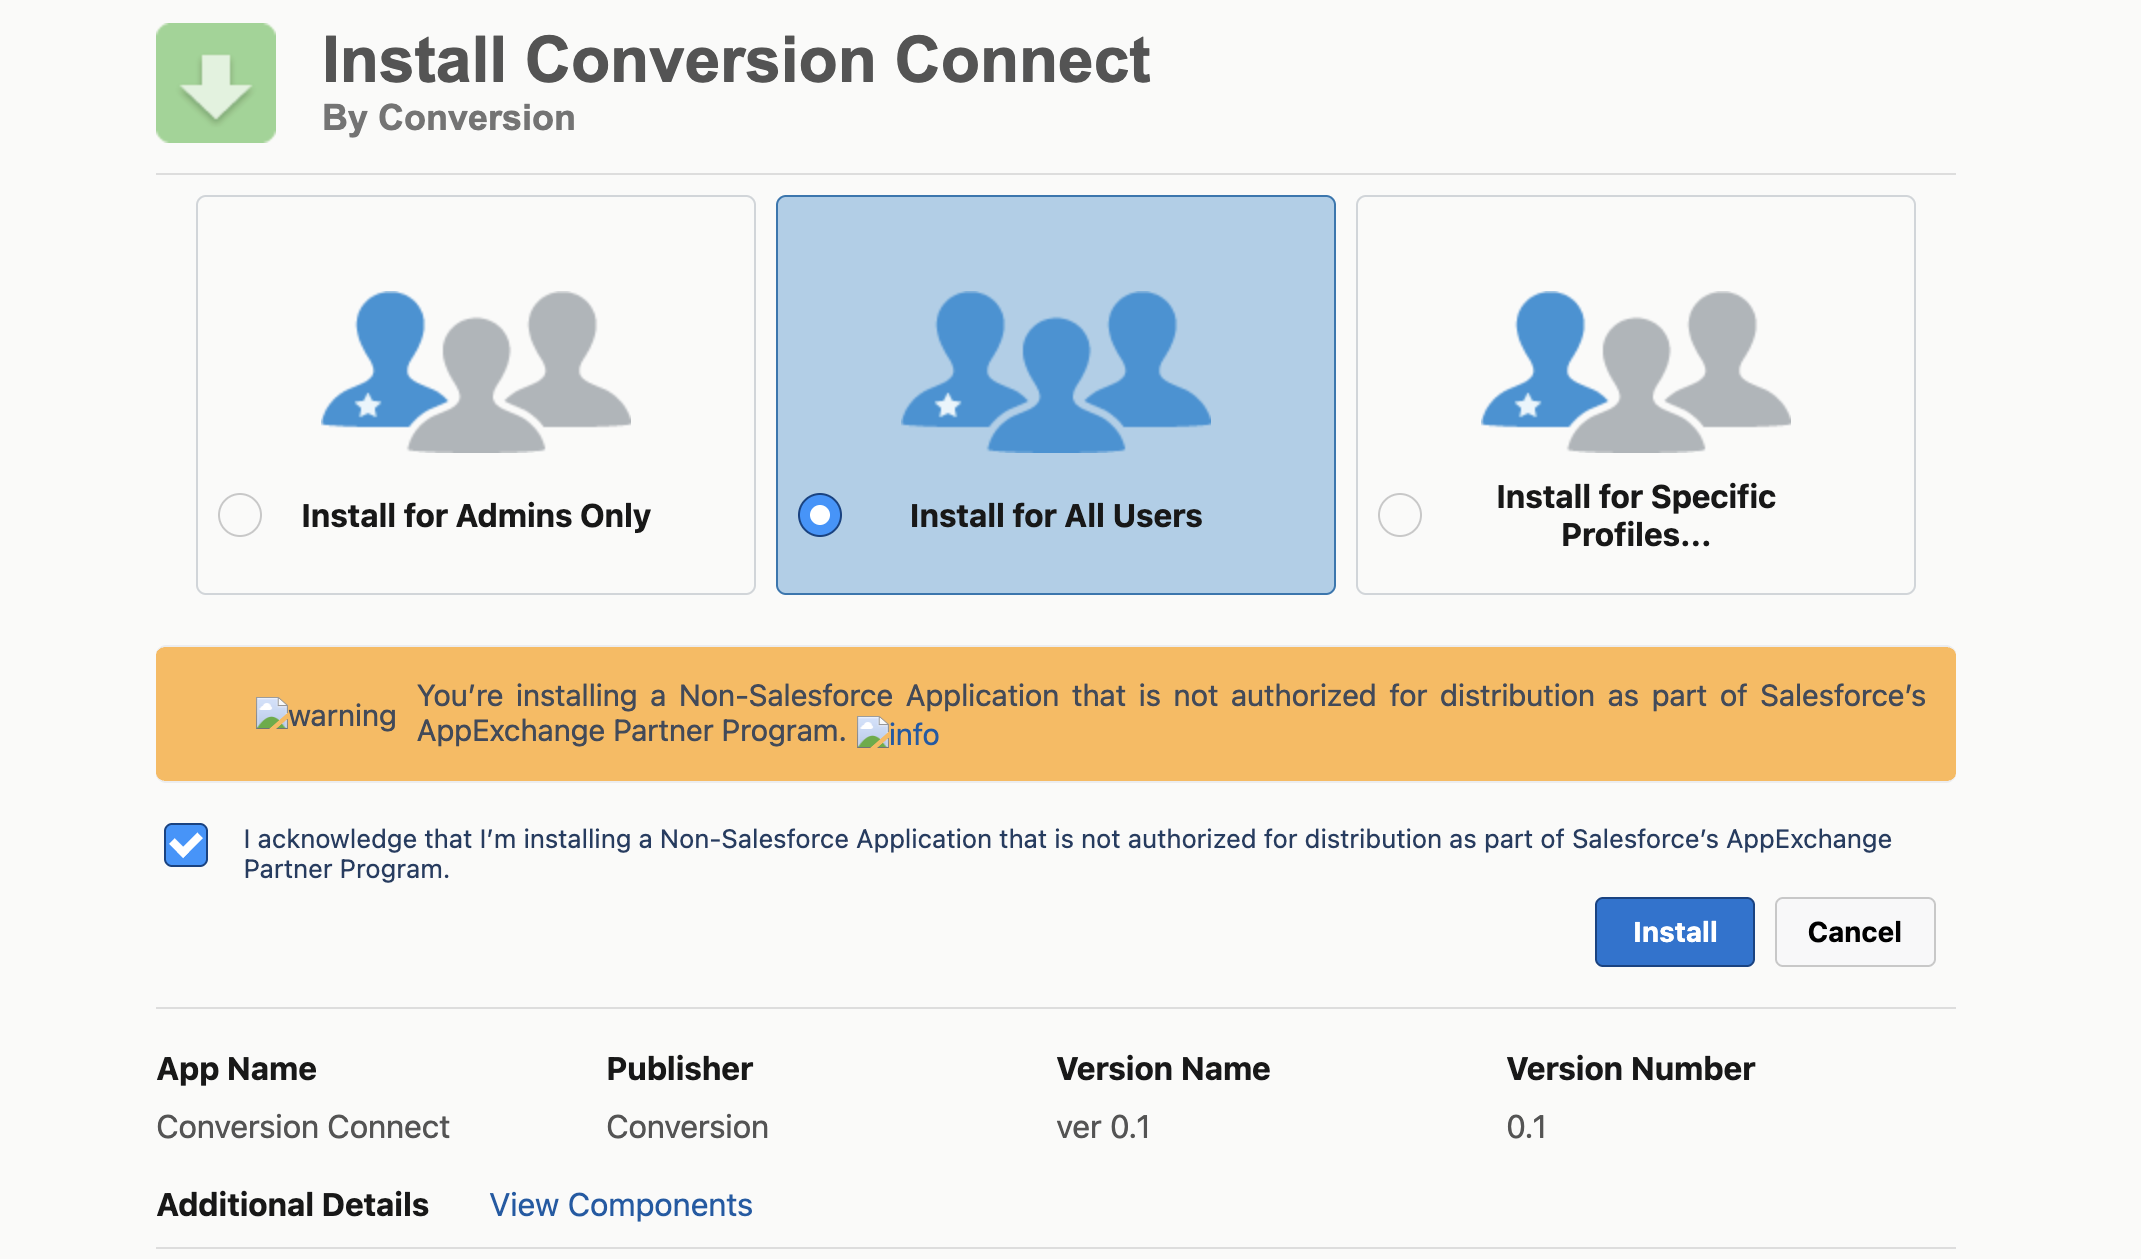
Install Production Package
Opens the package installation page for a production Salesforce instance
Install Sandbox Package
Opens the package installation page for a sandbox Salesforce instance
2
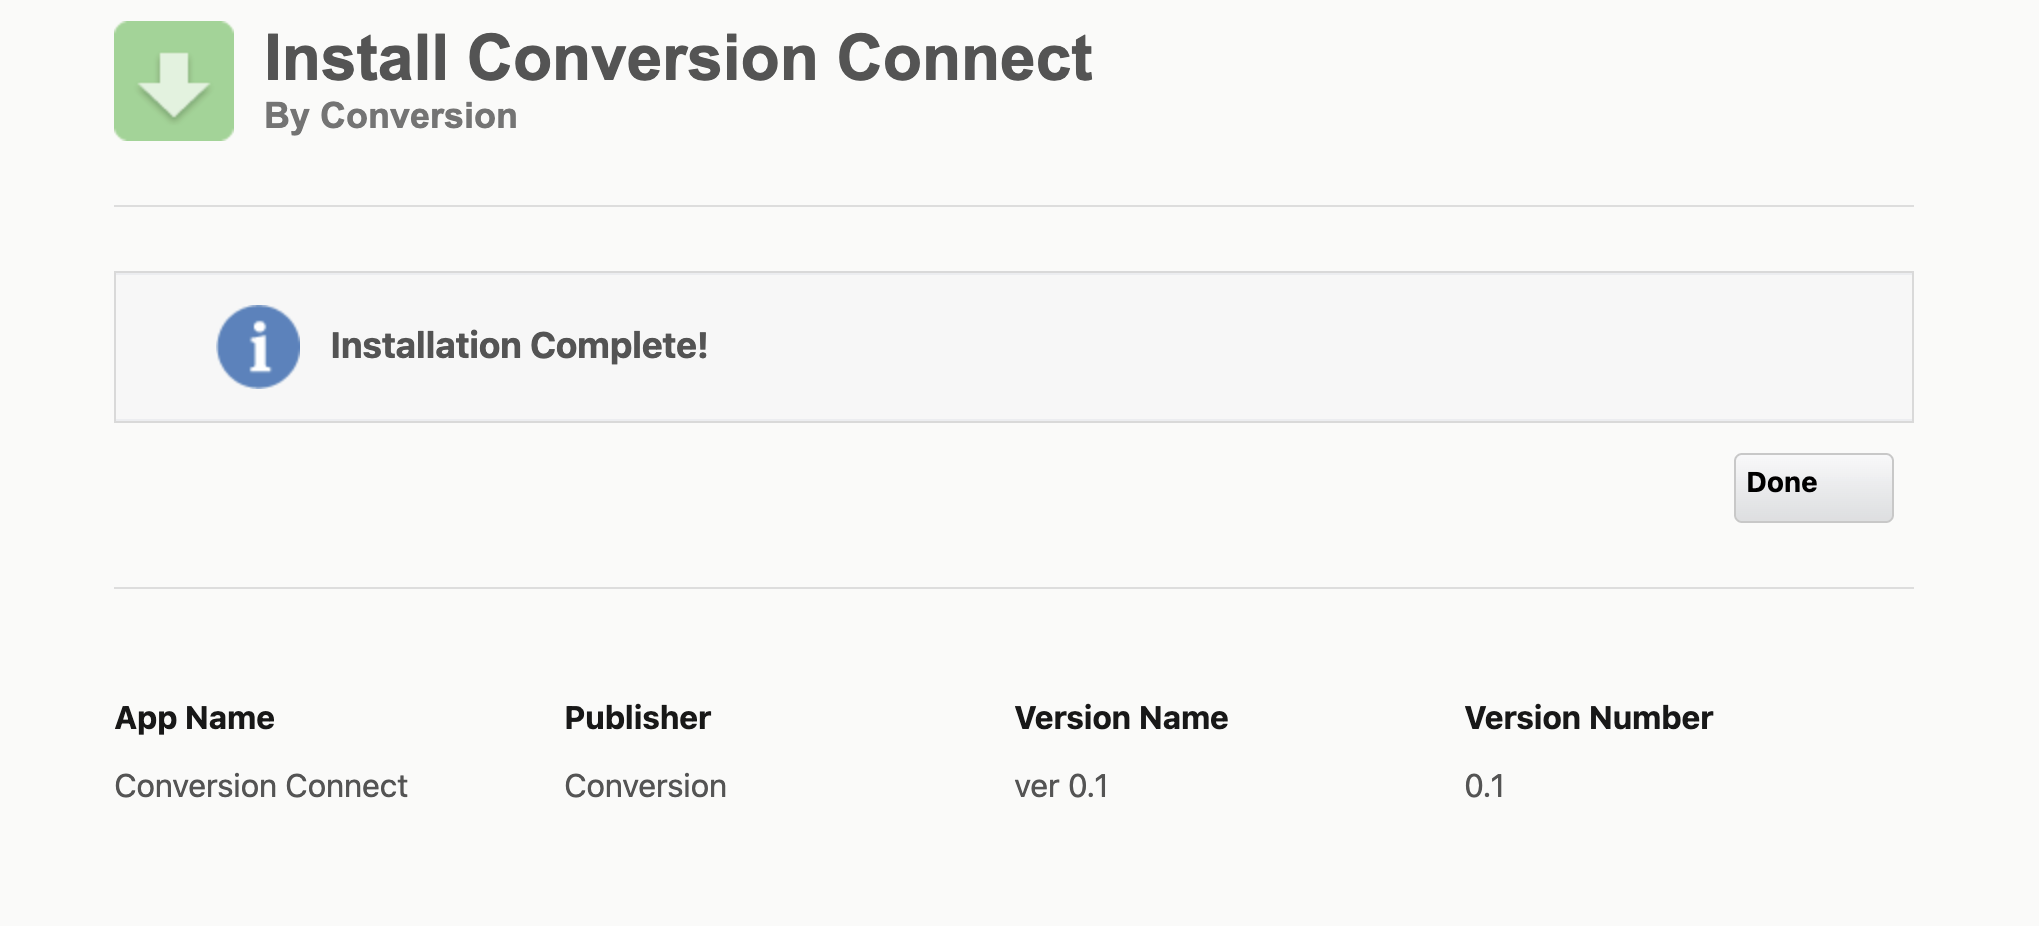
Complete the installation
- Select Install for All Users
- Check the box to acknowledge the third-party access agreement
- Click Install
Connect Conversion to Salesforce
With the package installed and your integration user ready, you can now authorize the connection.1
Navigate to integrations
- Log in to your Conversion workspace
- Go to Settings Syncing
- Find Salesforce and click Connect
2
Authorize with Salesforce
A Salesforce login window will appear. Log in with your integration user credentials (not your personal admin account).
3
Wait for the initial sync
After granting the requested permissions, Conversion automatically begins syncing your Salesforce data.The initial sync imports all your existing records and may take anywhere from a few minutes to several hours depending on your data volume. You can monitor progress in Settings Syncing.