Set up the activity timeline
Before you begin
- The Salesforce sync is connected. See Admin User Setup or Integration User Setup.
- You’re a Salesforce System Administrator.
- You’re an administrator in your Conversion workspace, so you can create an API key.
Step 1: Install or upgrade the Conversion package
Open the package install link from Install the Salesforce package. If your org already has the package, choose Upgrade.Step 2: Turn on callouts
Salesforce turns callouts off when it installs or upgrades the package. The component can’t reach Conversion until you turn them back on.1
Open Named Credentials
In Salesforce, click the gear icon → Setup. In Quick Find, enter “Named Credentials” and click Named Credentials.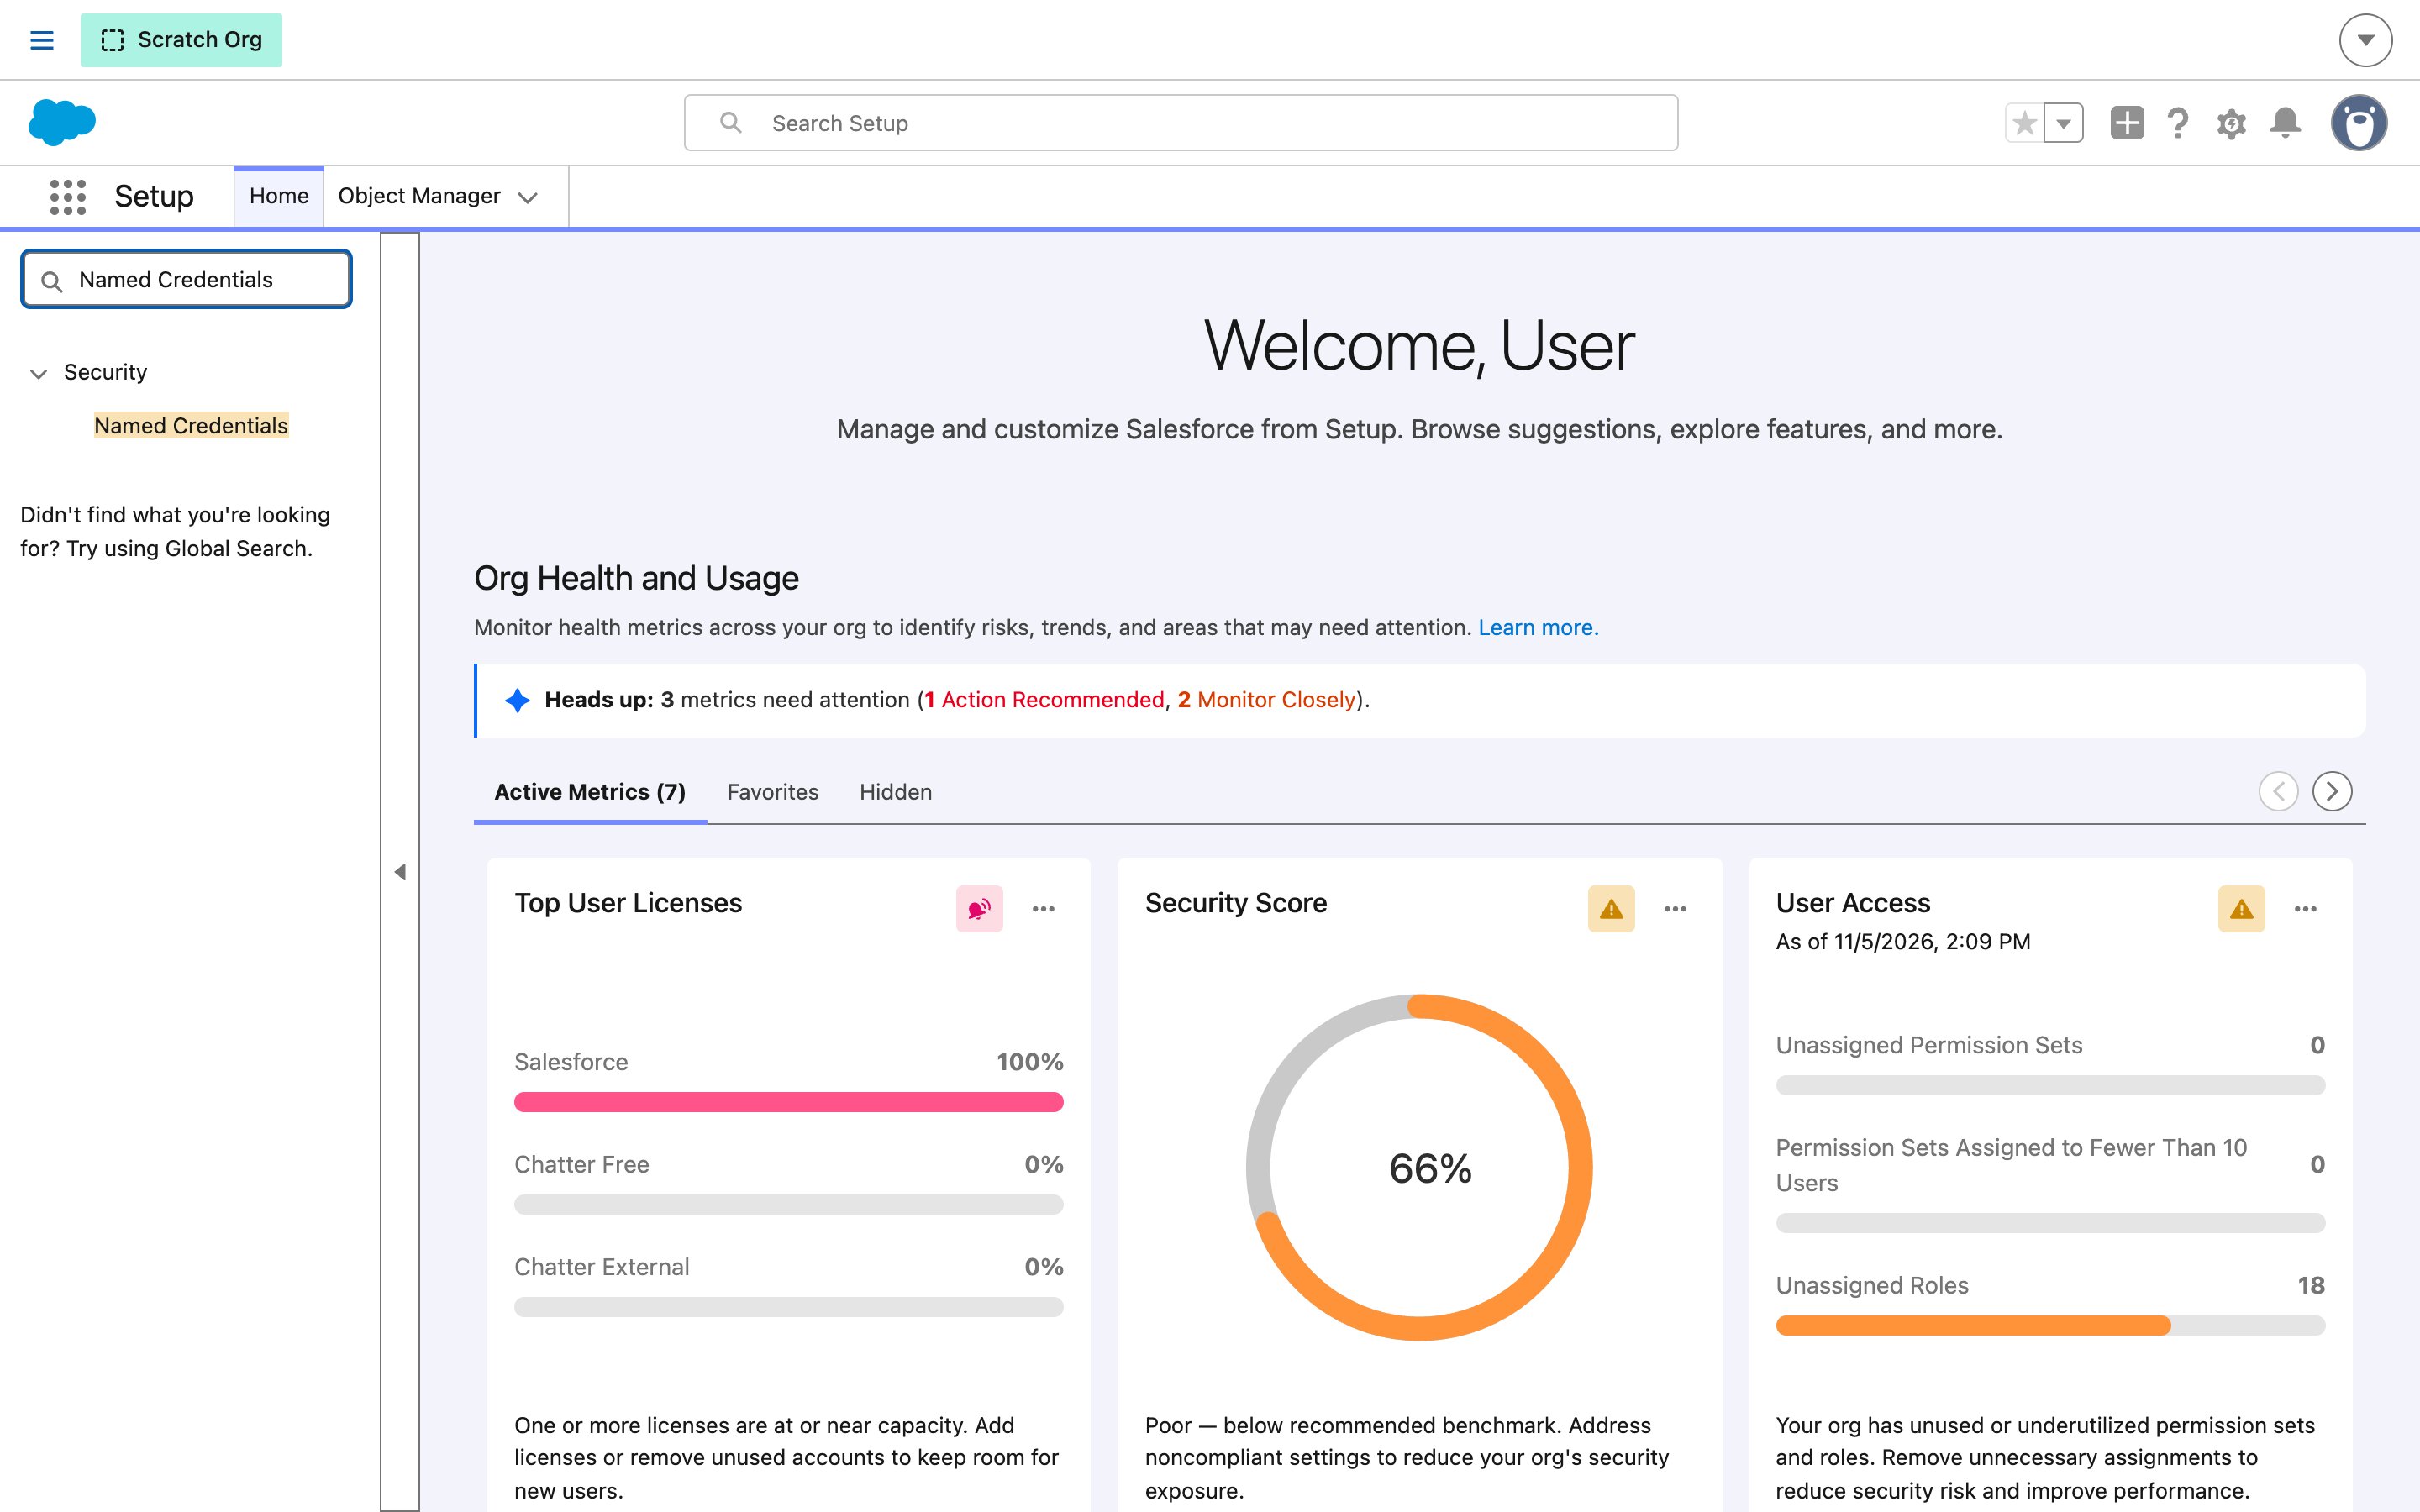
2
Open Conversion API
Click Conversion API.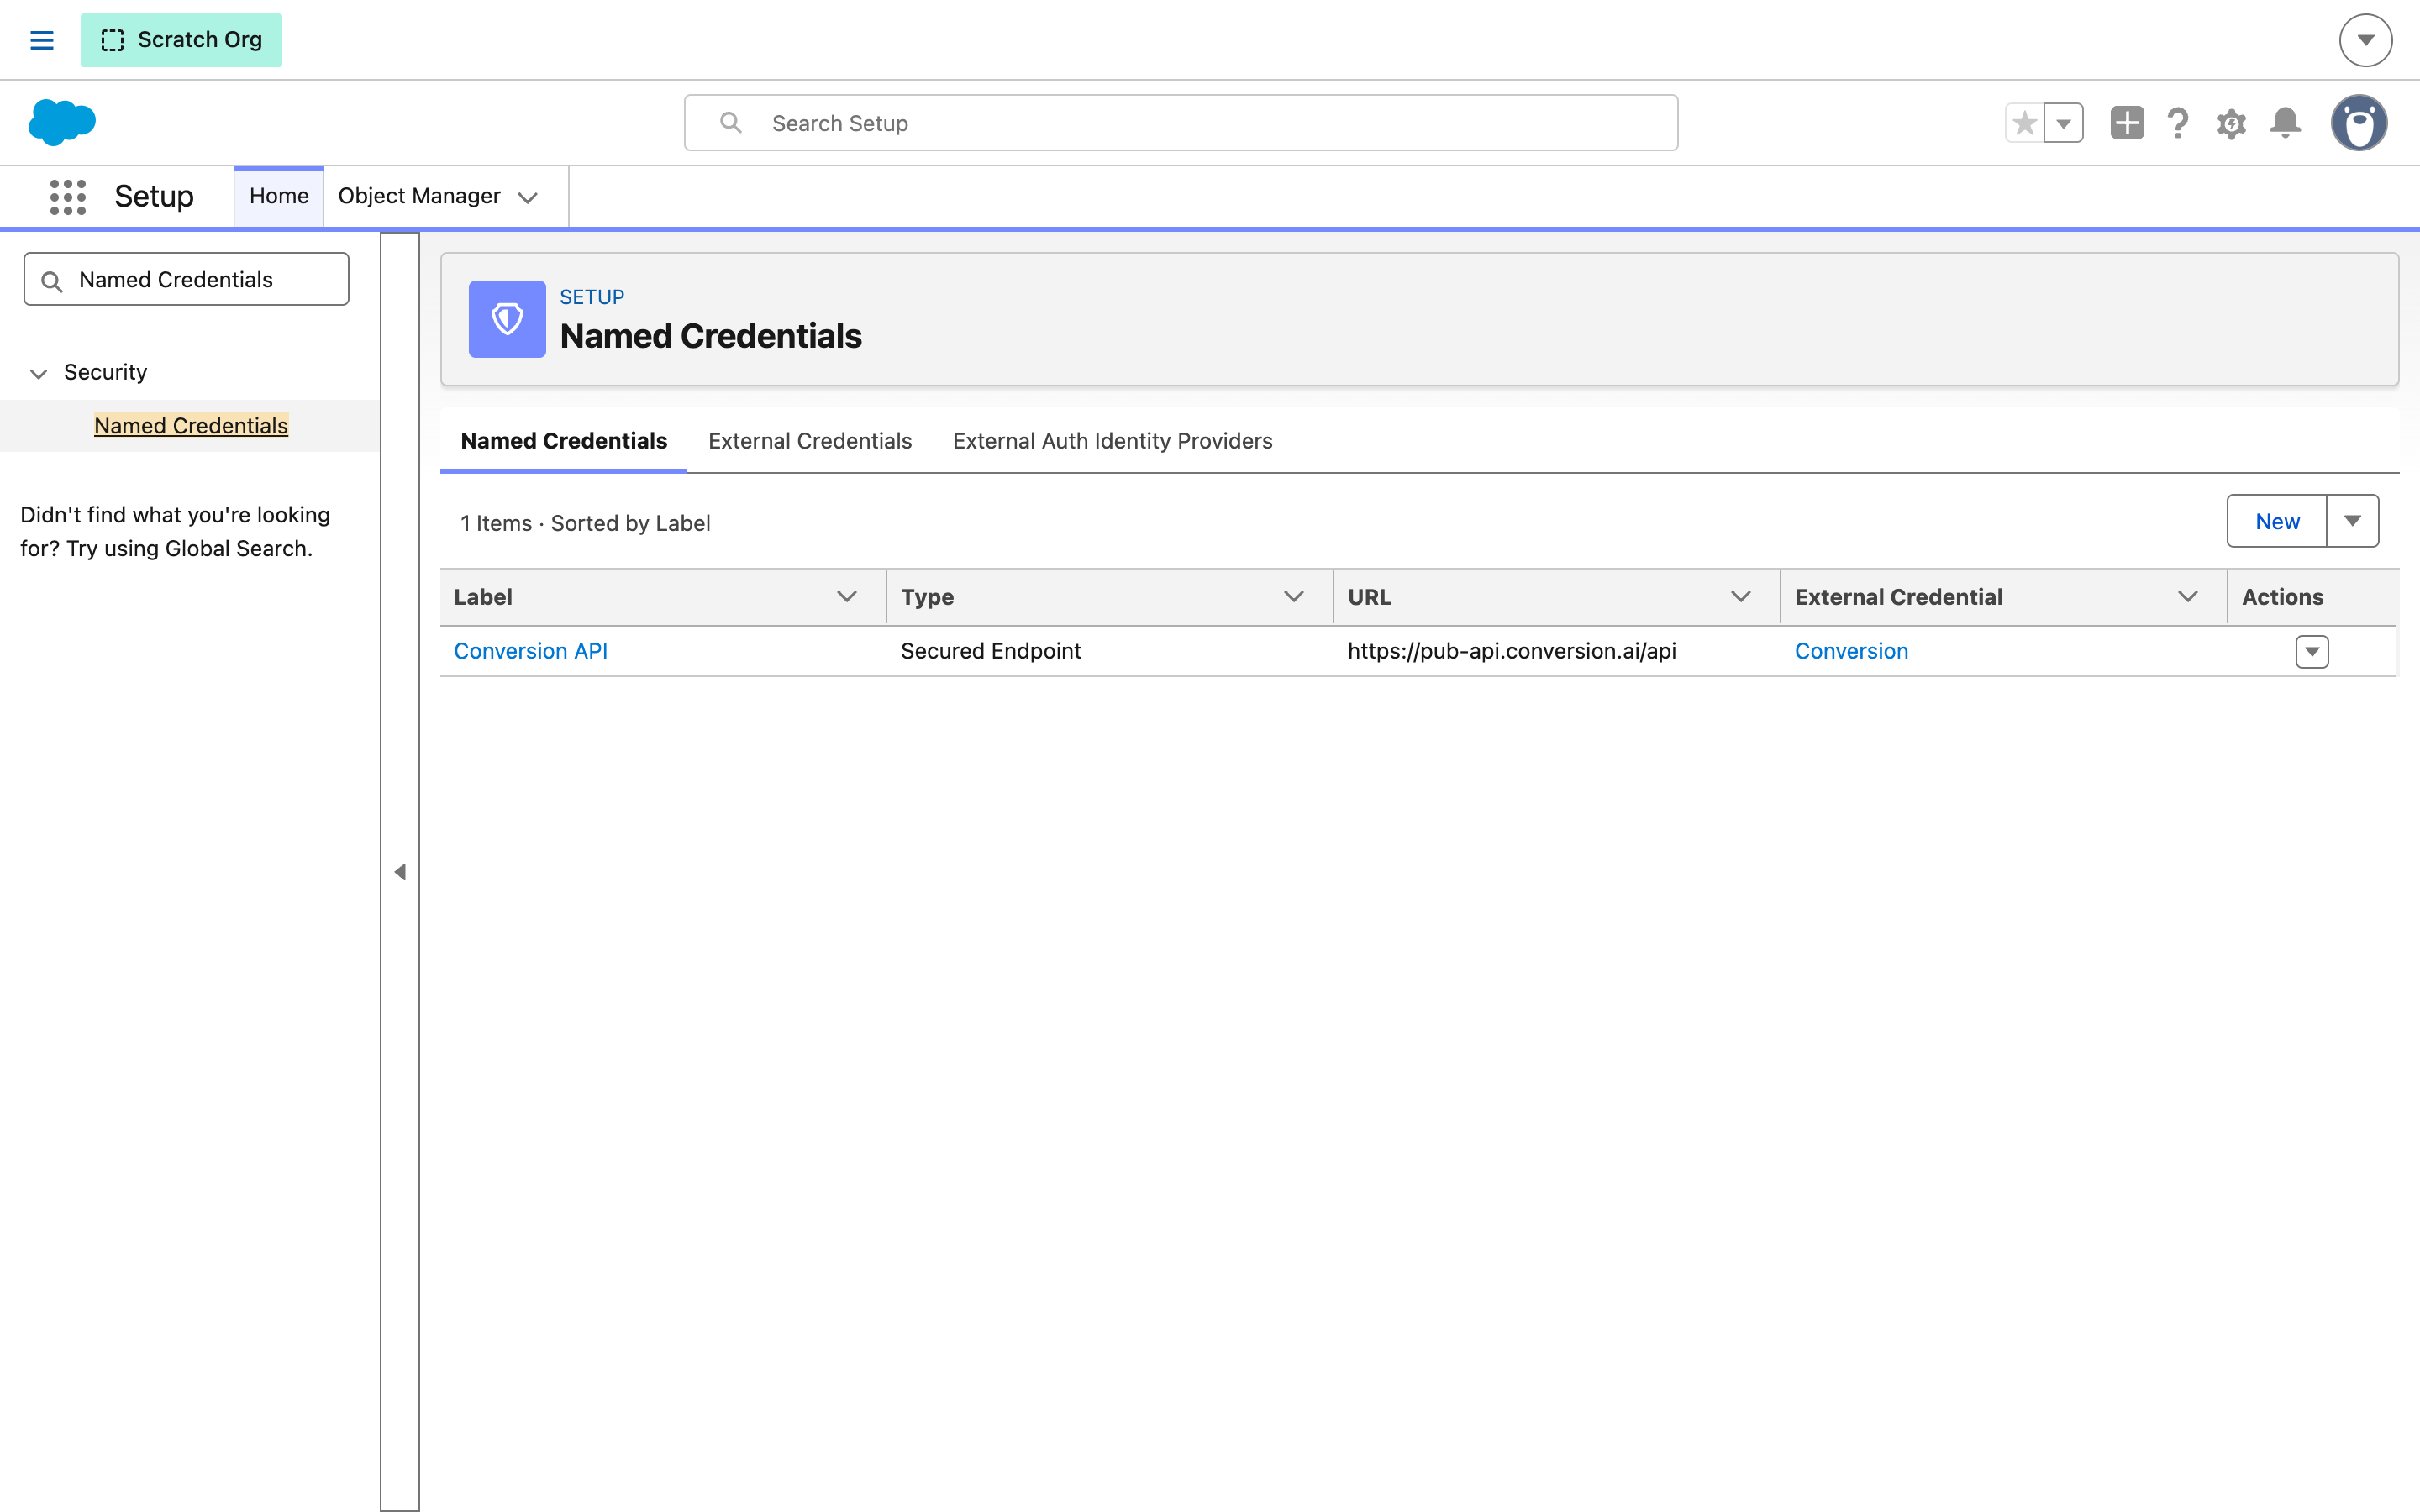
3
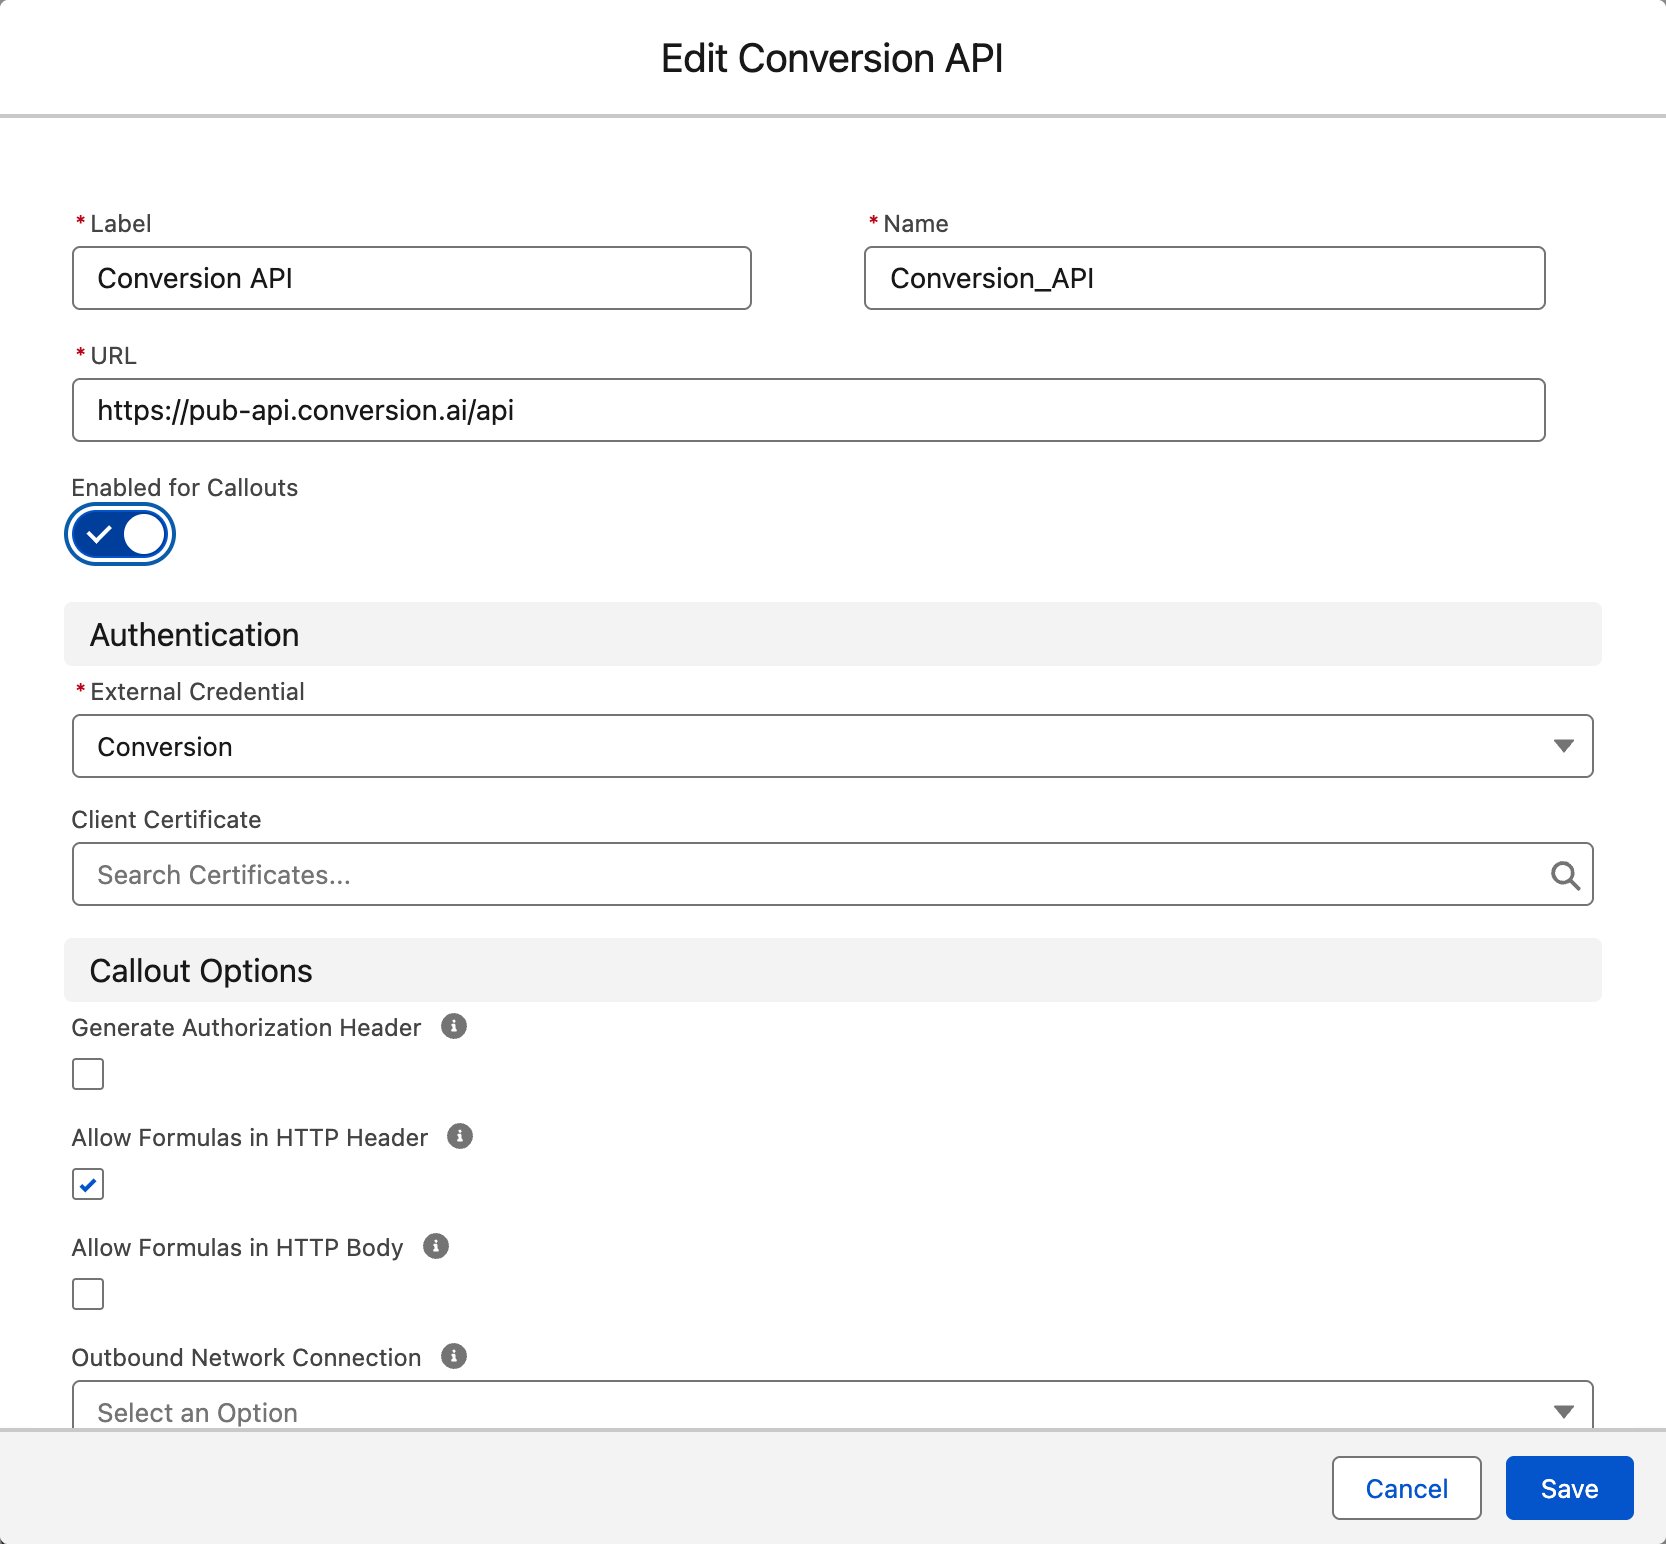
Turn on Enabled for Callouts
- Click Edit.
- Turn on Enabled for Callouts.
- Click Save.
4
Check the setting
Enabled for Callouts shows as on.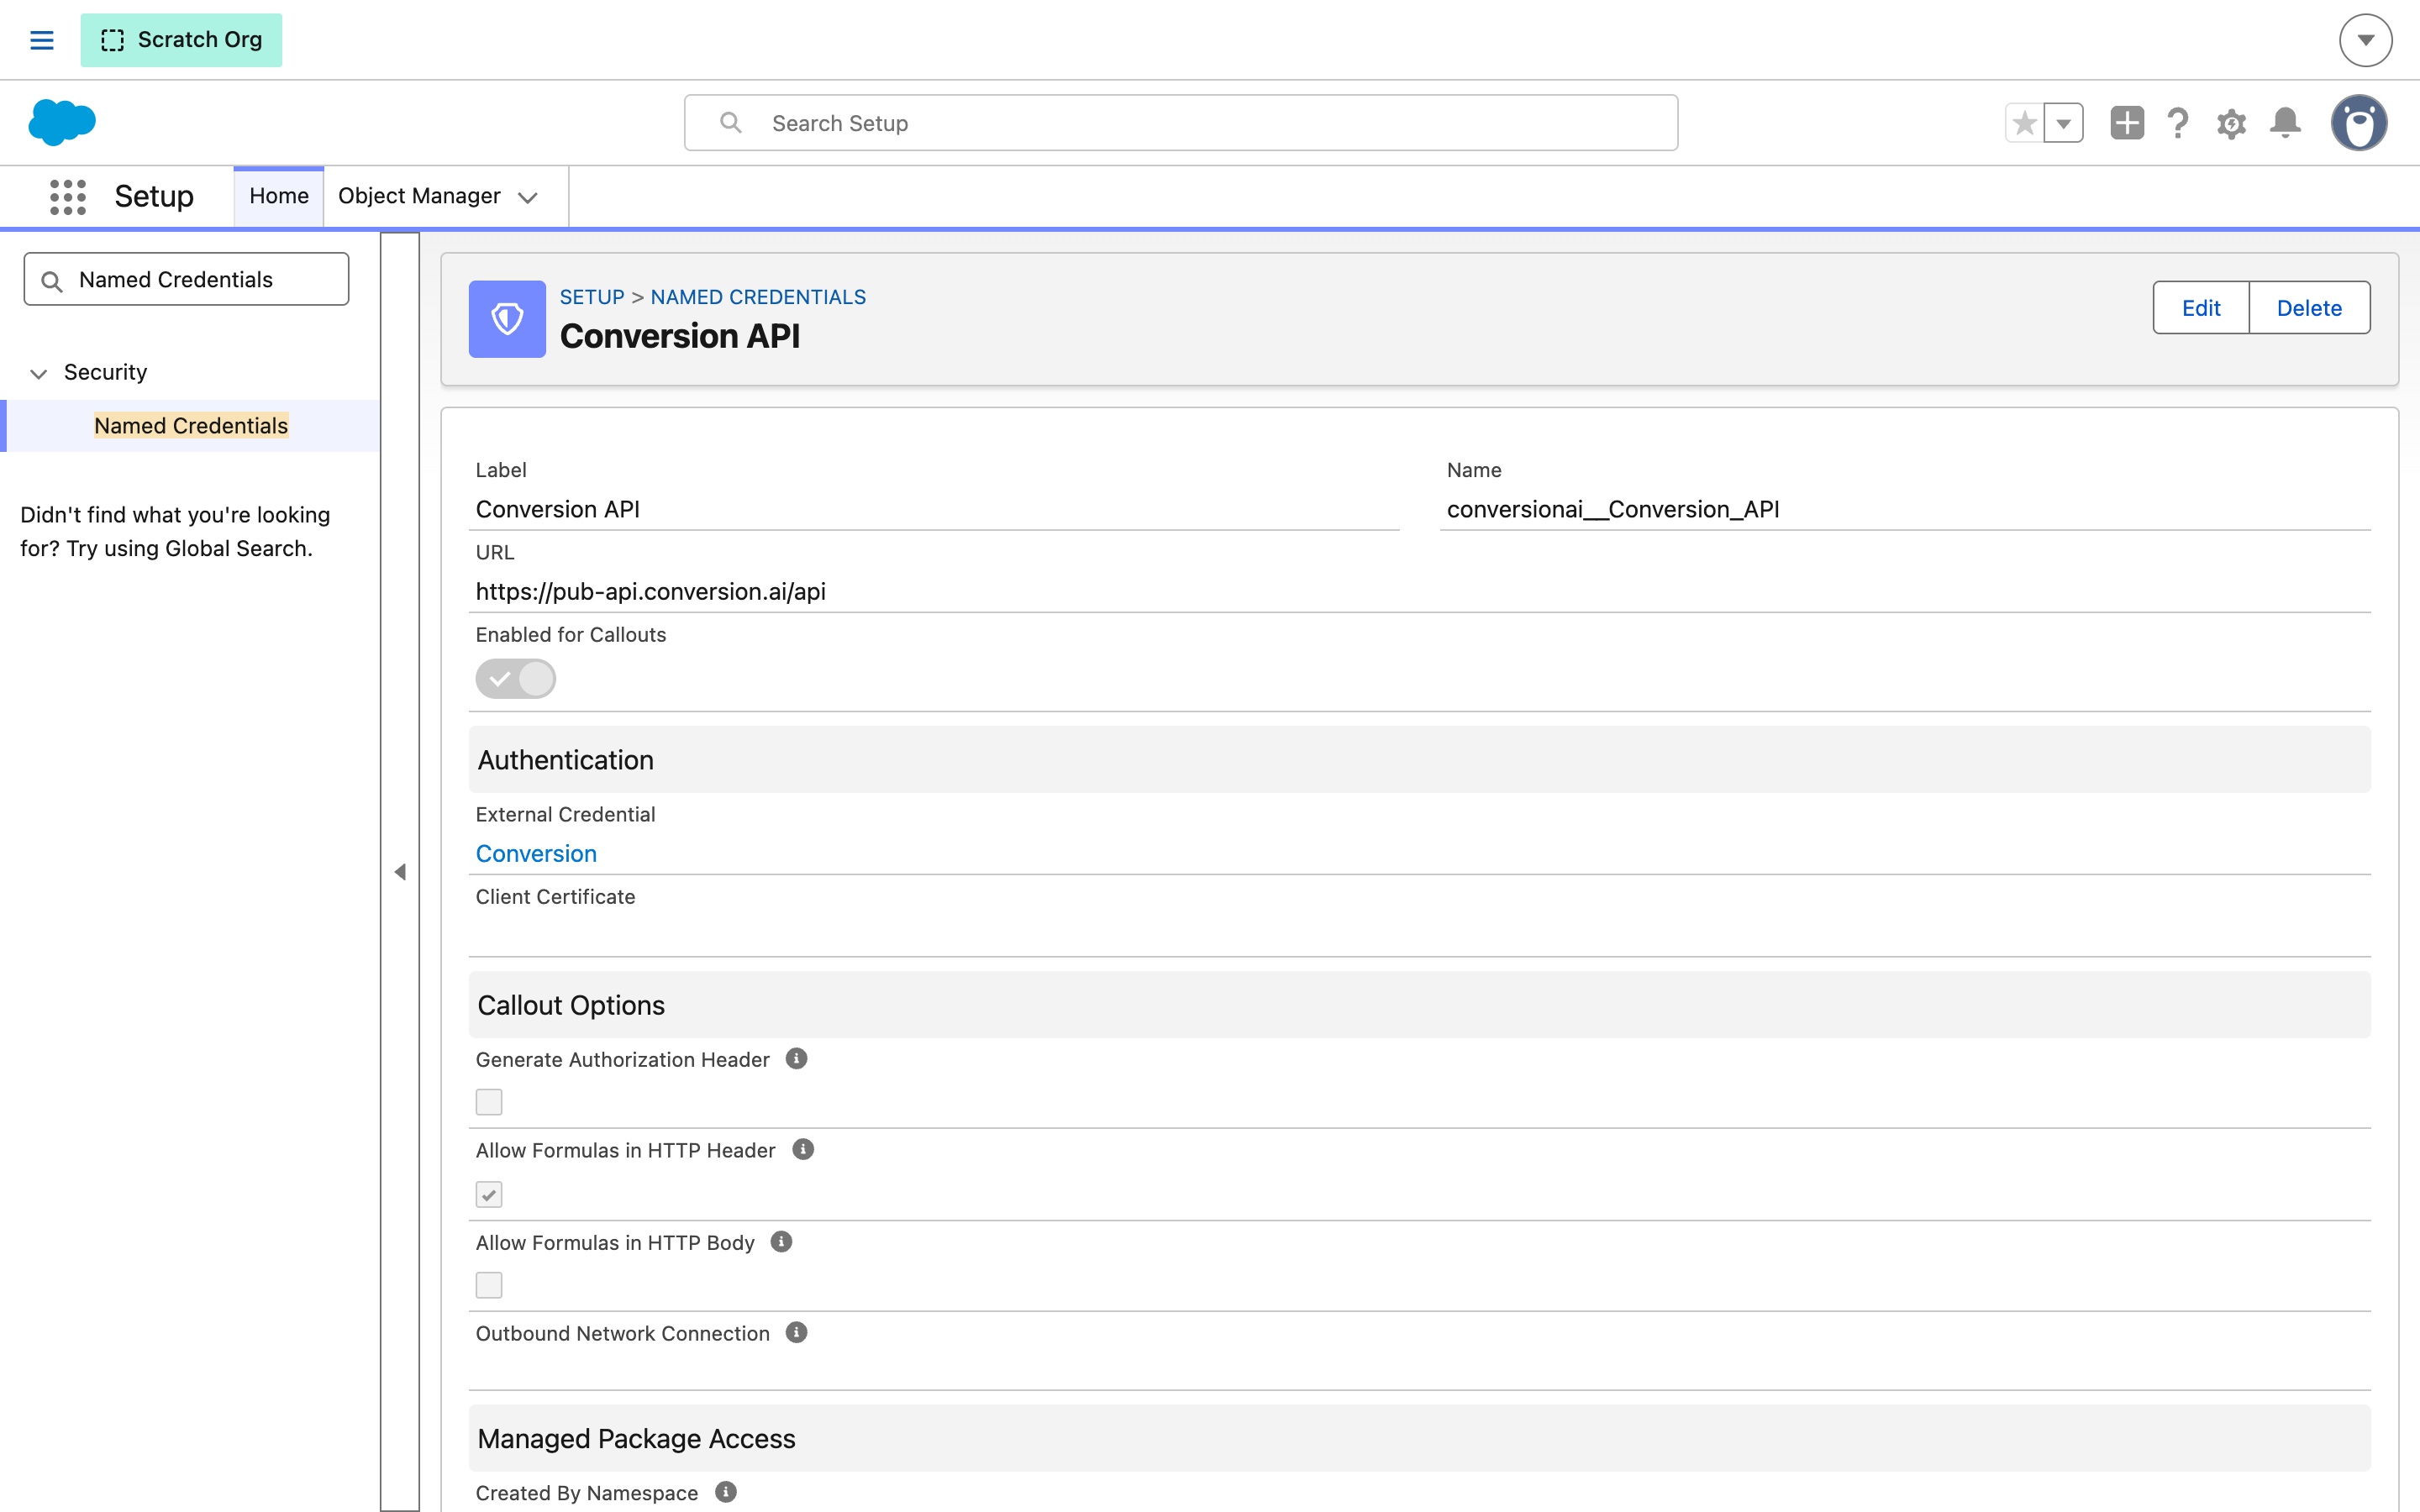
Check this setting again after every package upgrade.
Step 3: Create a Conversion API key
In Conversion, go to Settings → Integrations → API and click Add API key. Name it “Salesforce” and copy the key. See API.Step 4: Give yourself the Conversion Admin permission set
The Conversion Admin permission set shows the Conversion Setup tab, where you save the key.1
Open Permission Sets
In Setup, enter “Permission Sets” in Quick Find and click Permission Sets.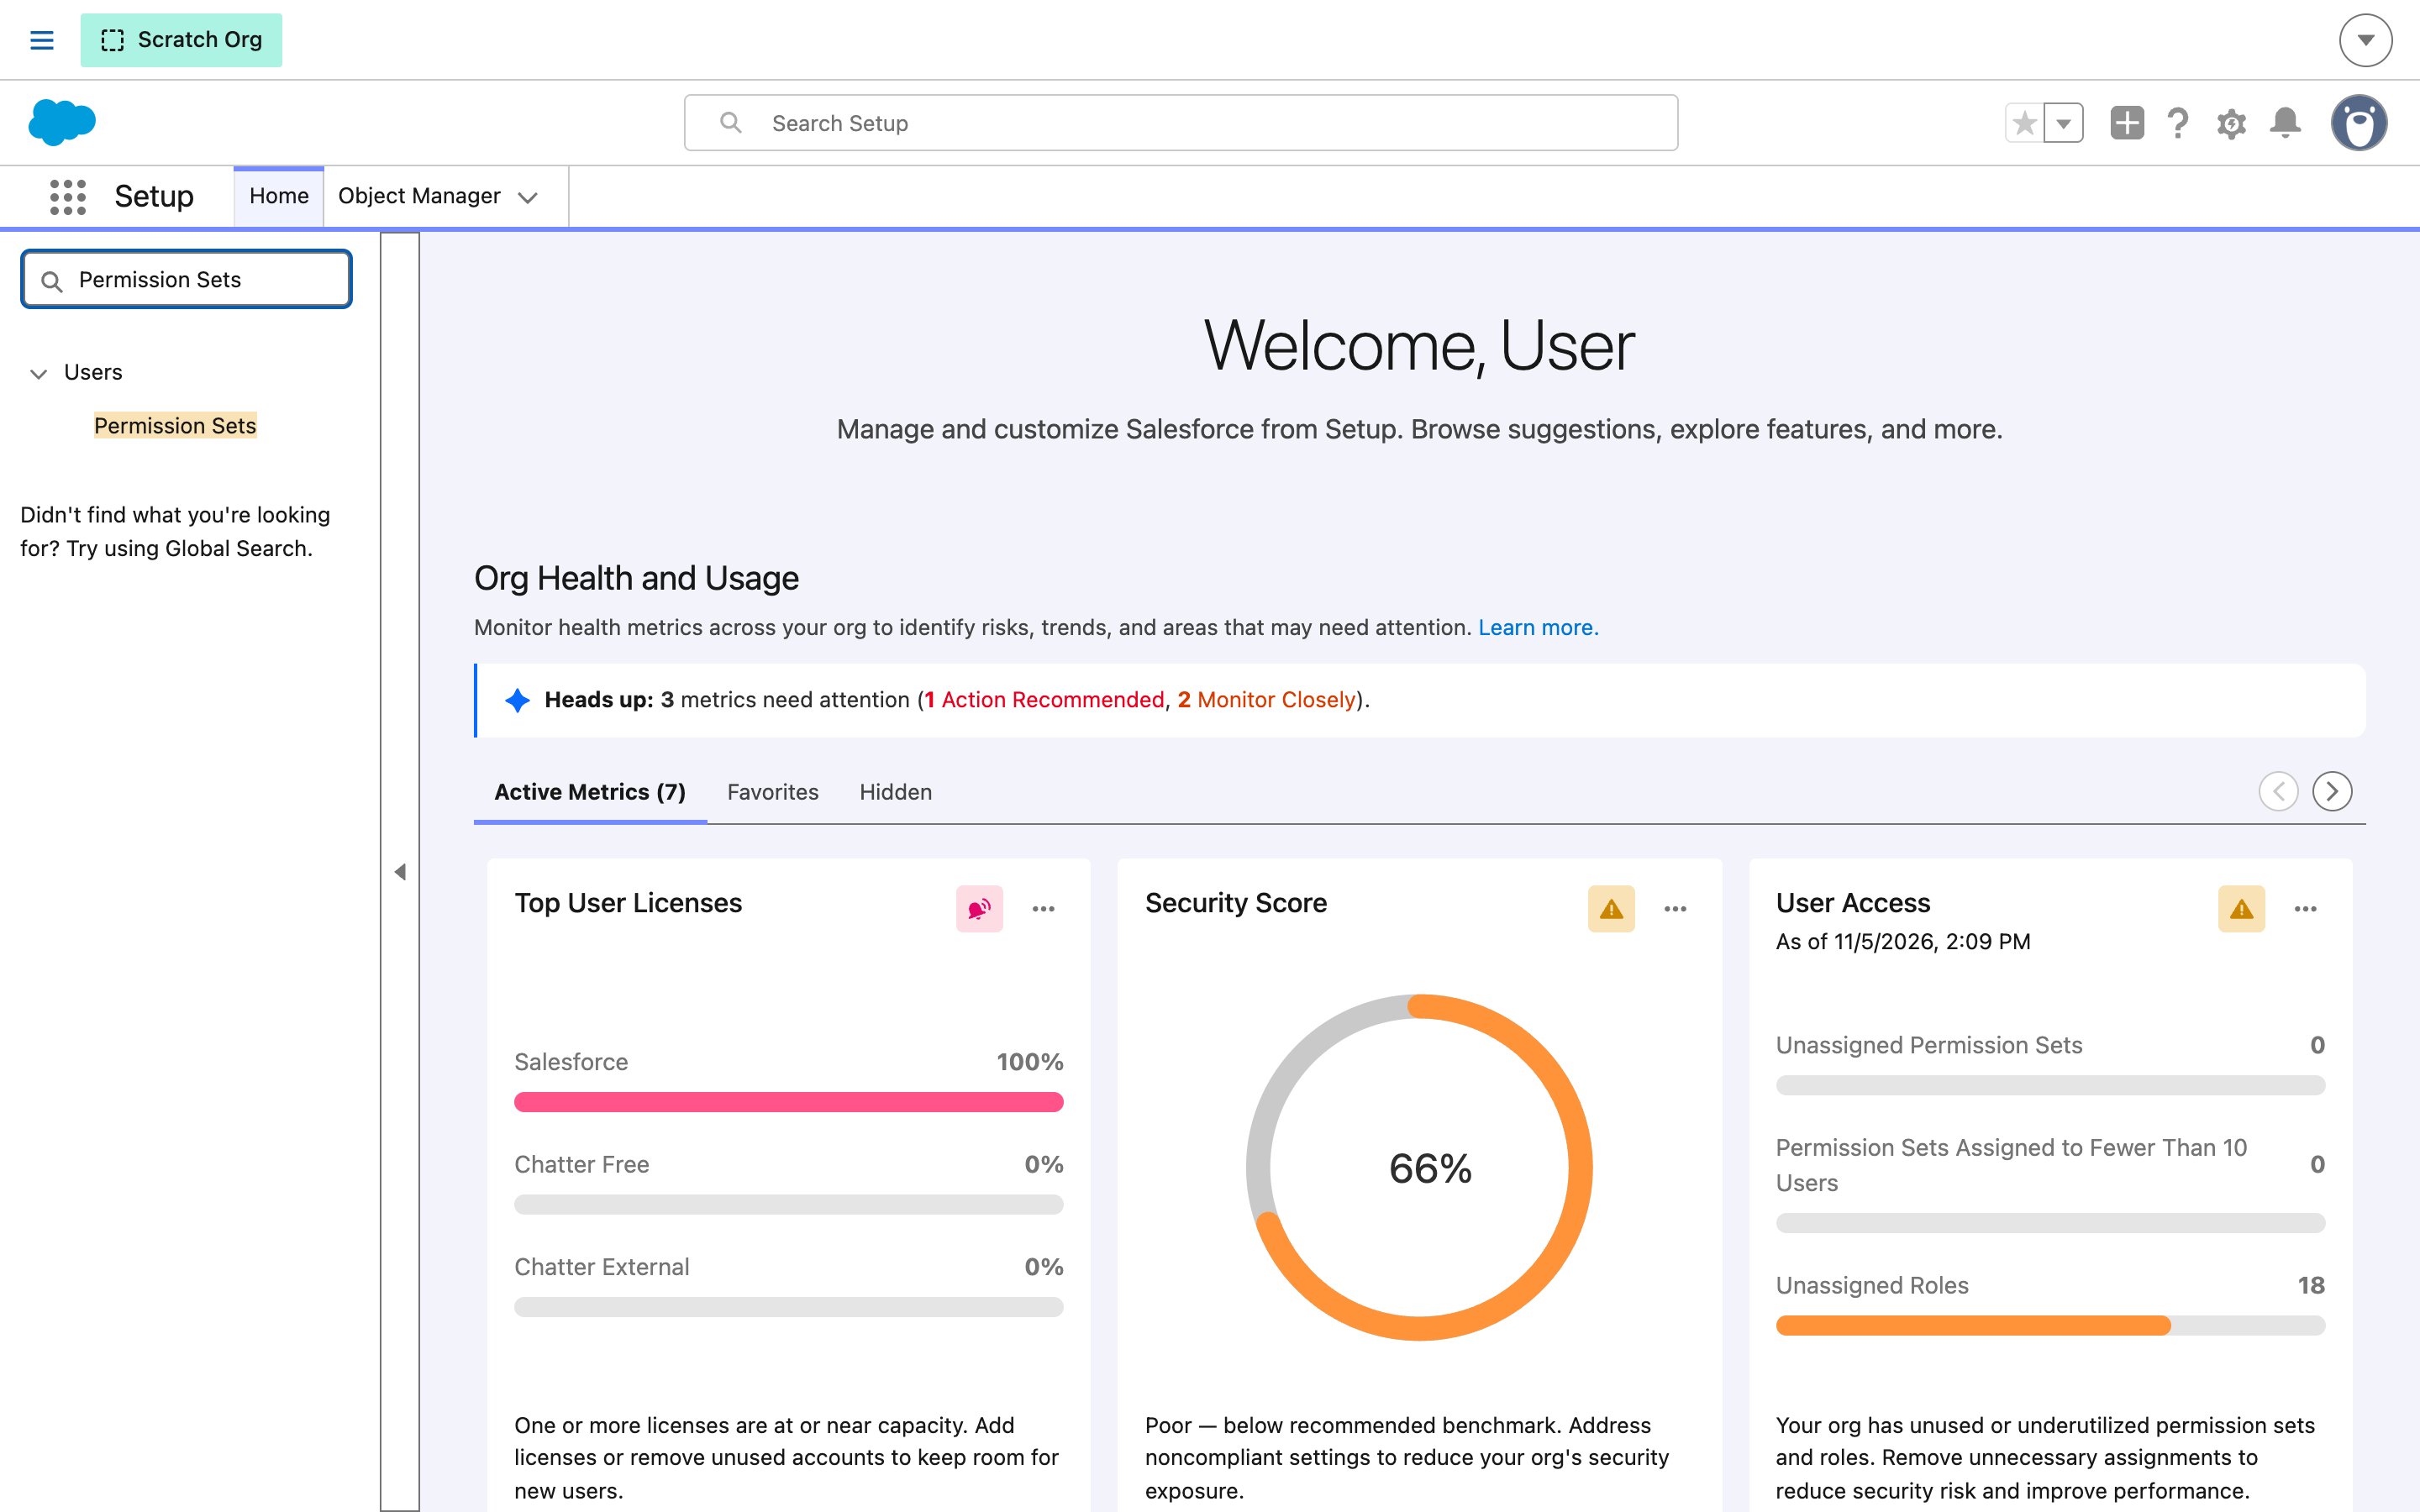
2
Open Conversion Admin
Click Conversion Admin. The package adds two permission sets: Conversion Admin and Conversion Activity Viewer.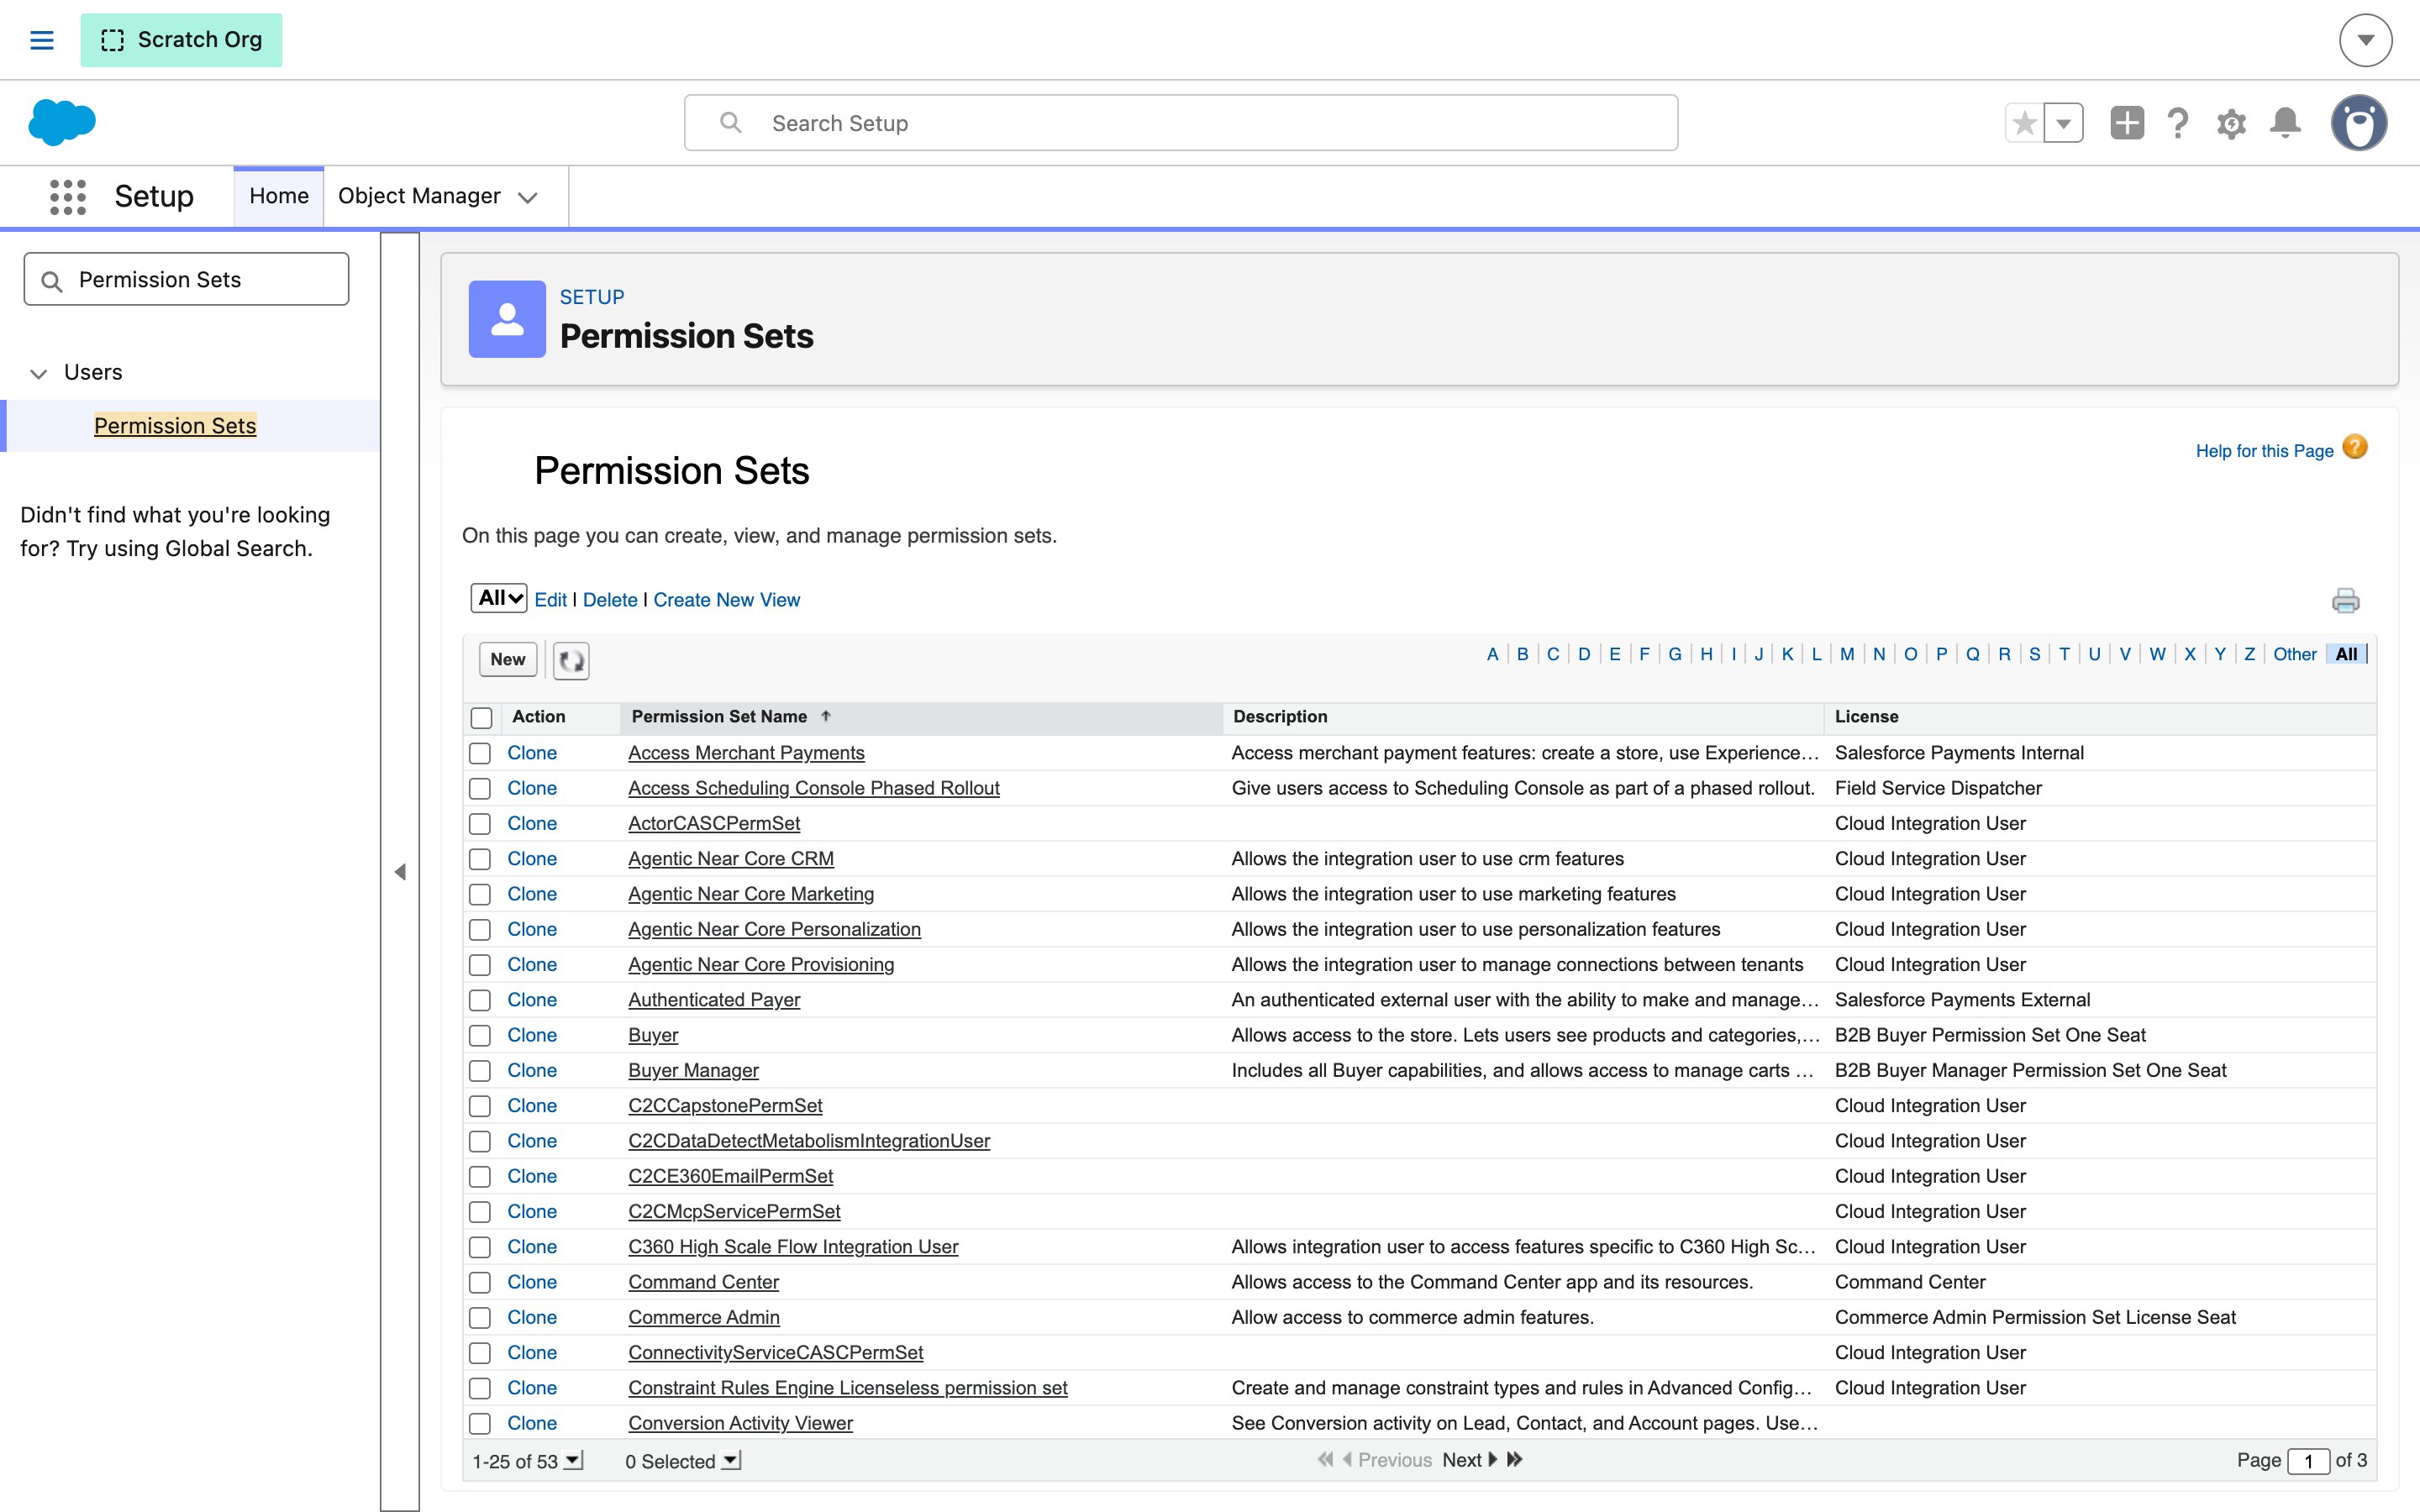
3
Assign it to yourself
- Click Manage Assignments → Add Assignment.
- Check the box next to your name and click Next.
- Leave No expiration date selected and click Assign.
- Click Done.
Step 5: Save the key
1
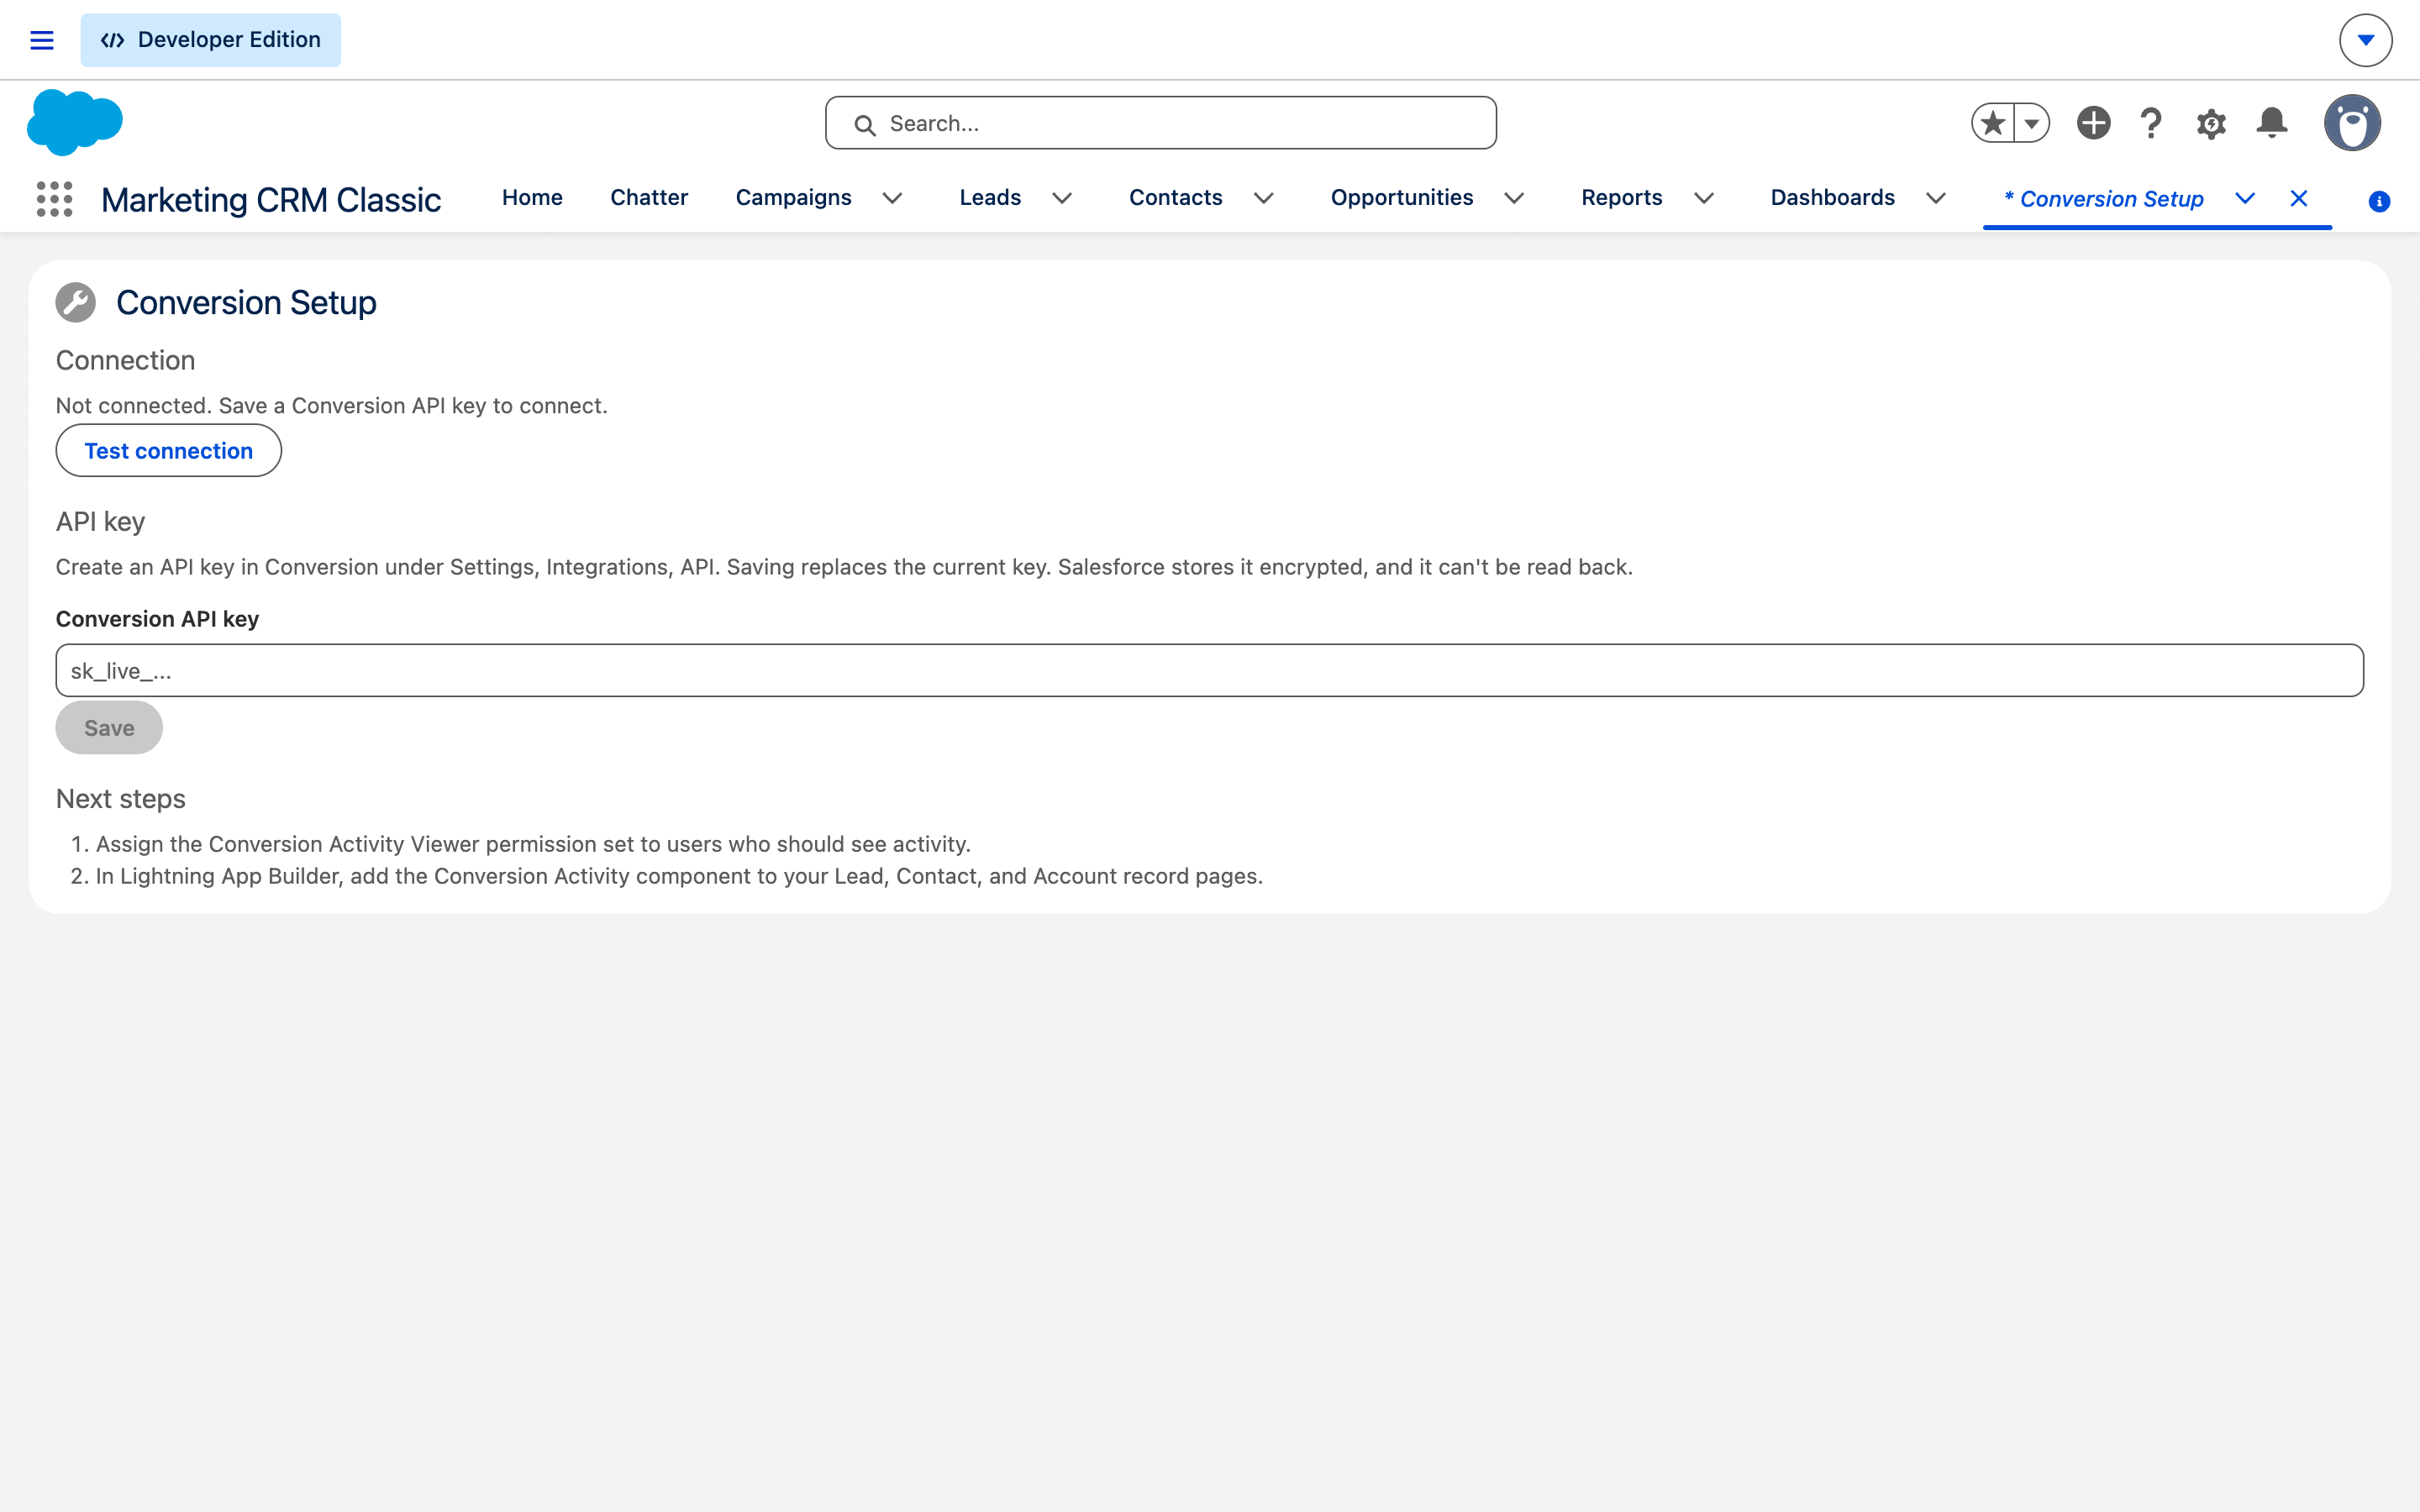
Open the Conversion Setup tab
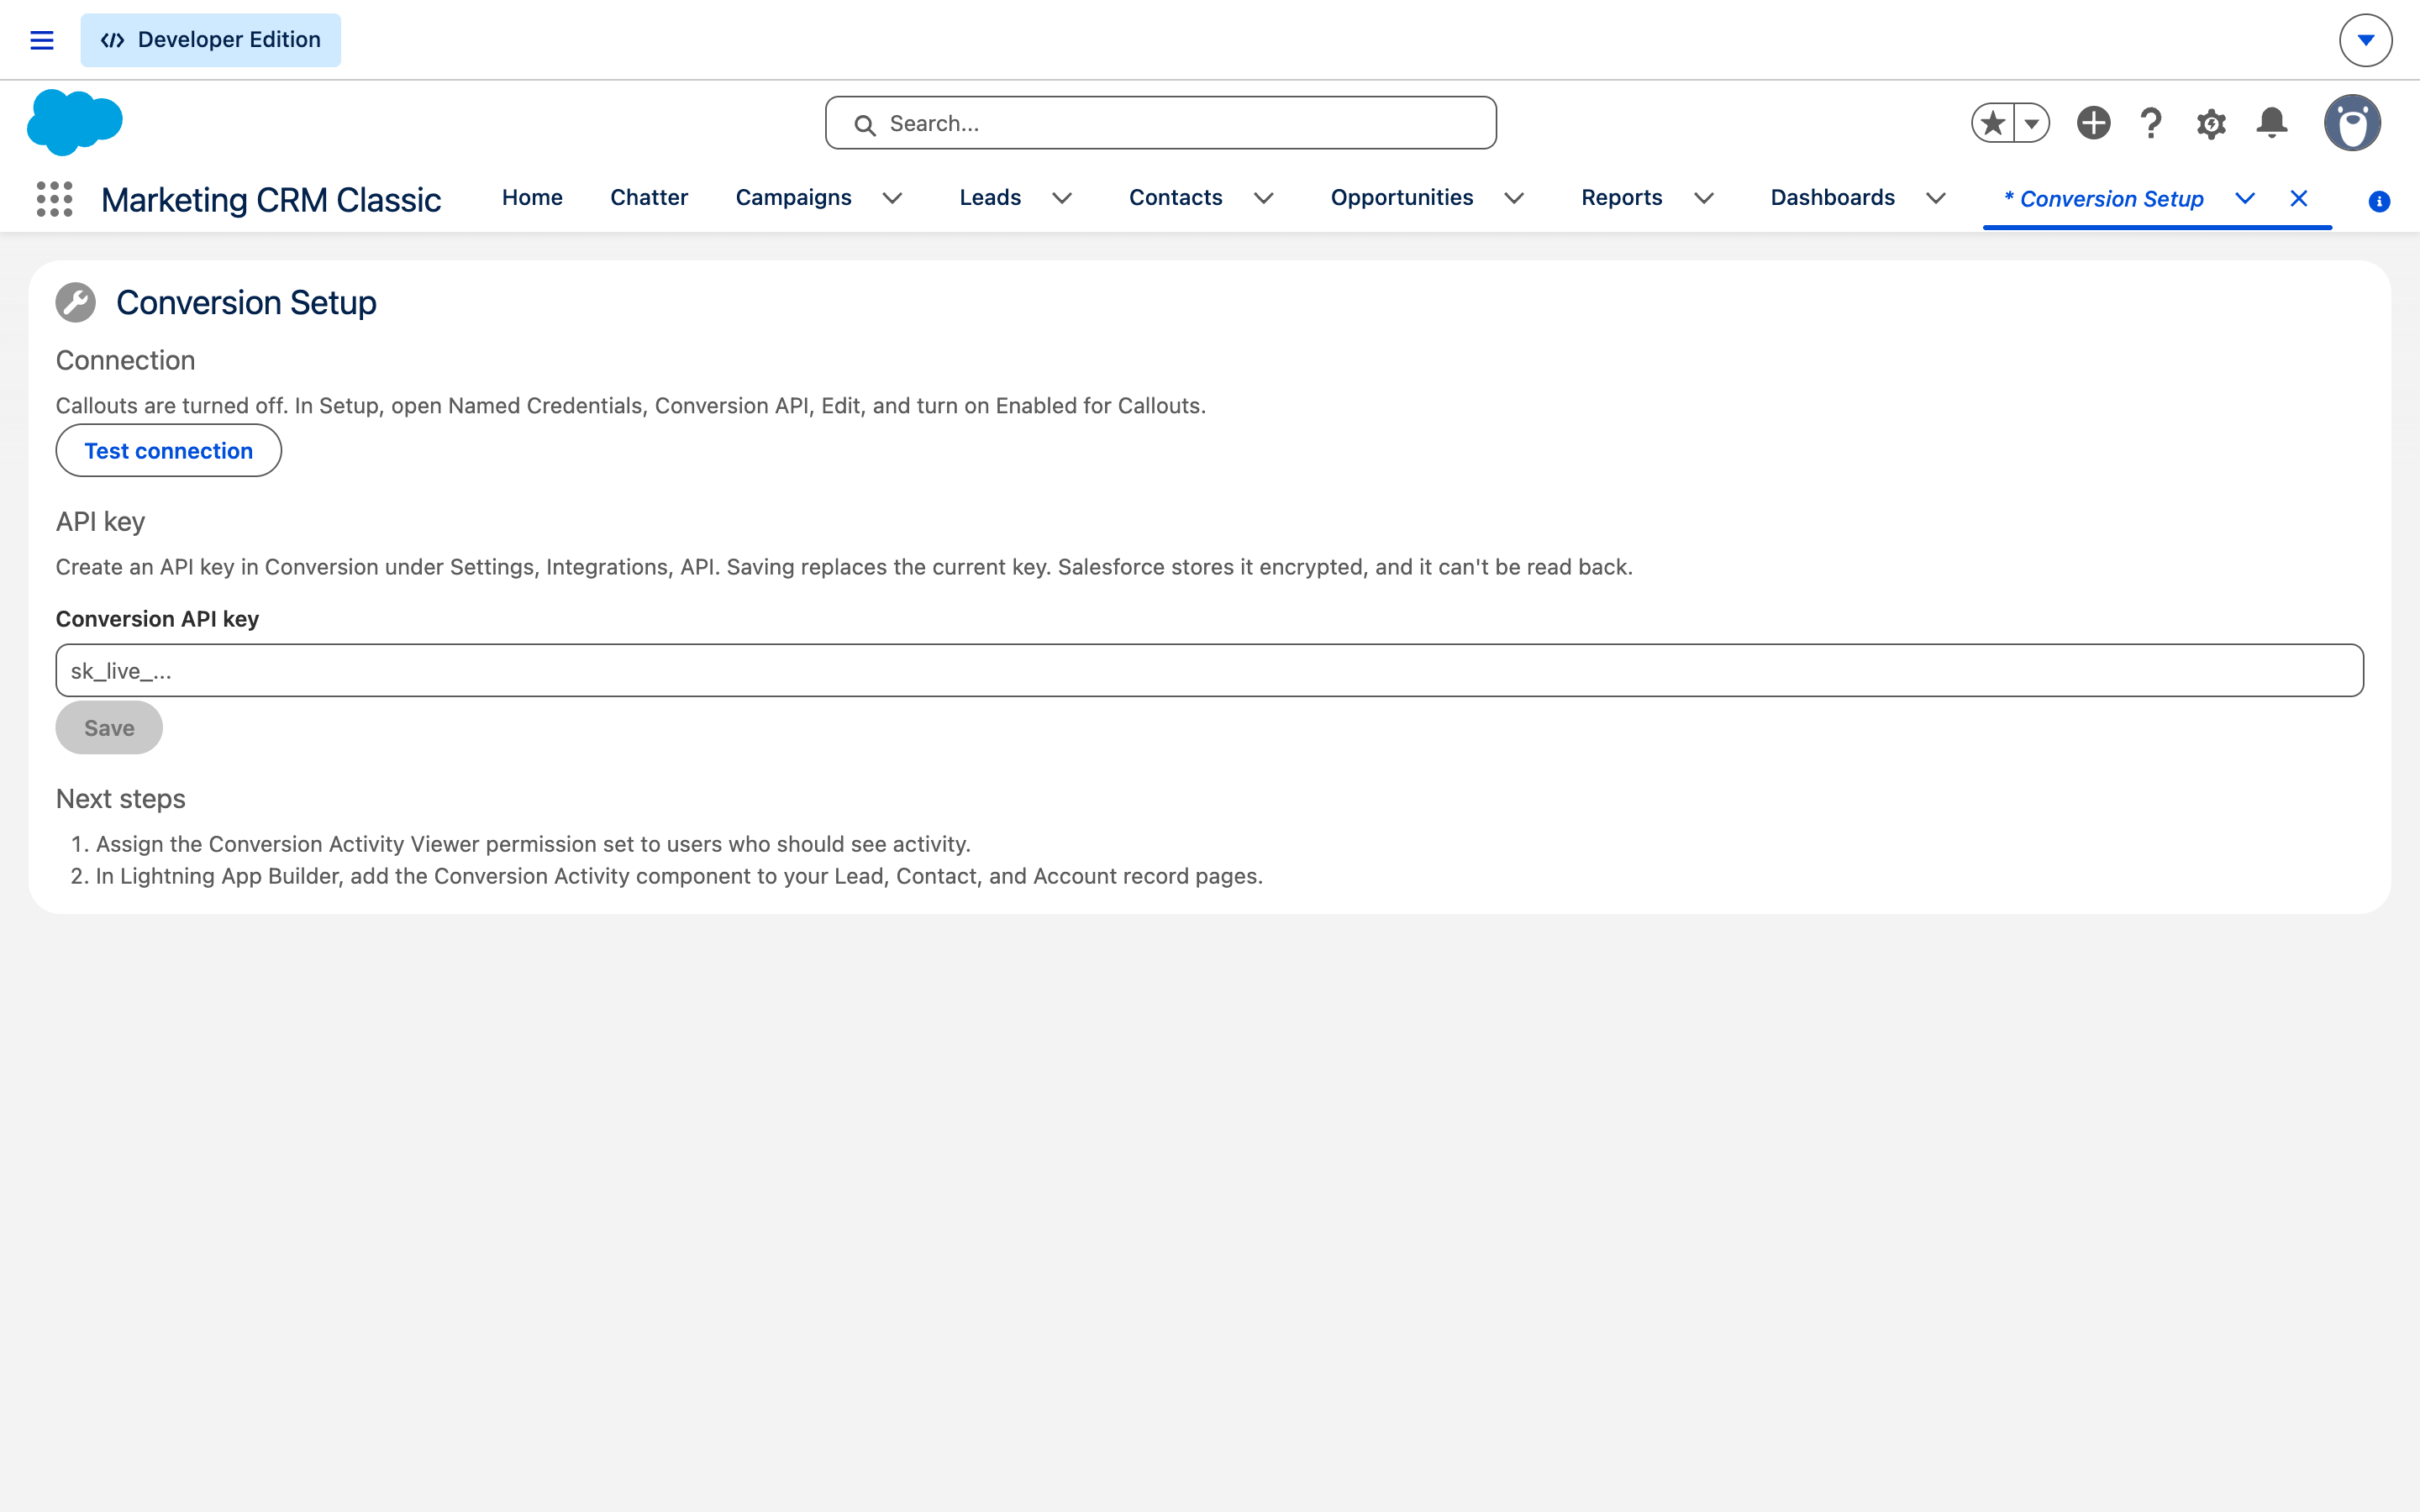
Click the App Launcher, search for “Conversion”, and click Conversion Setup.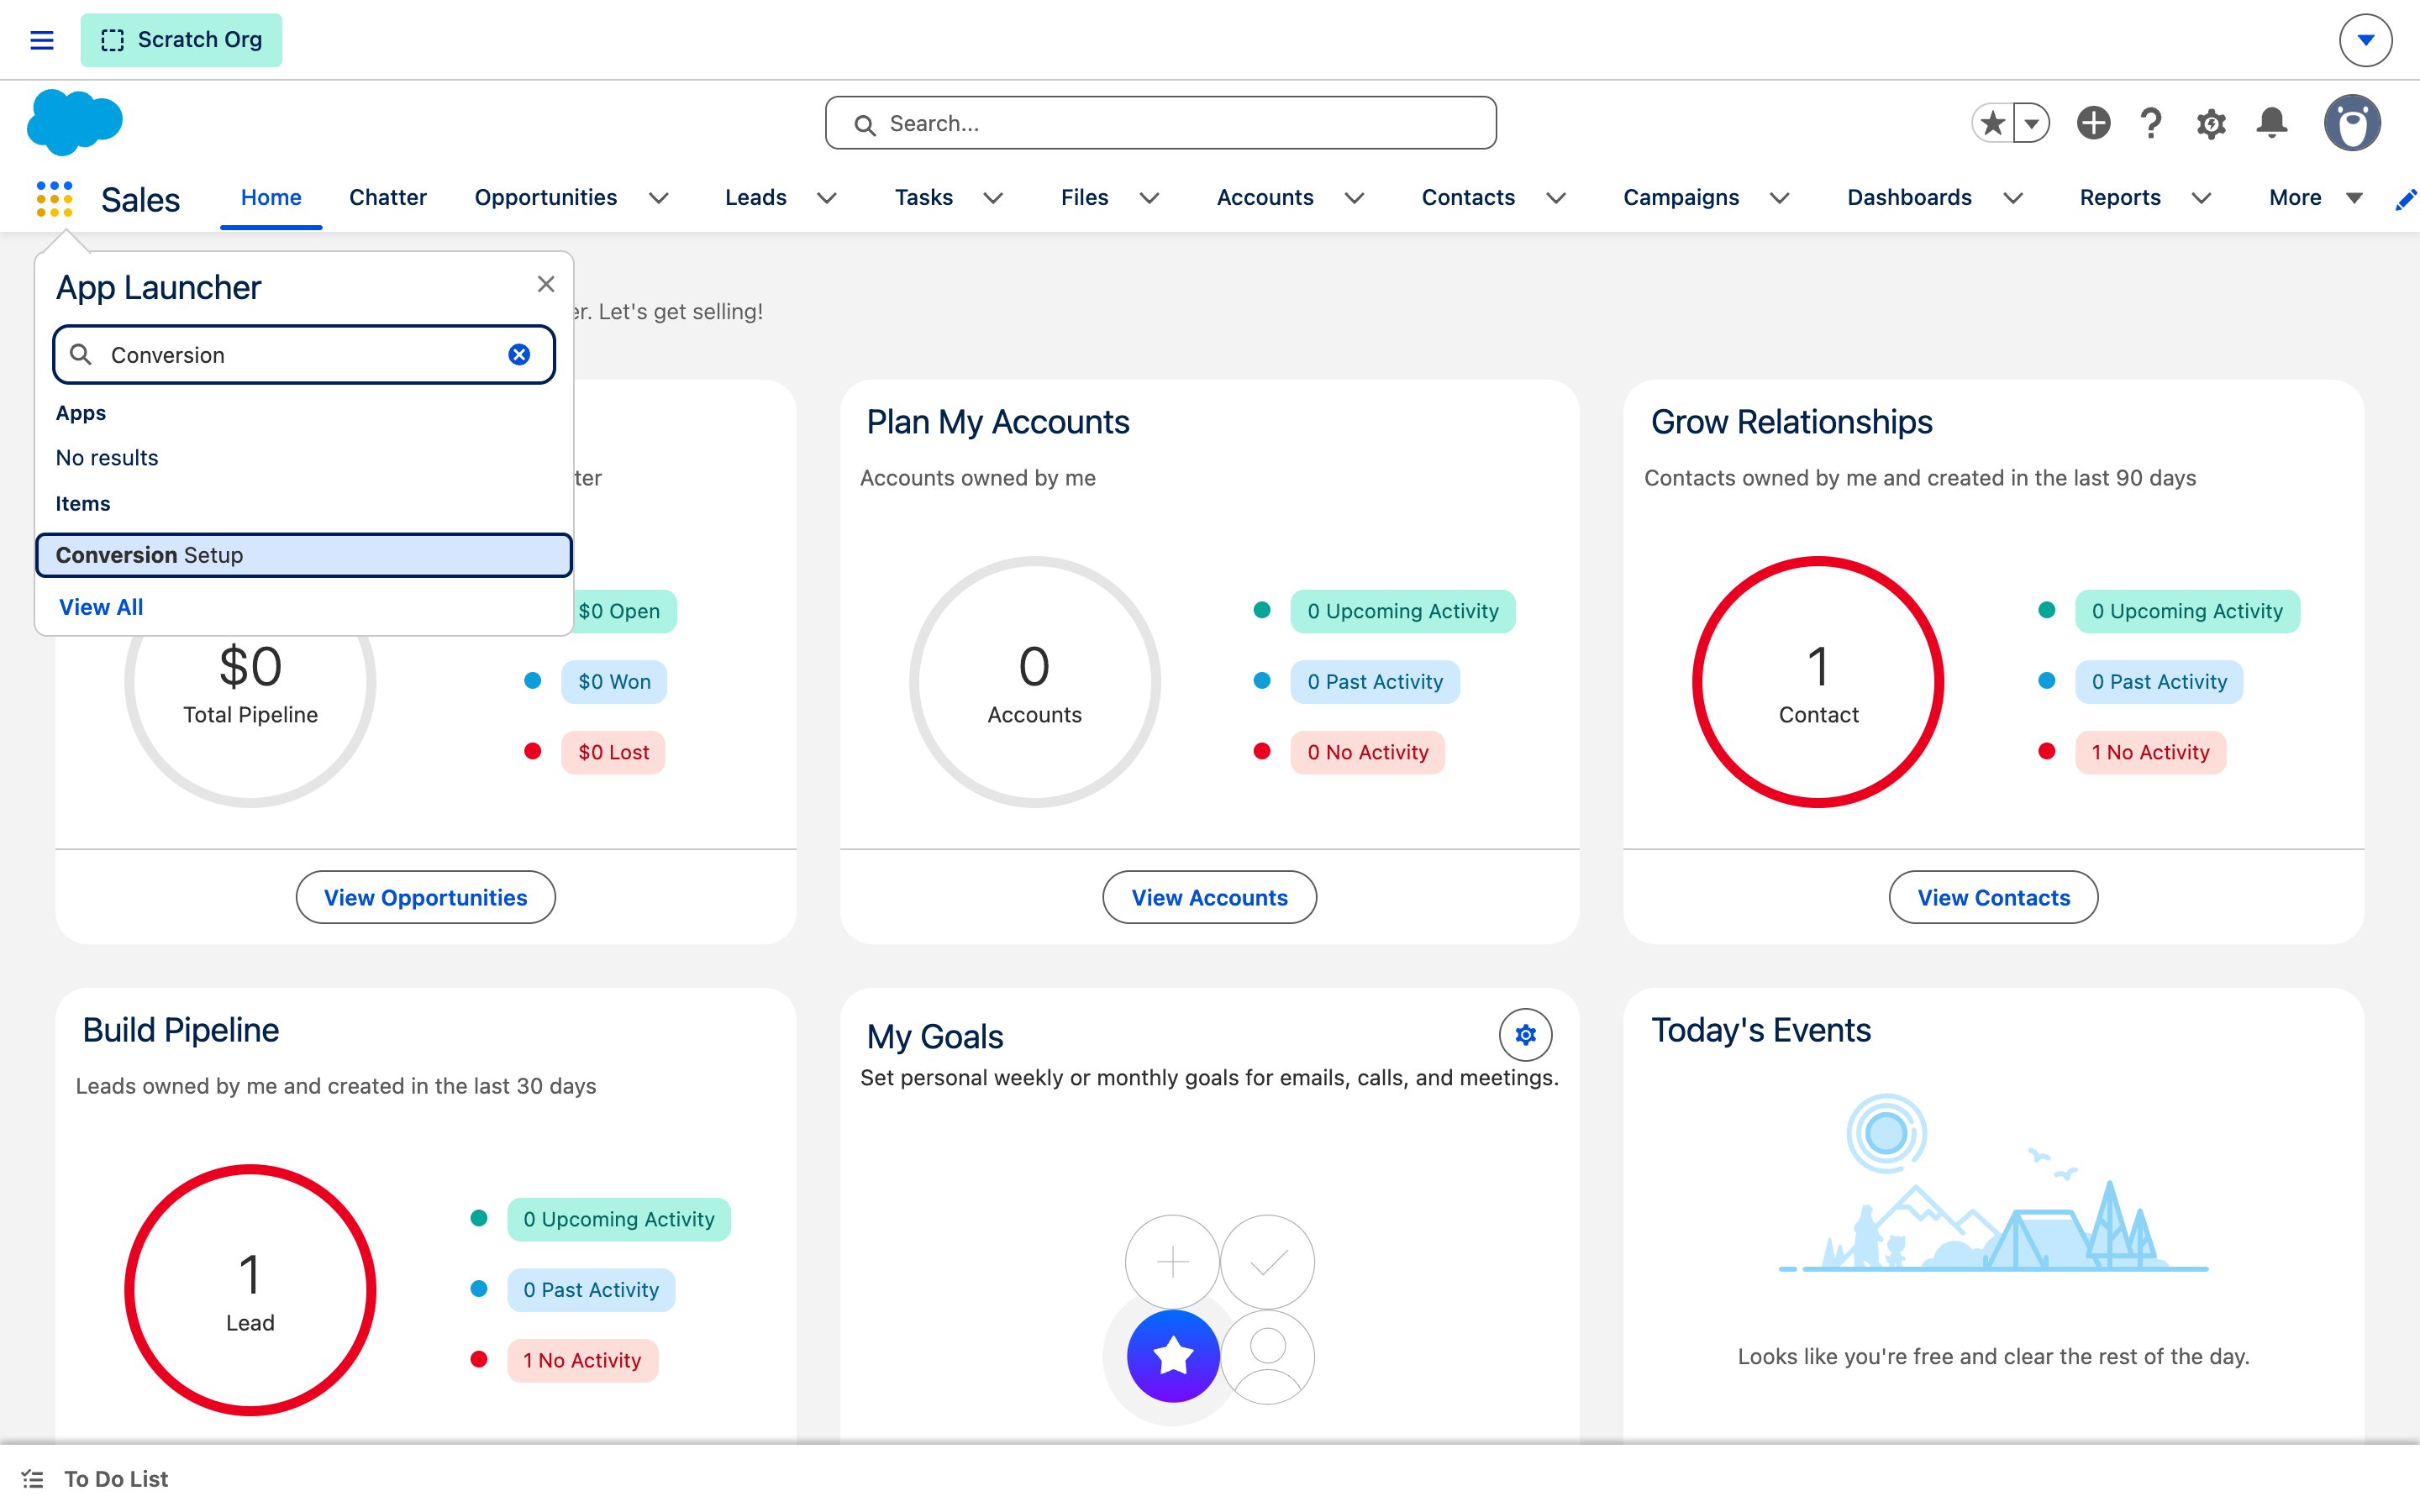
2
Paste the key
Paste the key from Step 3 into Conversion API key and click Save.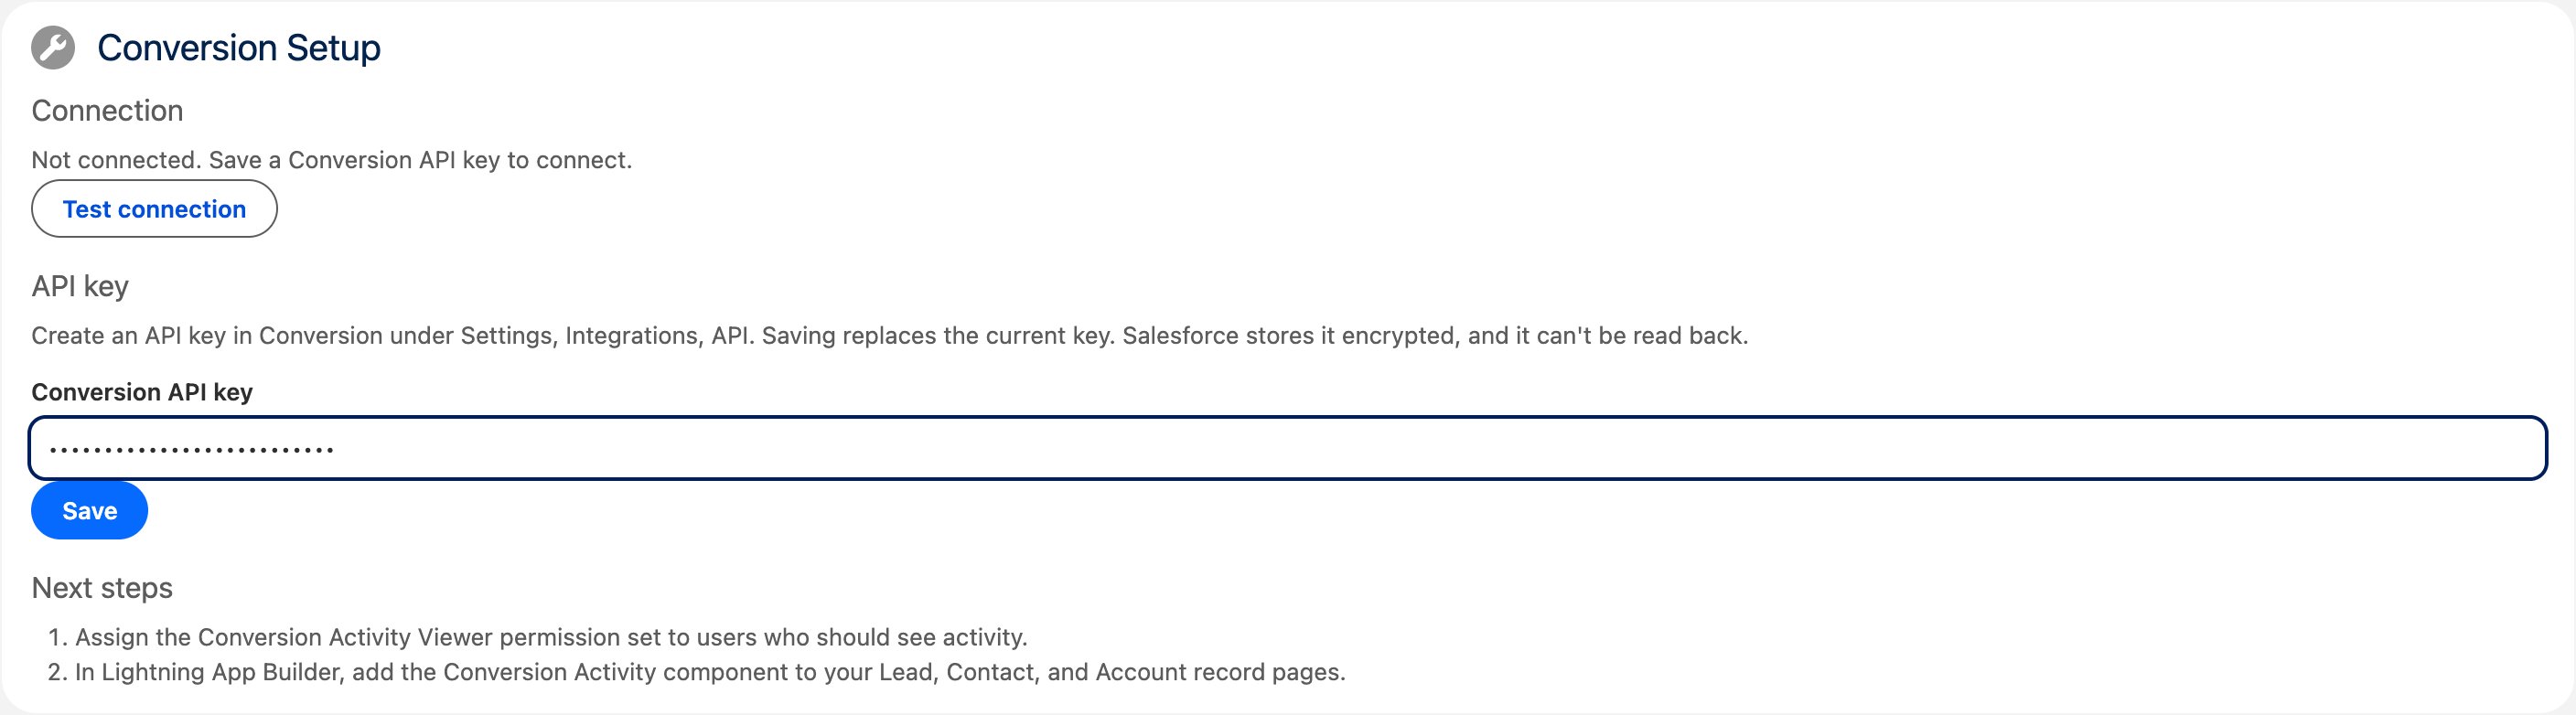
3
Check the connection
Connection shows Connected to the Conversion workspace and your workspace name. Click Test connection to check again later.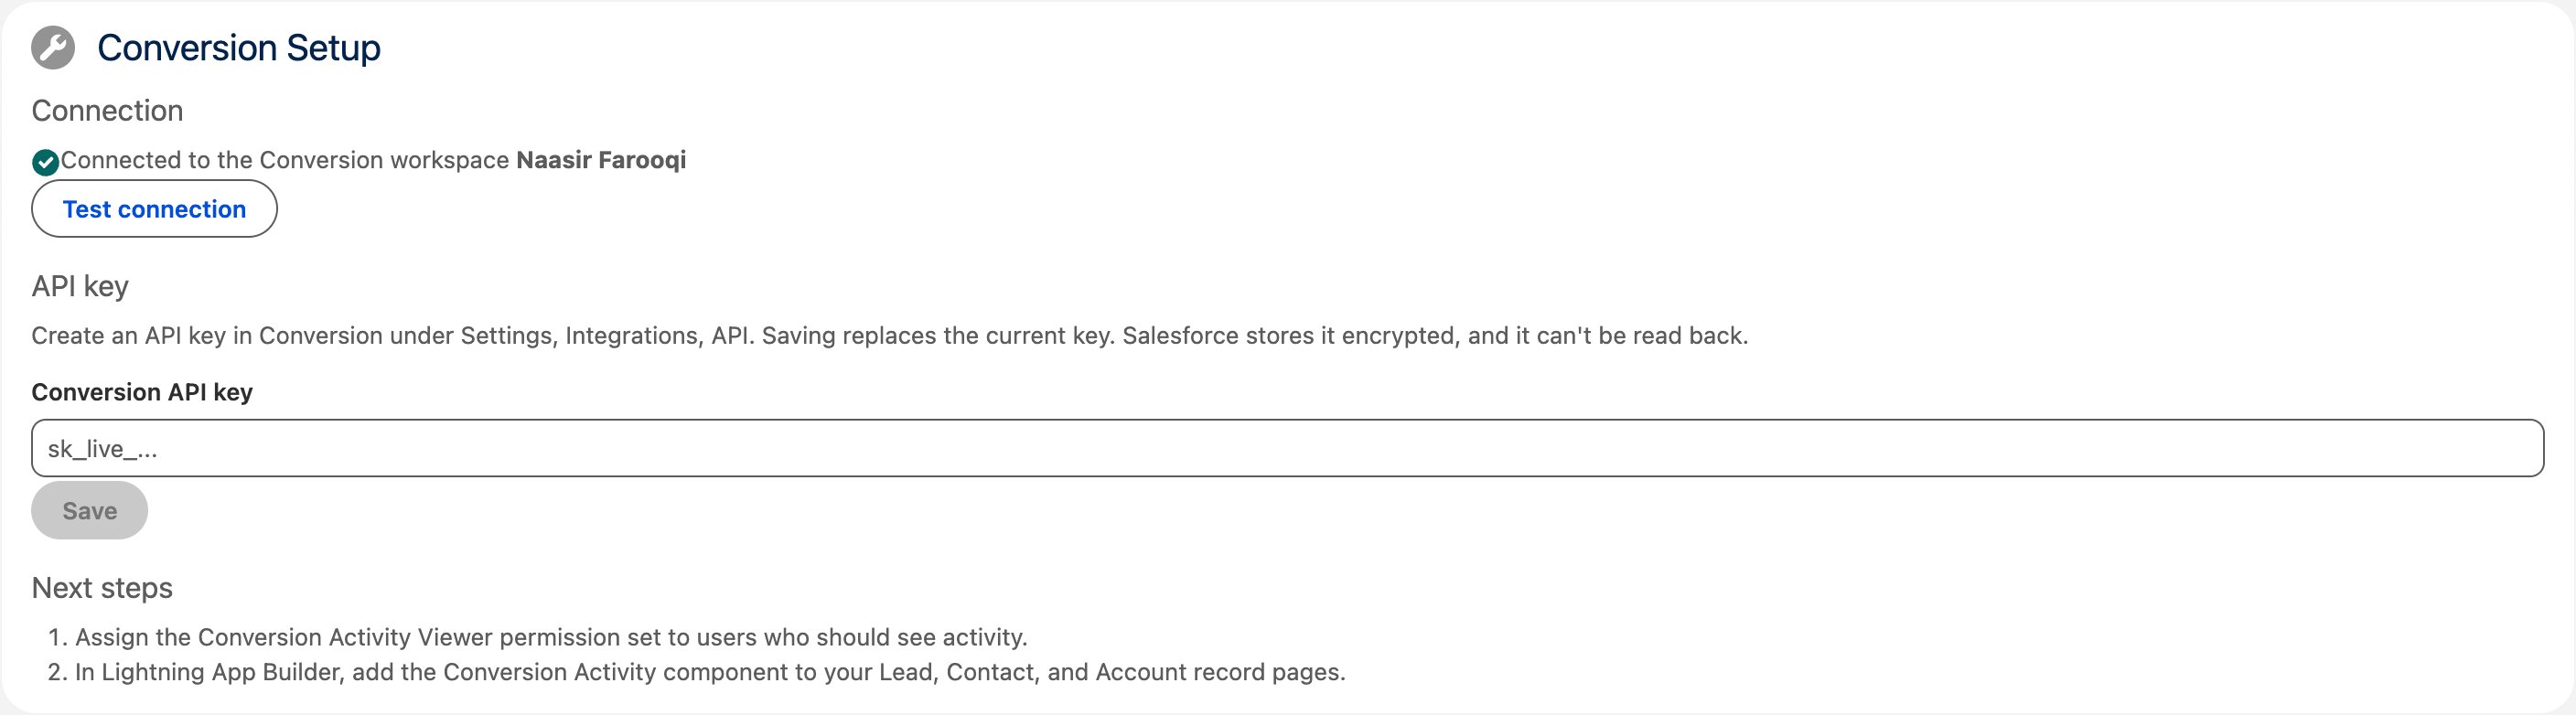
Step 6: Give users access
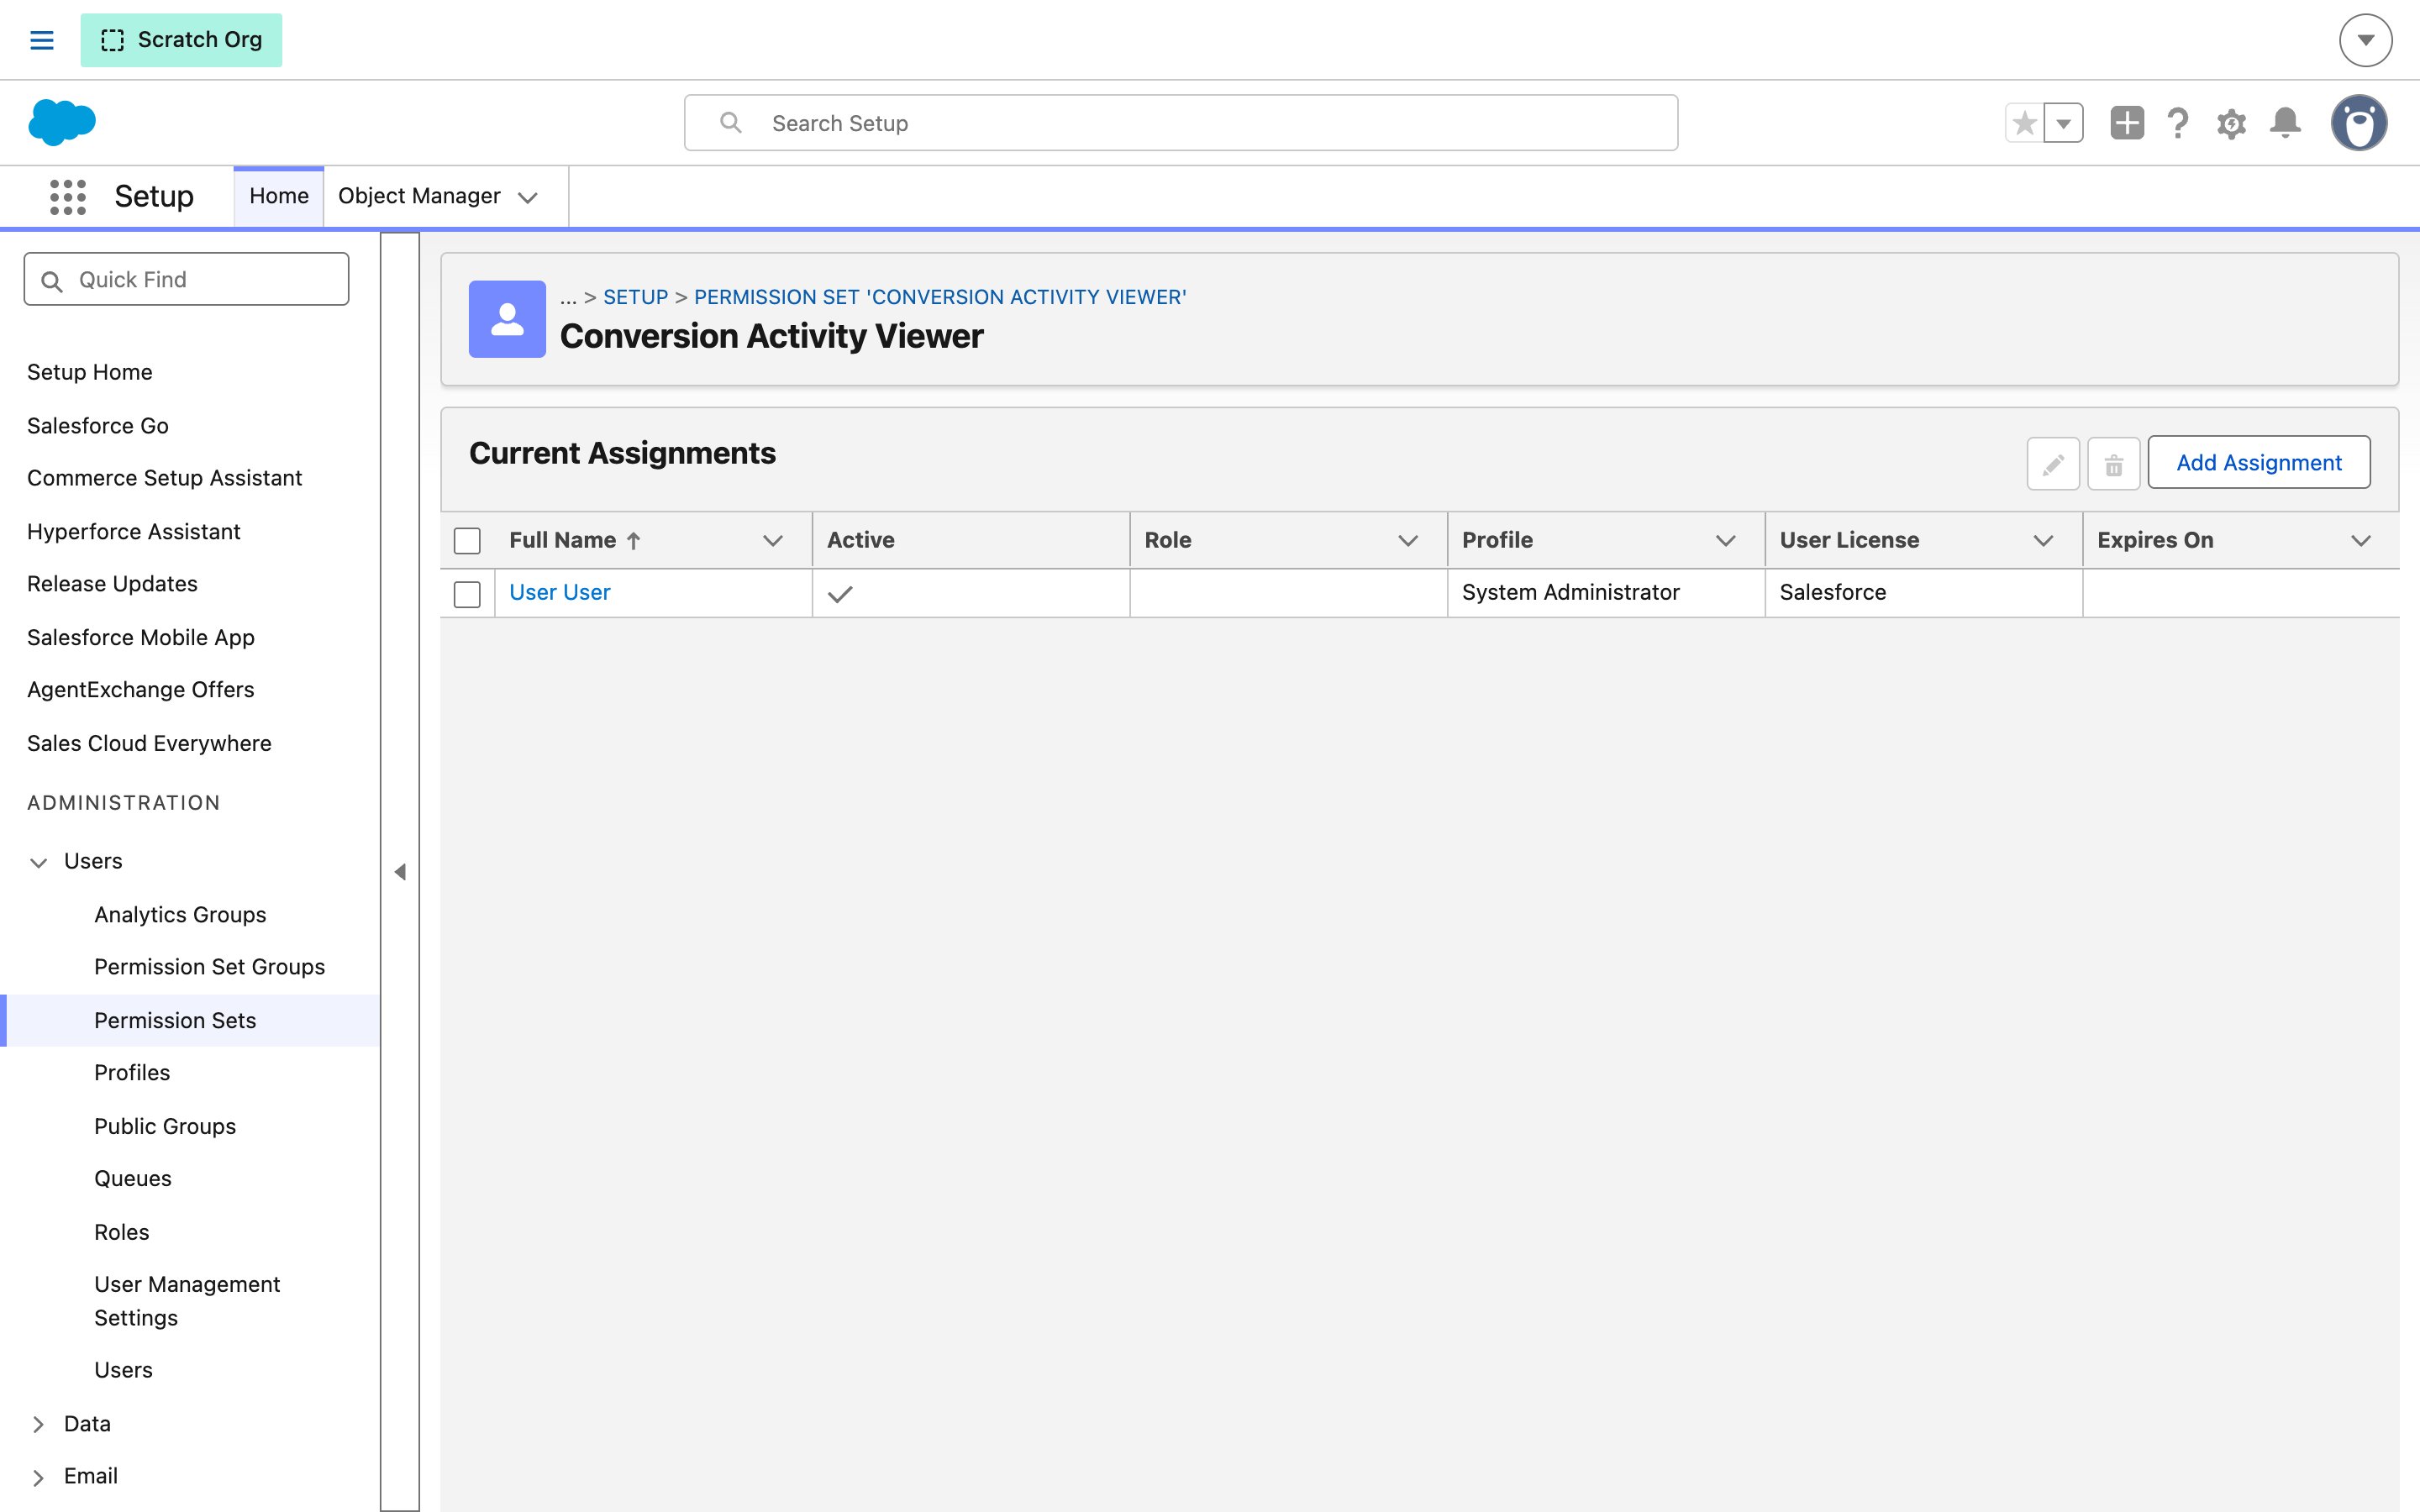
Assign Conversion Activity Viewer to everyone who should see Conversion activity.1
Open Conversion Activity Viewer
In Setup → Permission Sets, click Conversion Activity Viewer, then Manage Assignments.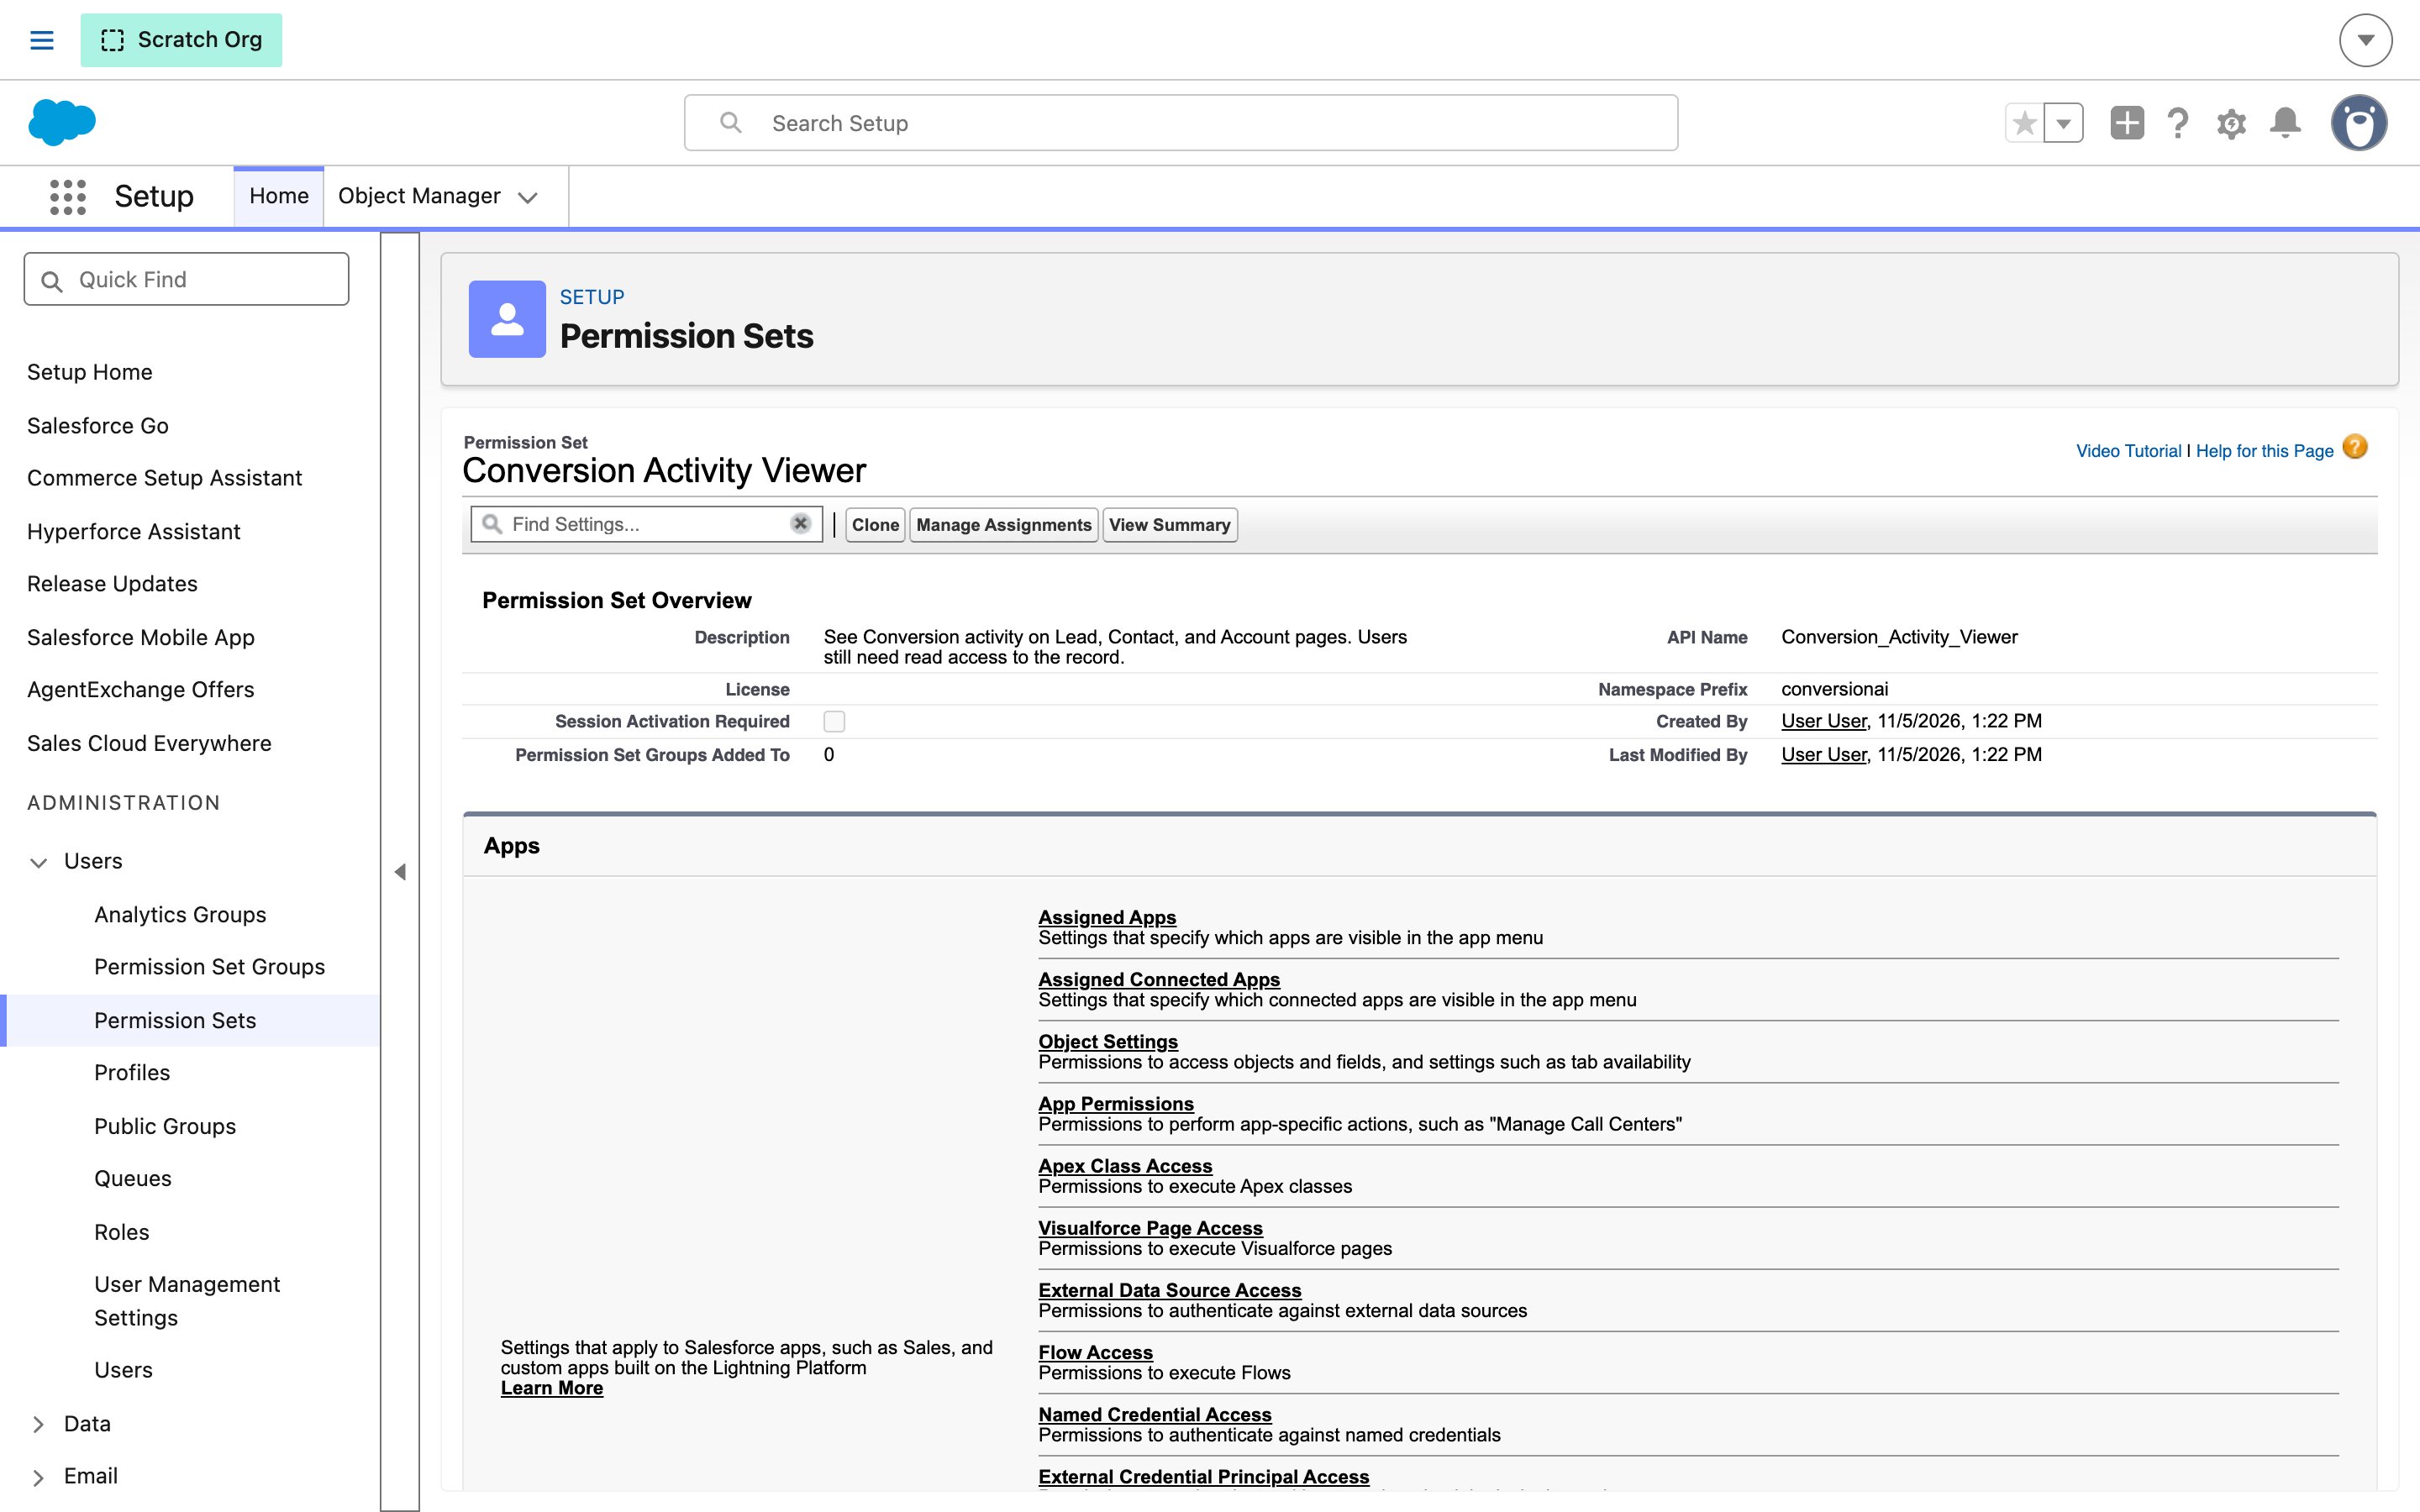
2
Add assignments
Click Add Assignment.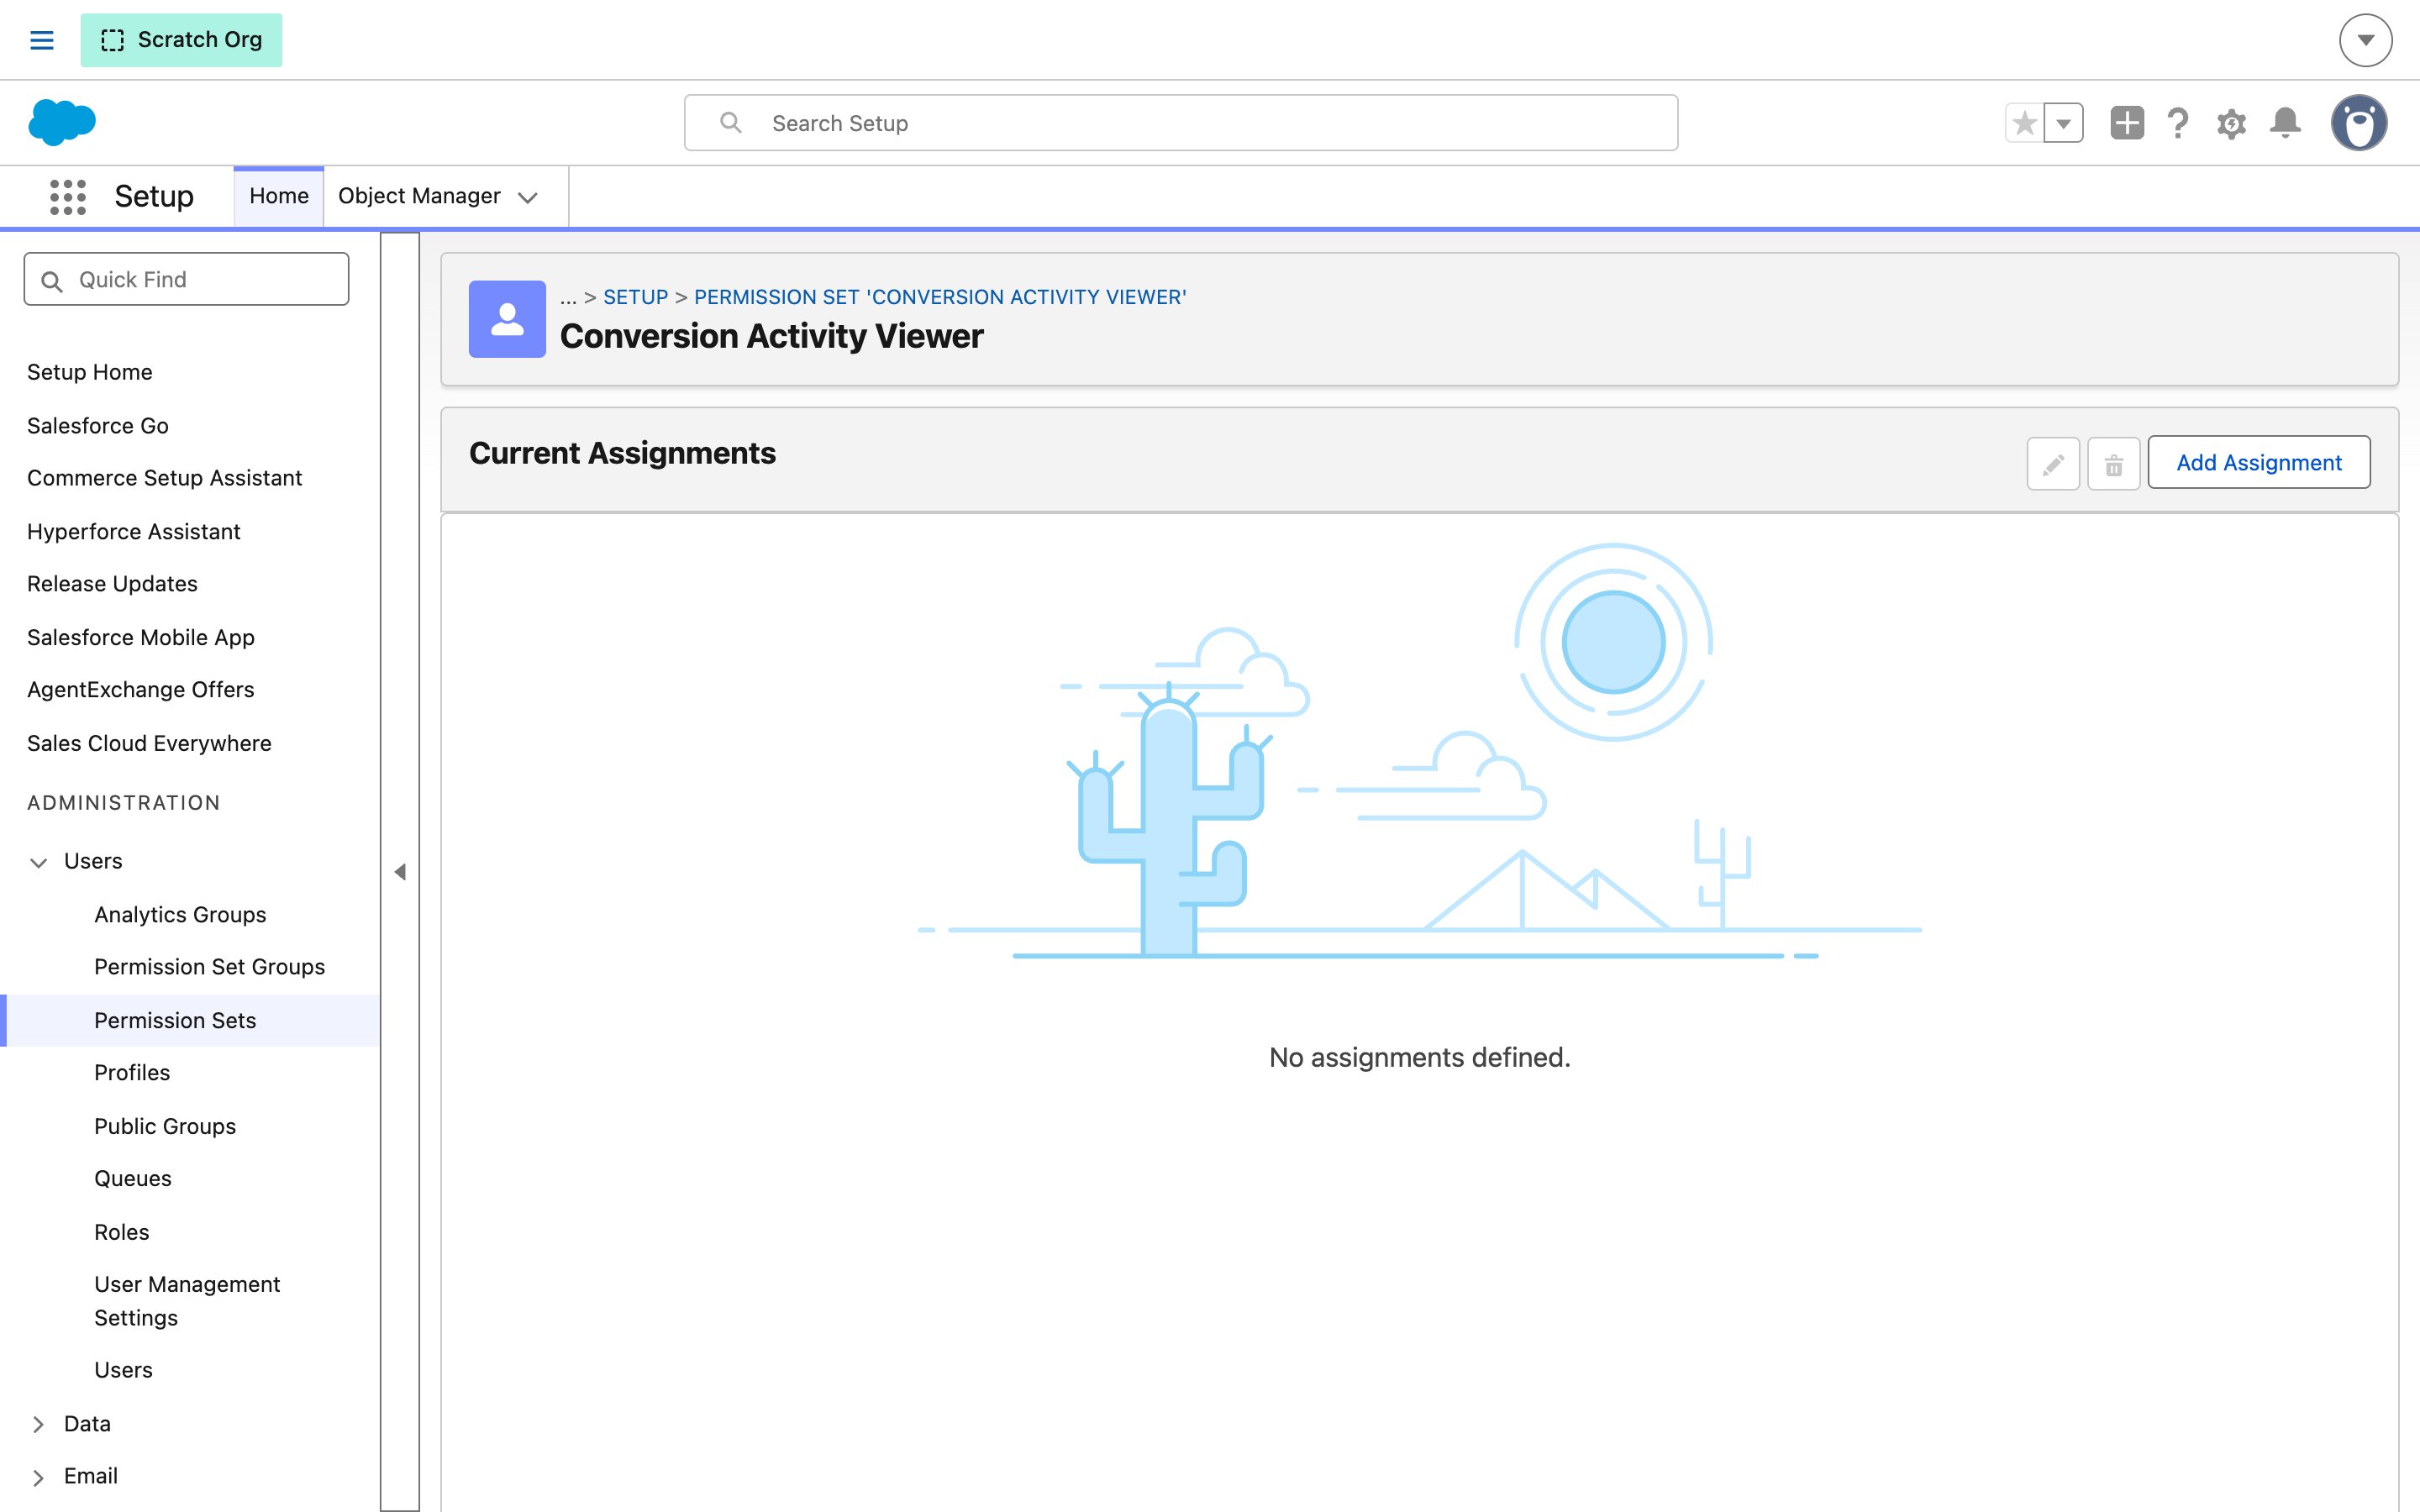
3
Select users
Choose a list view, such as All Users. Check the box next to each user and click Next.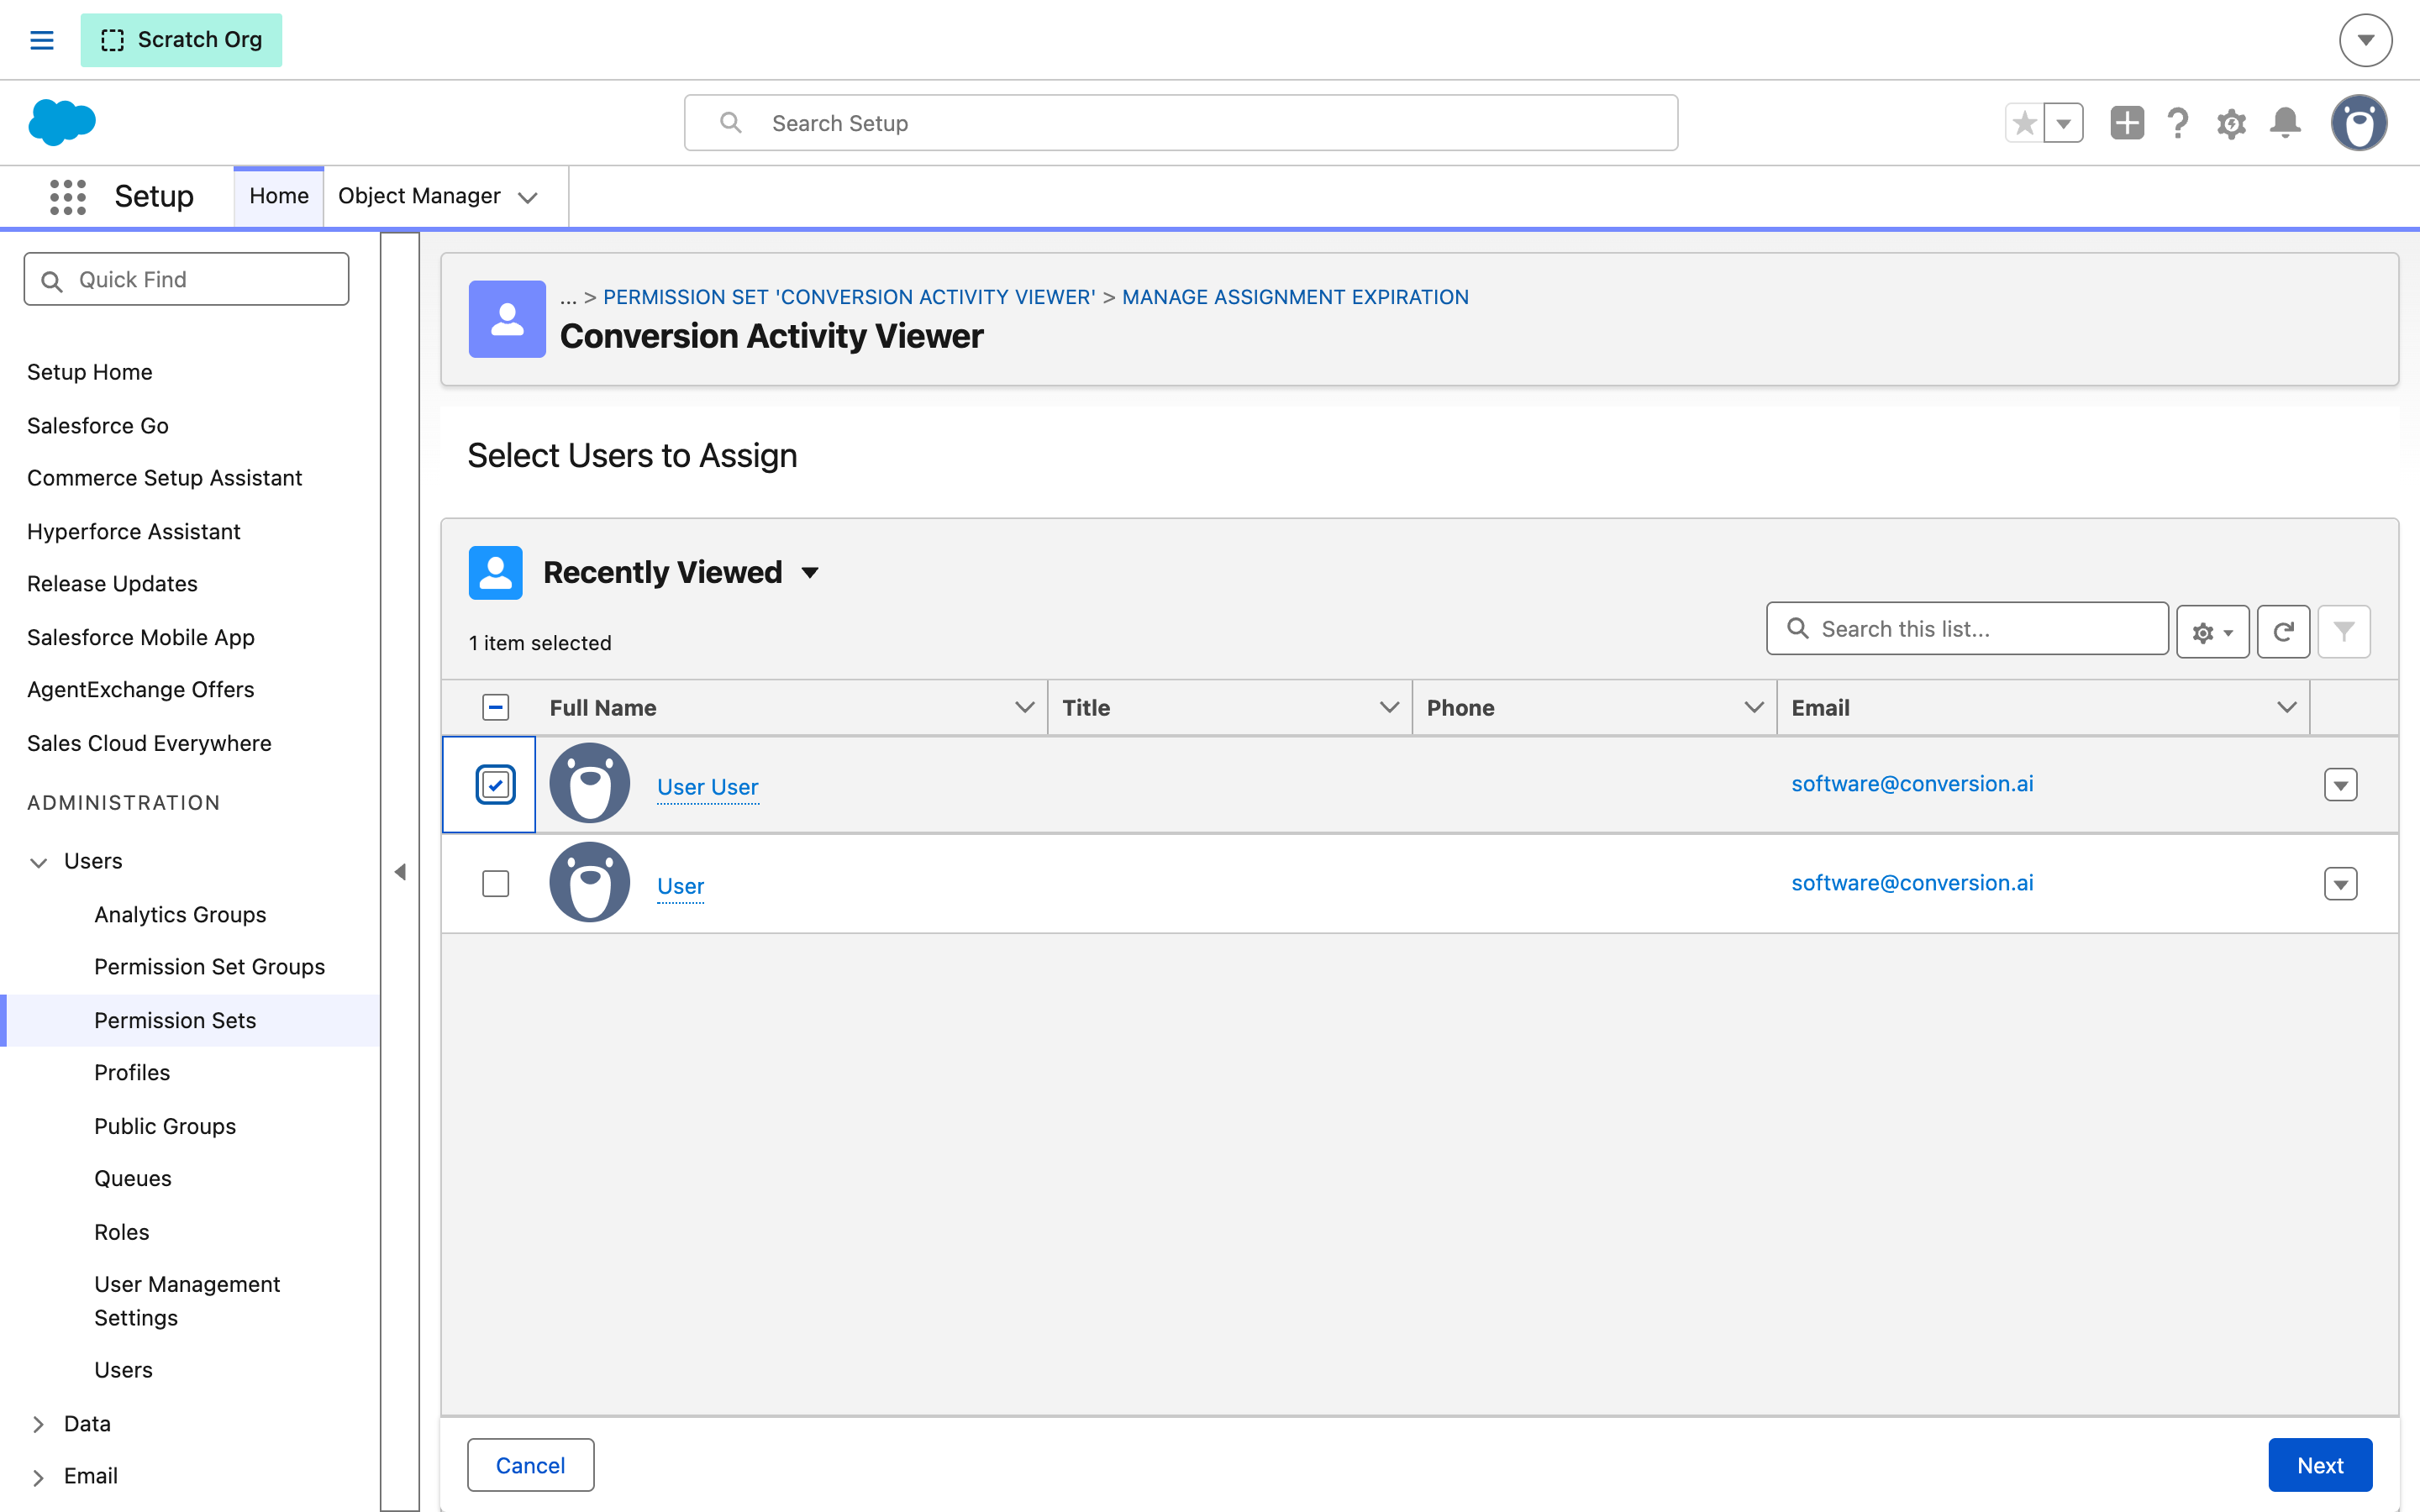
4
Assign
Leave No expiration date selected and click Assign.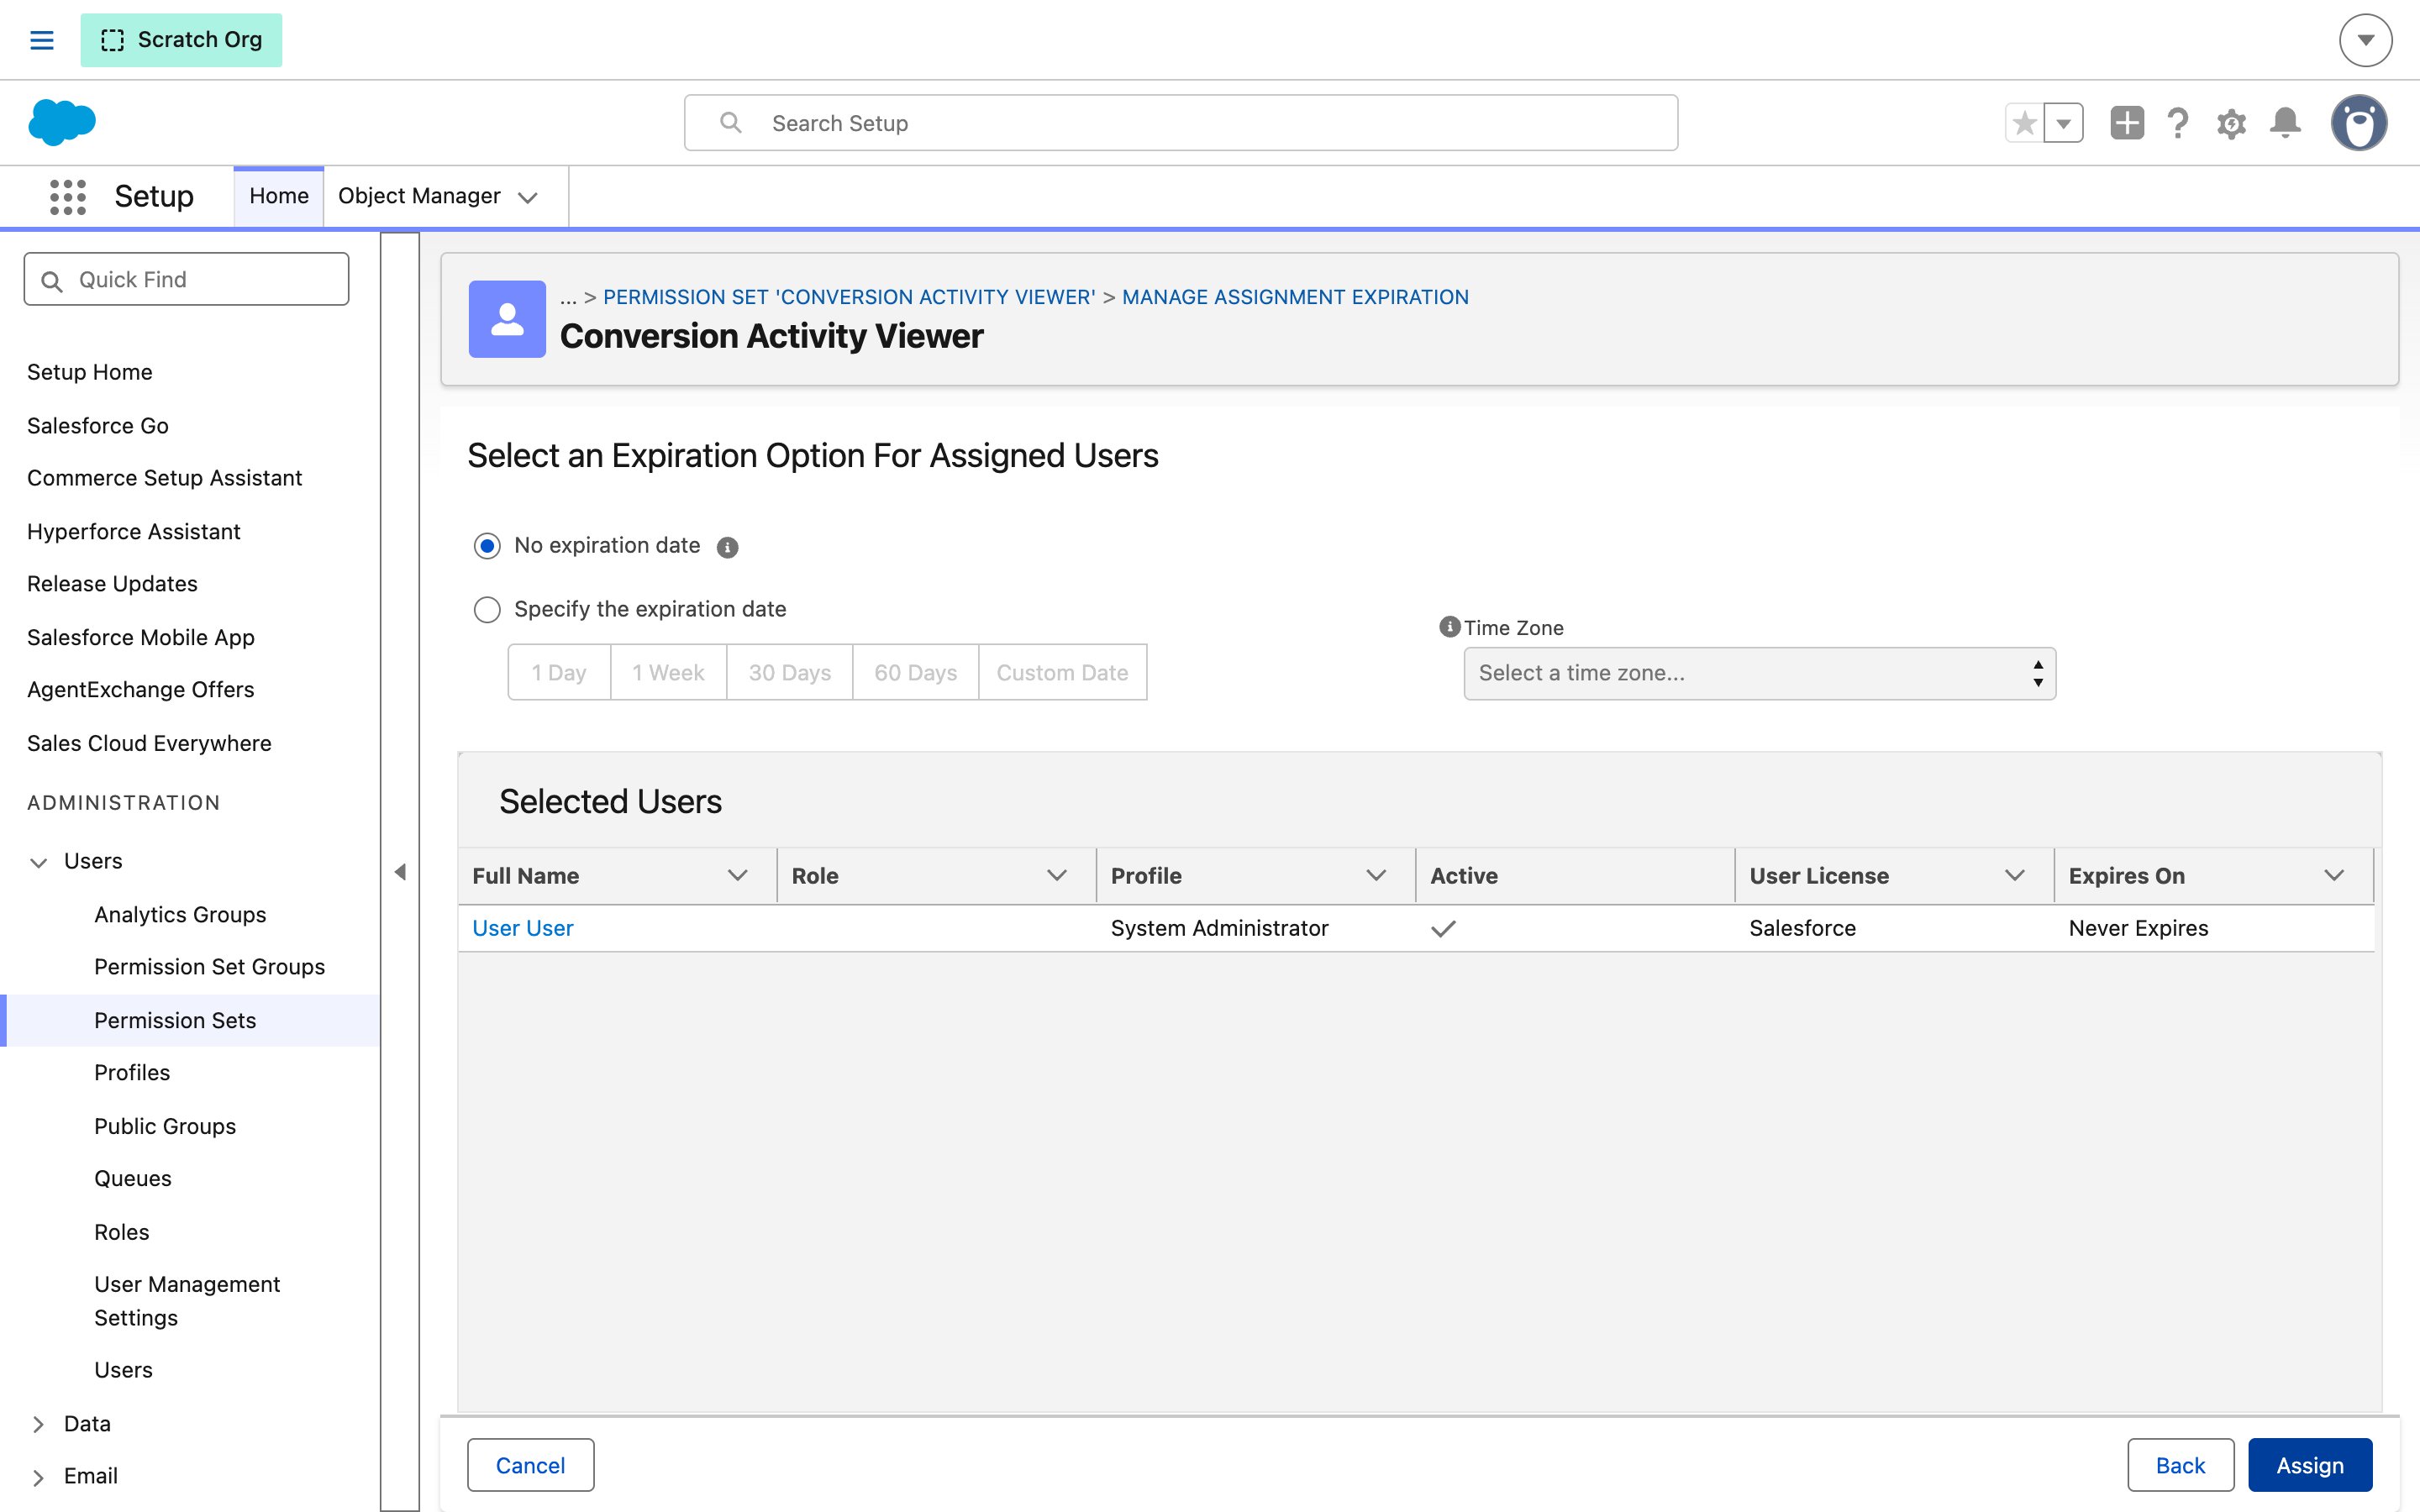
5
Finish
Salesforce confirms the assignments. Click Done.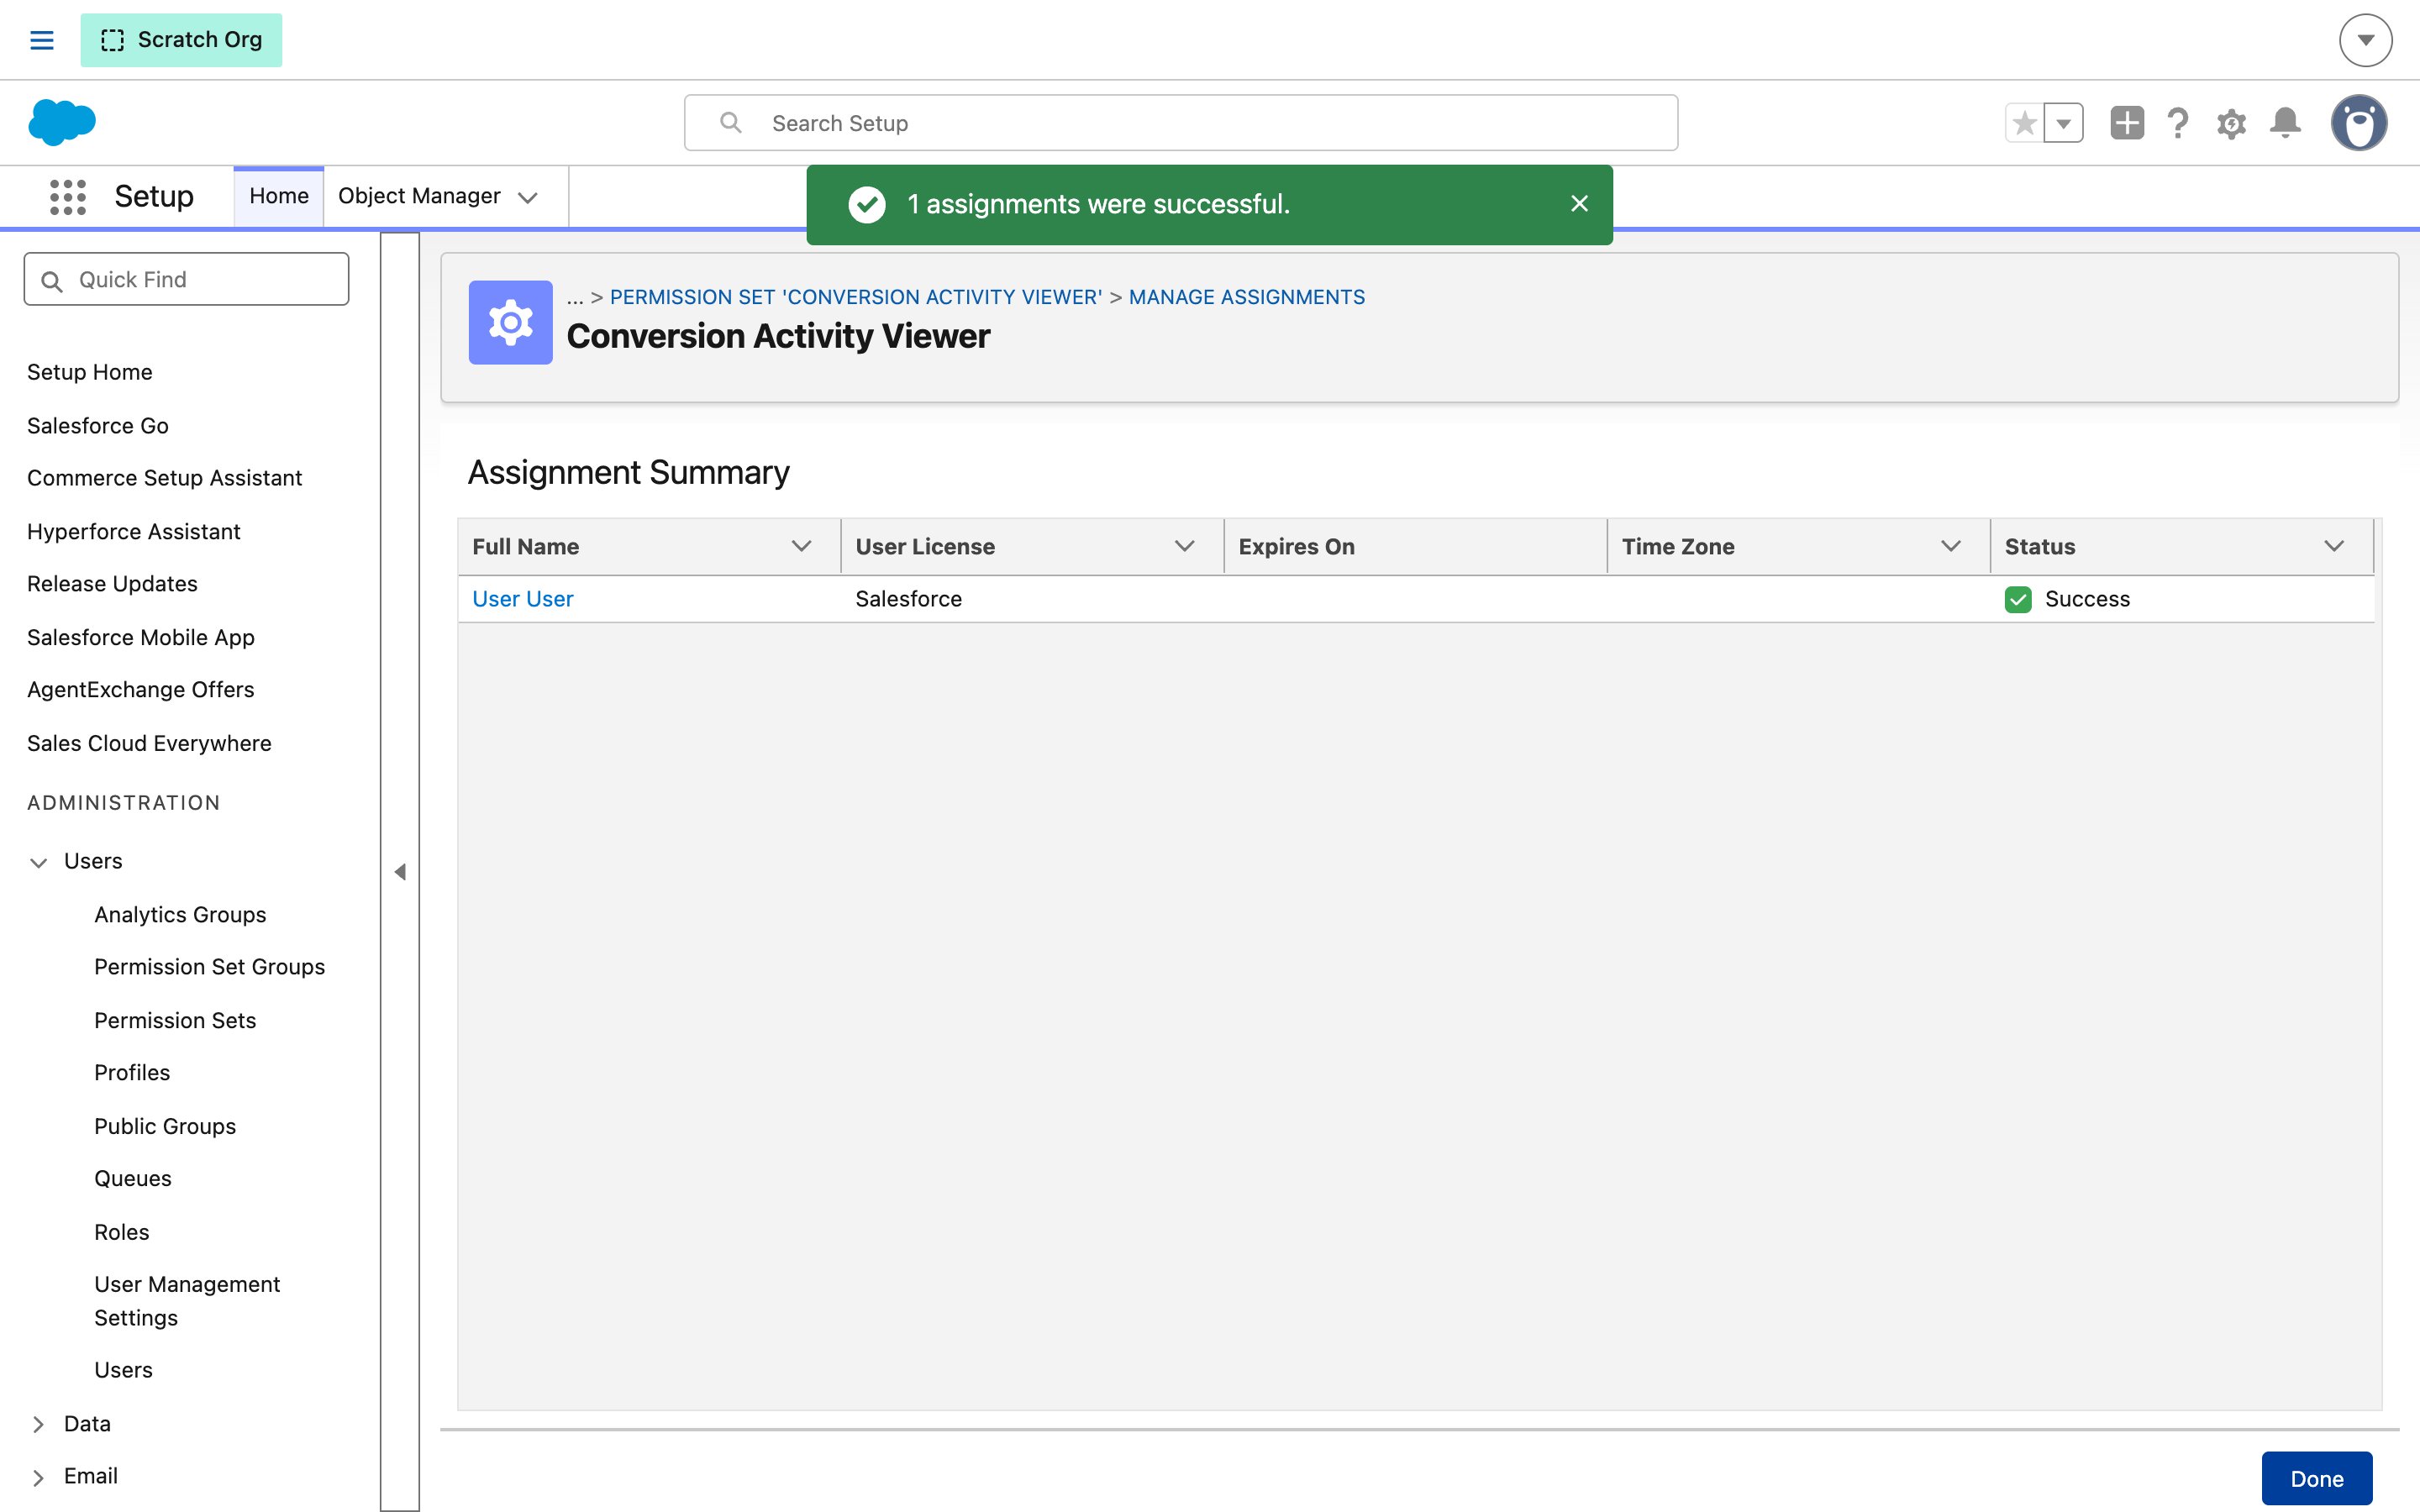
Step 7: Add the component to your record pages
Do this once each for a Lead, a Contact, and an Account.1
Open a record
Open any Lead.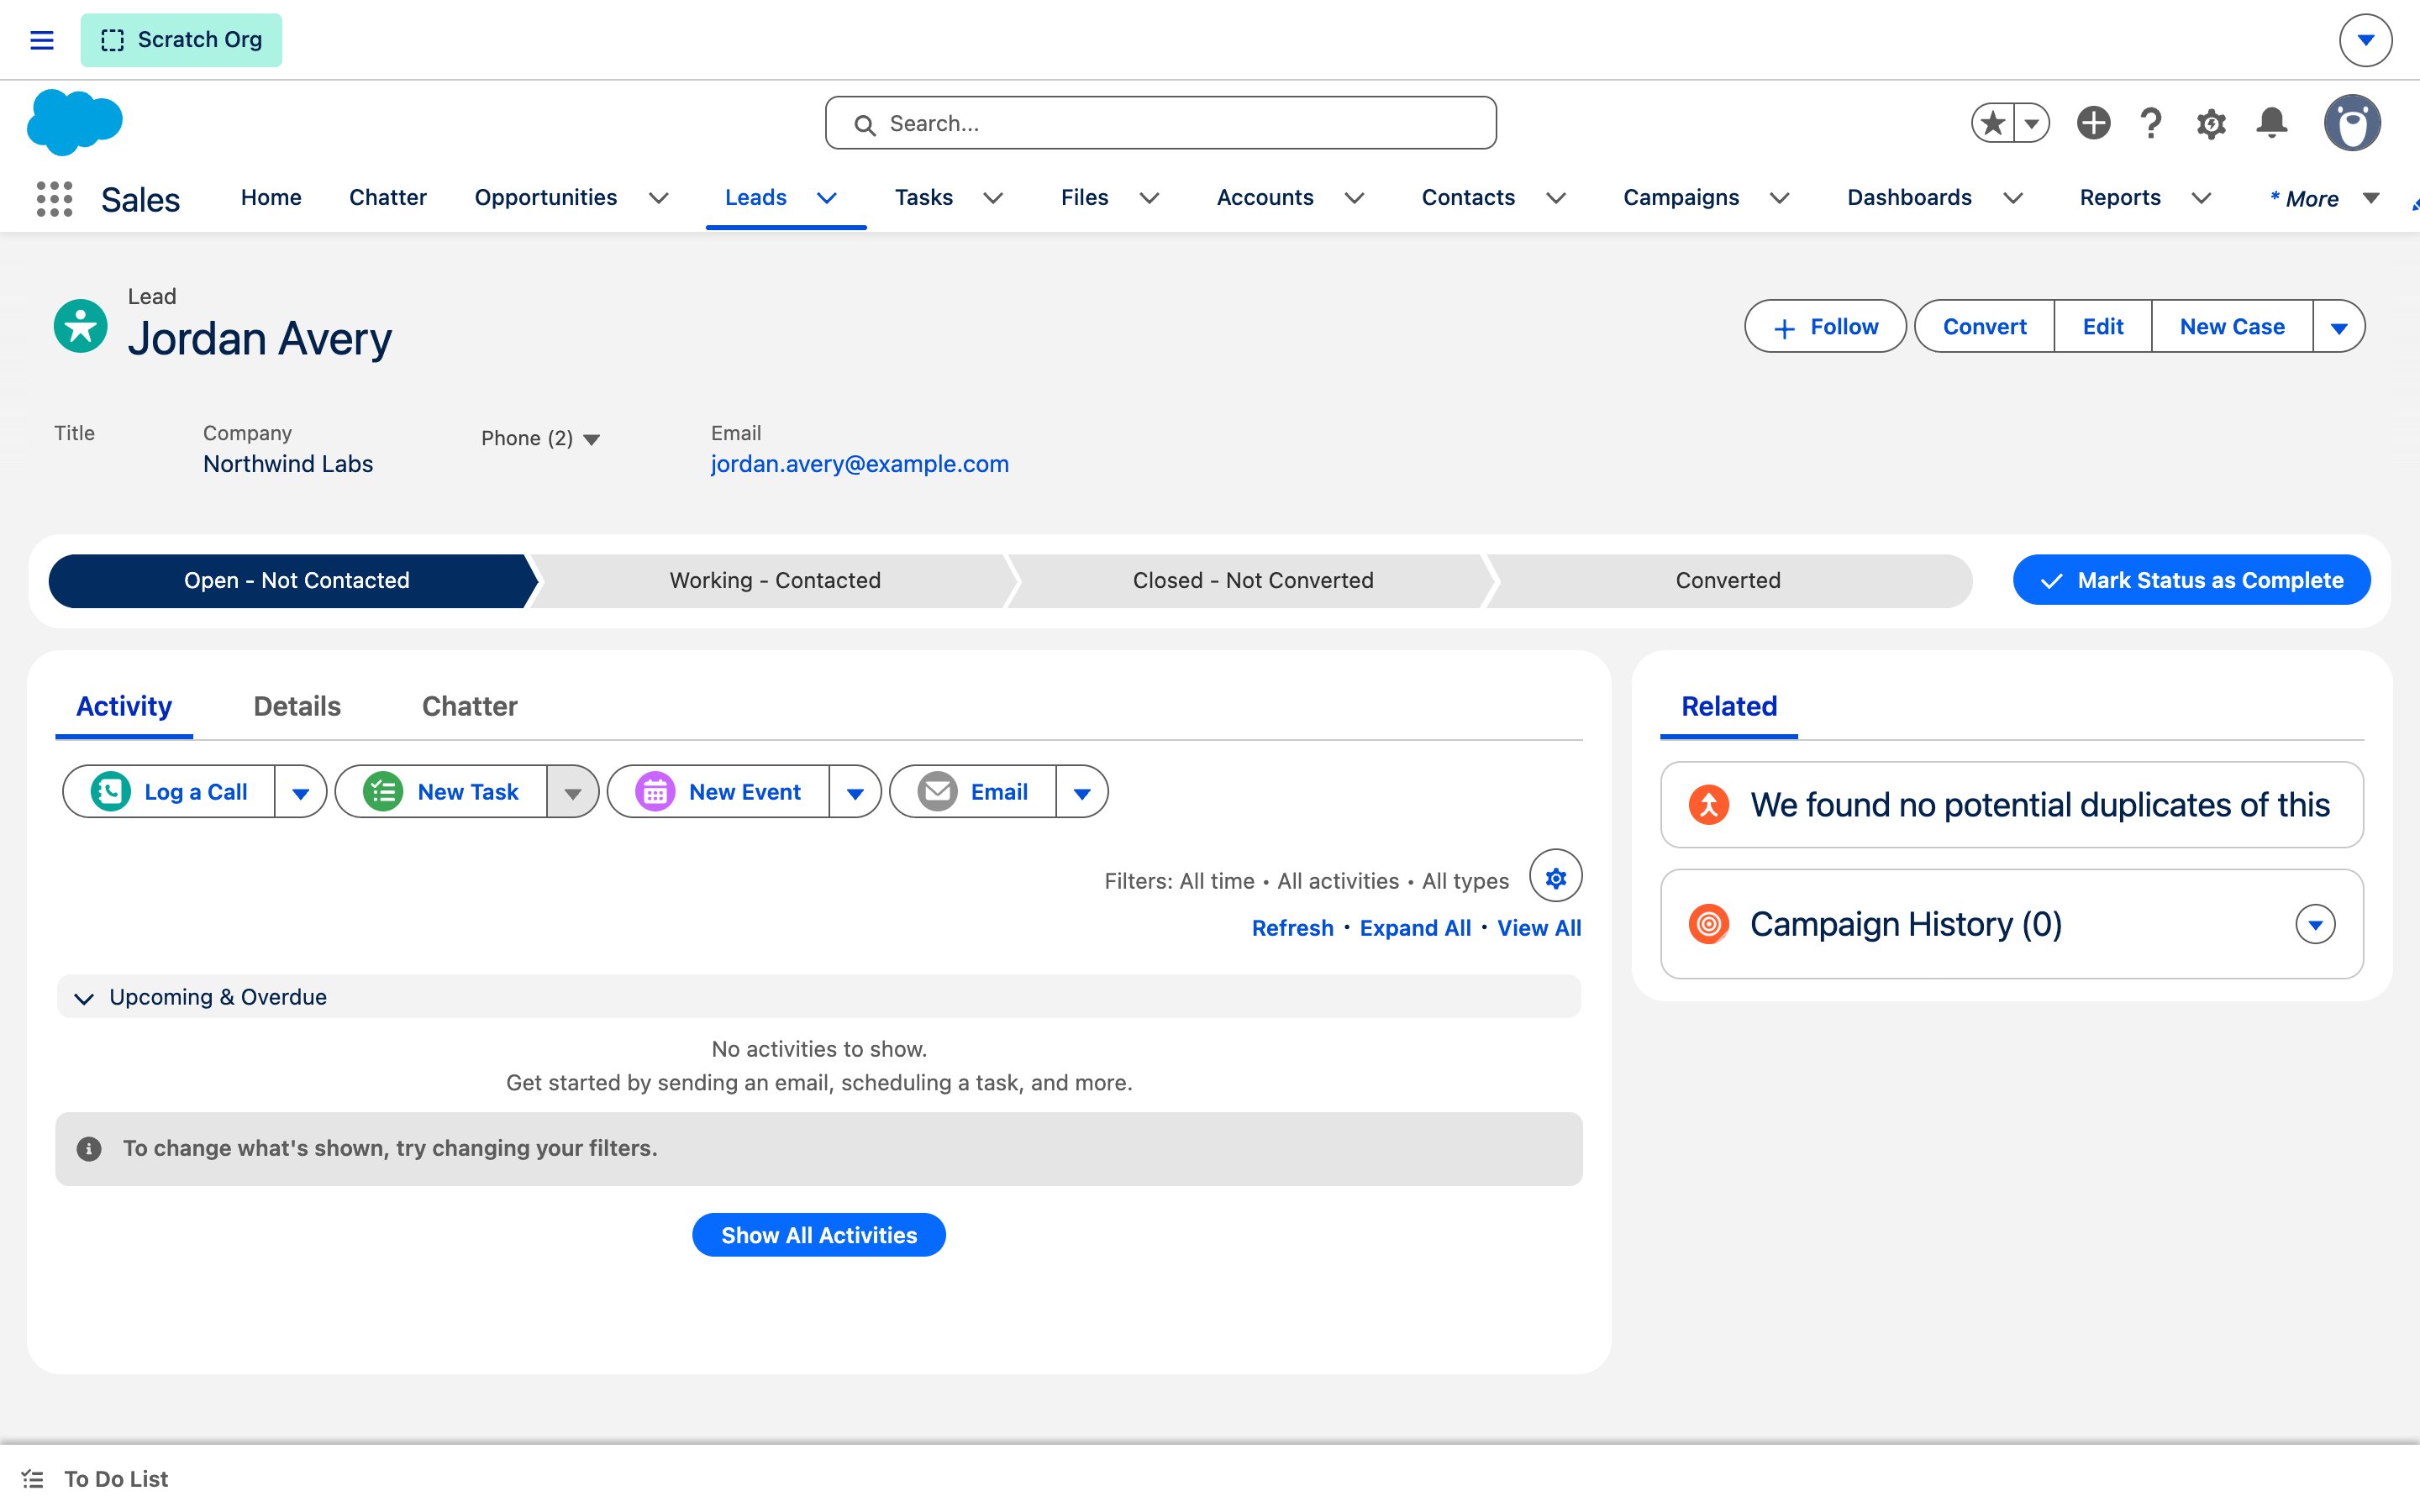
2
Edit the page
Click the gear icon → Edit Page. Lightning App Builder opens.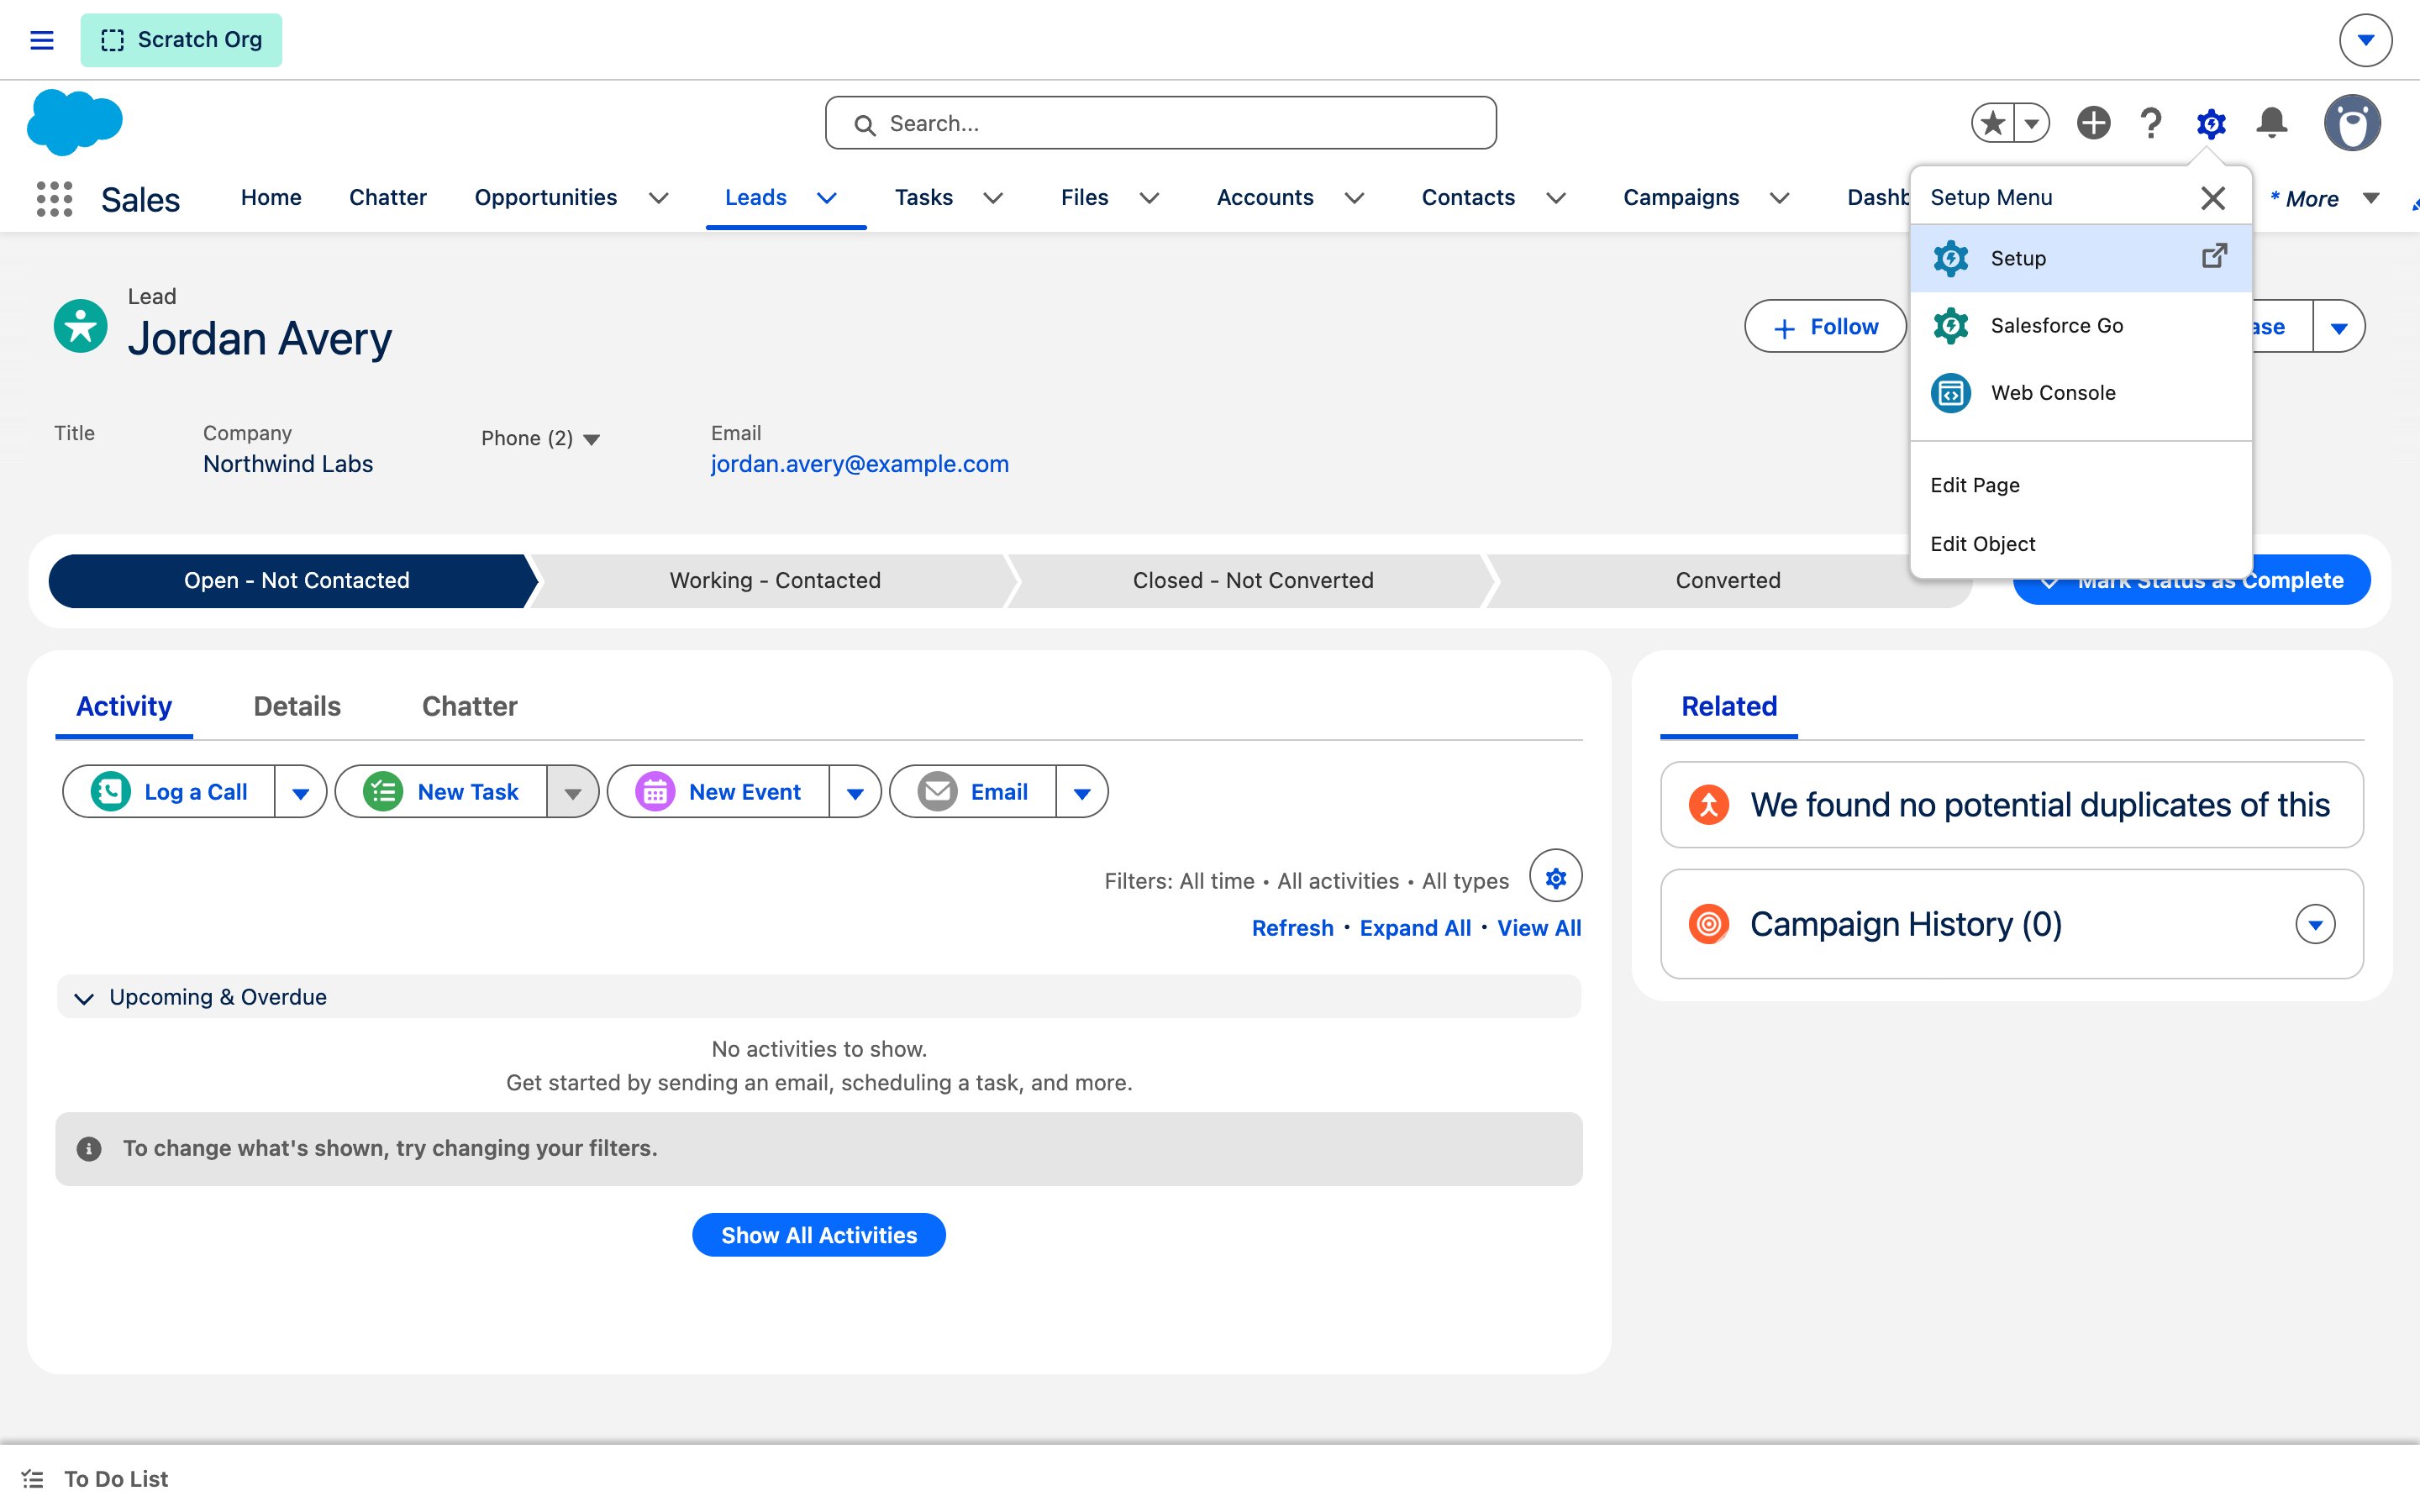
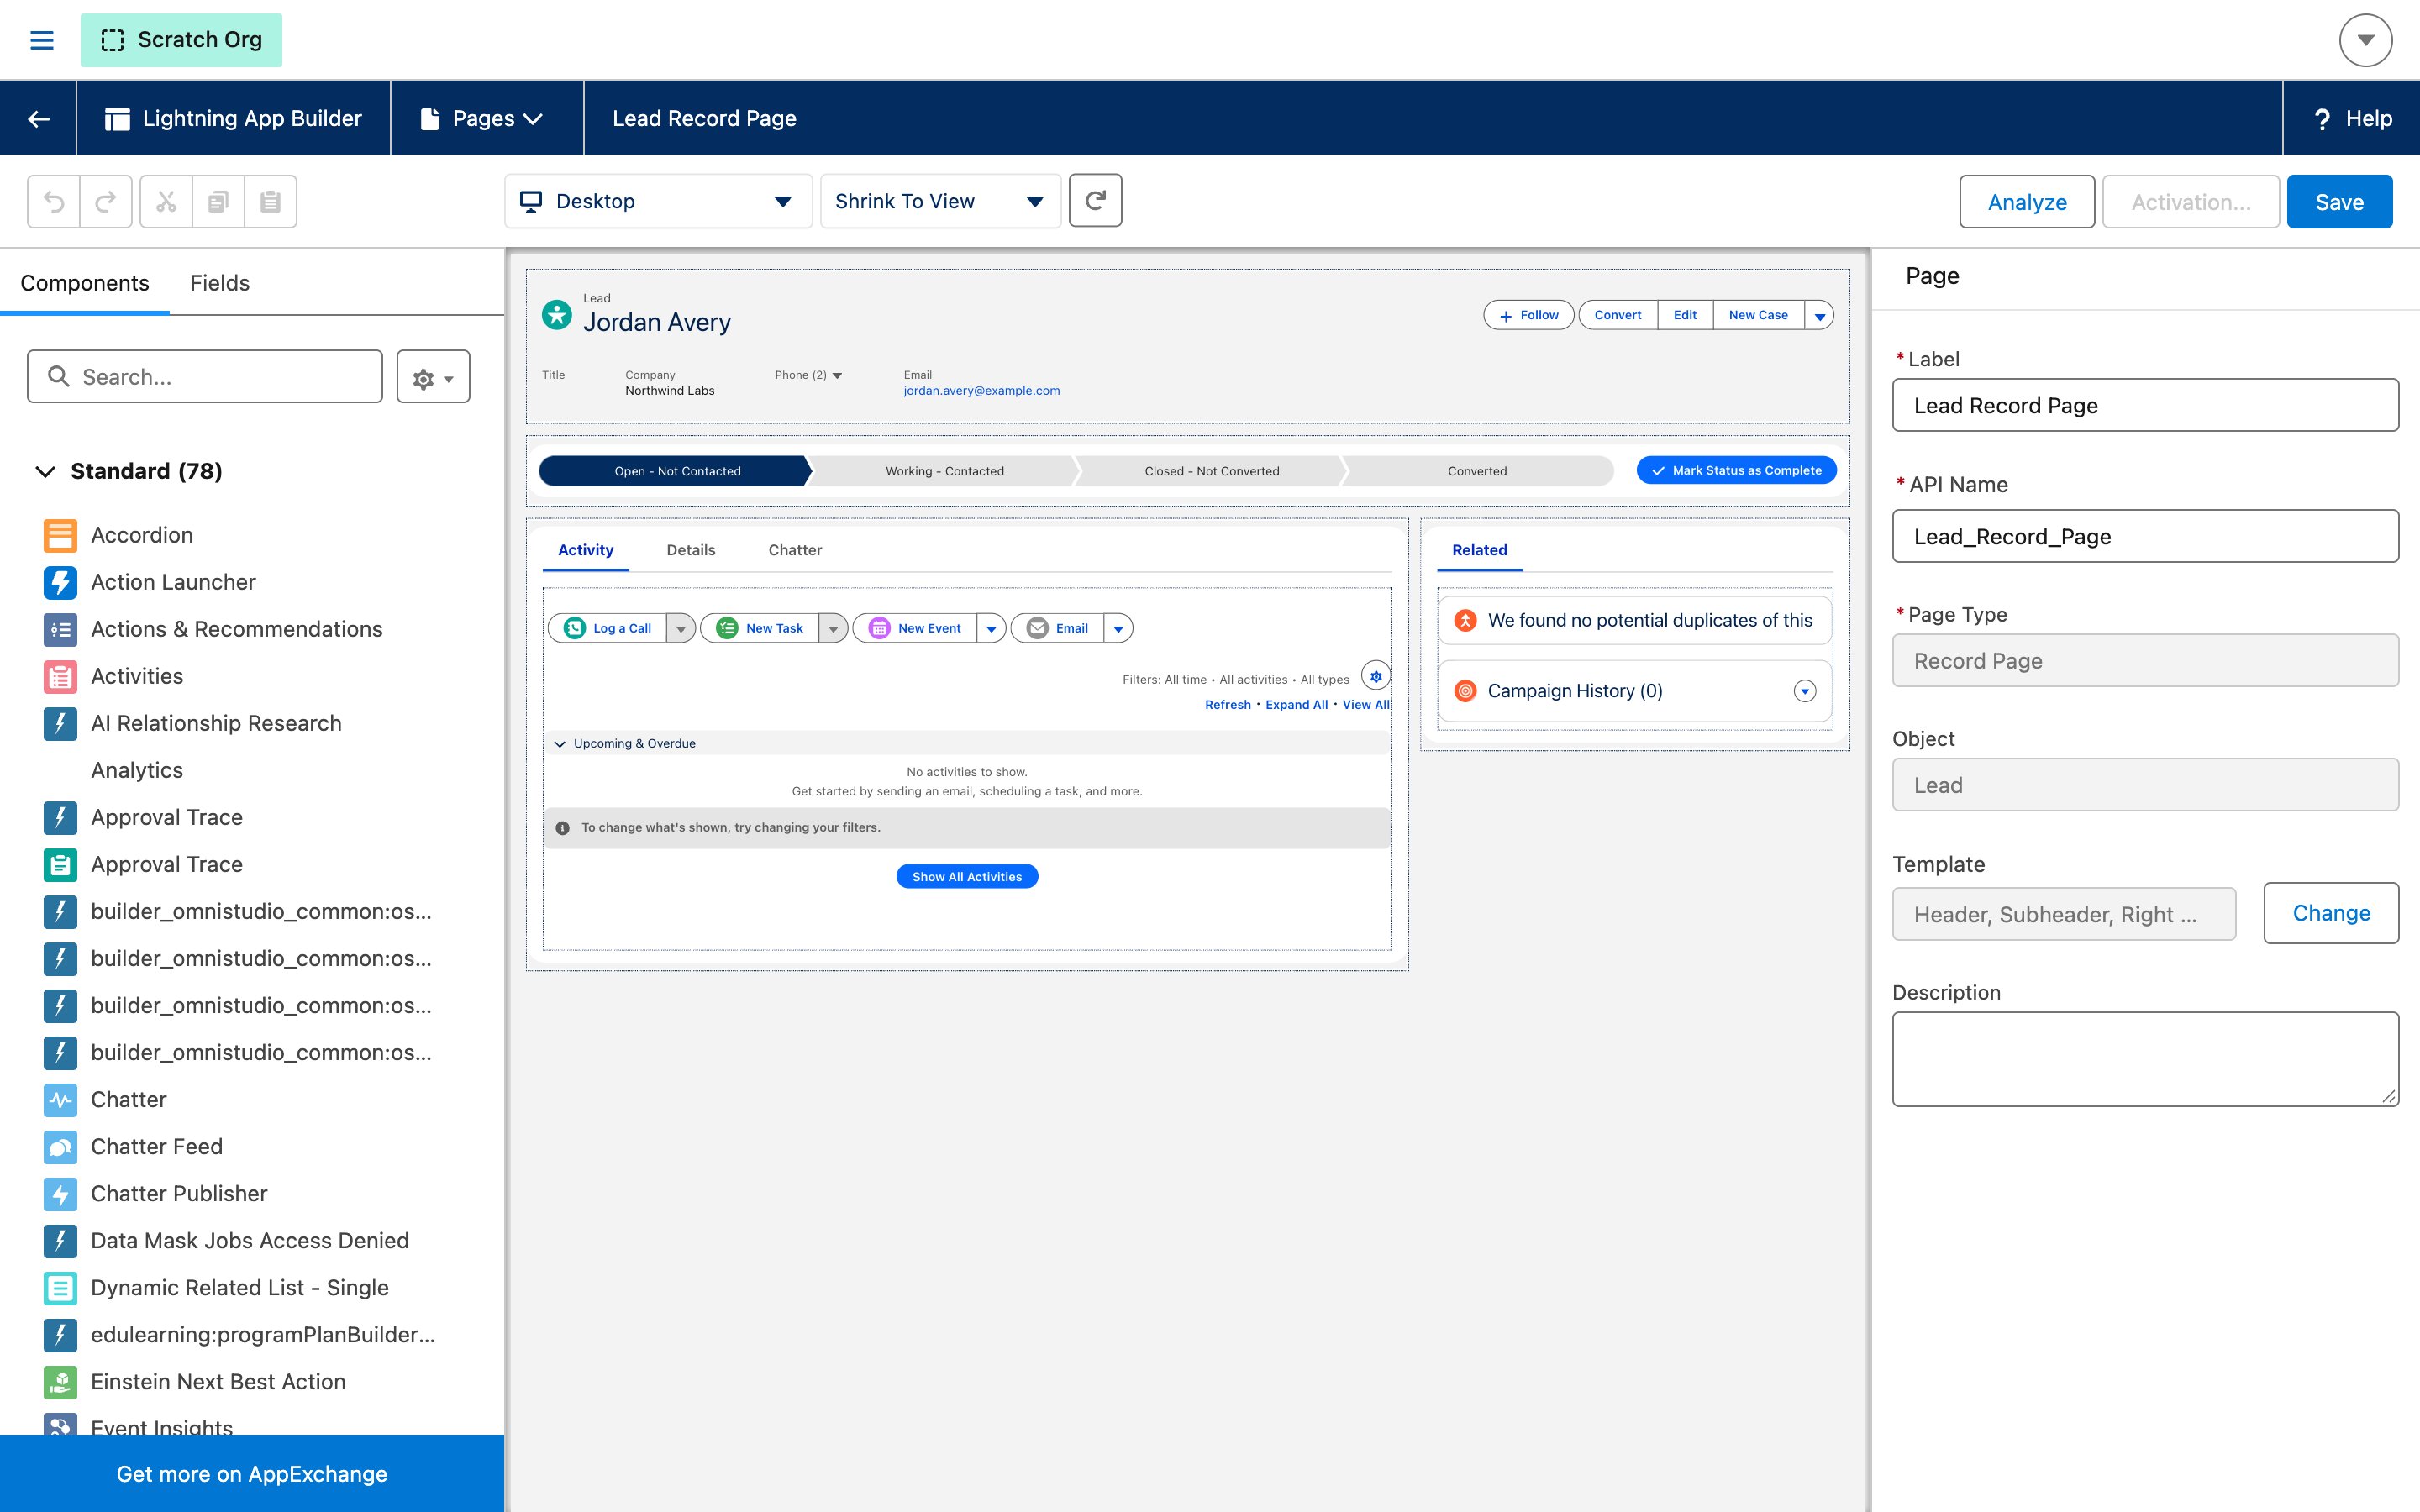
3
Find the component
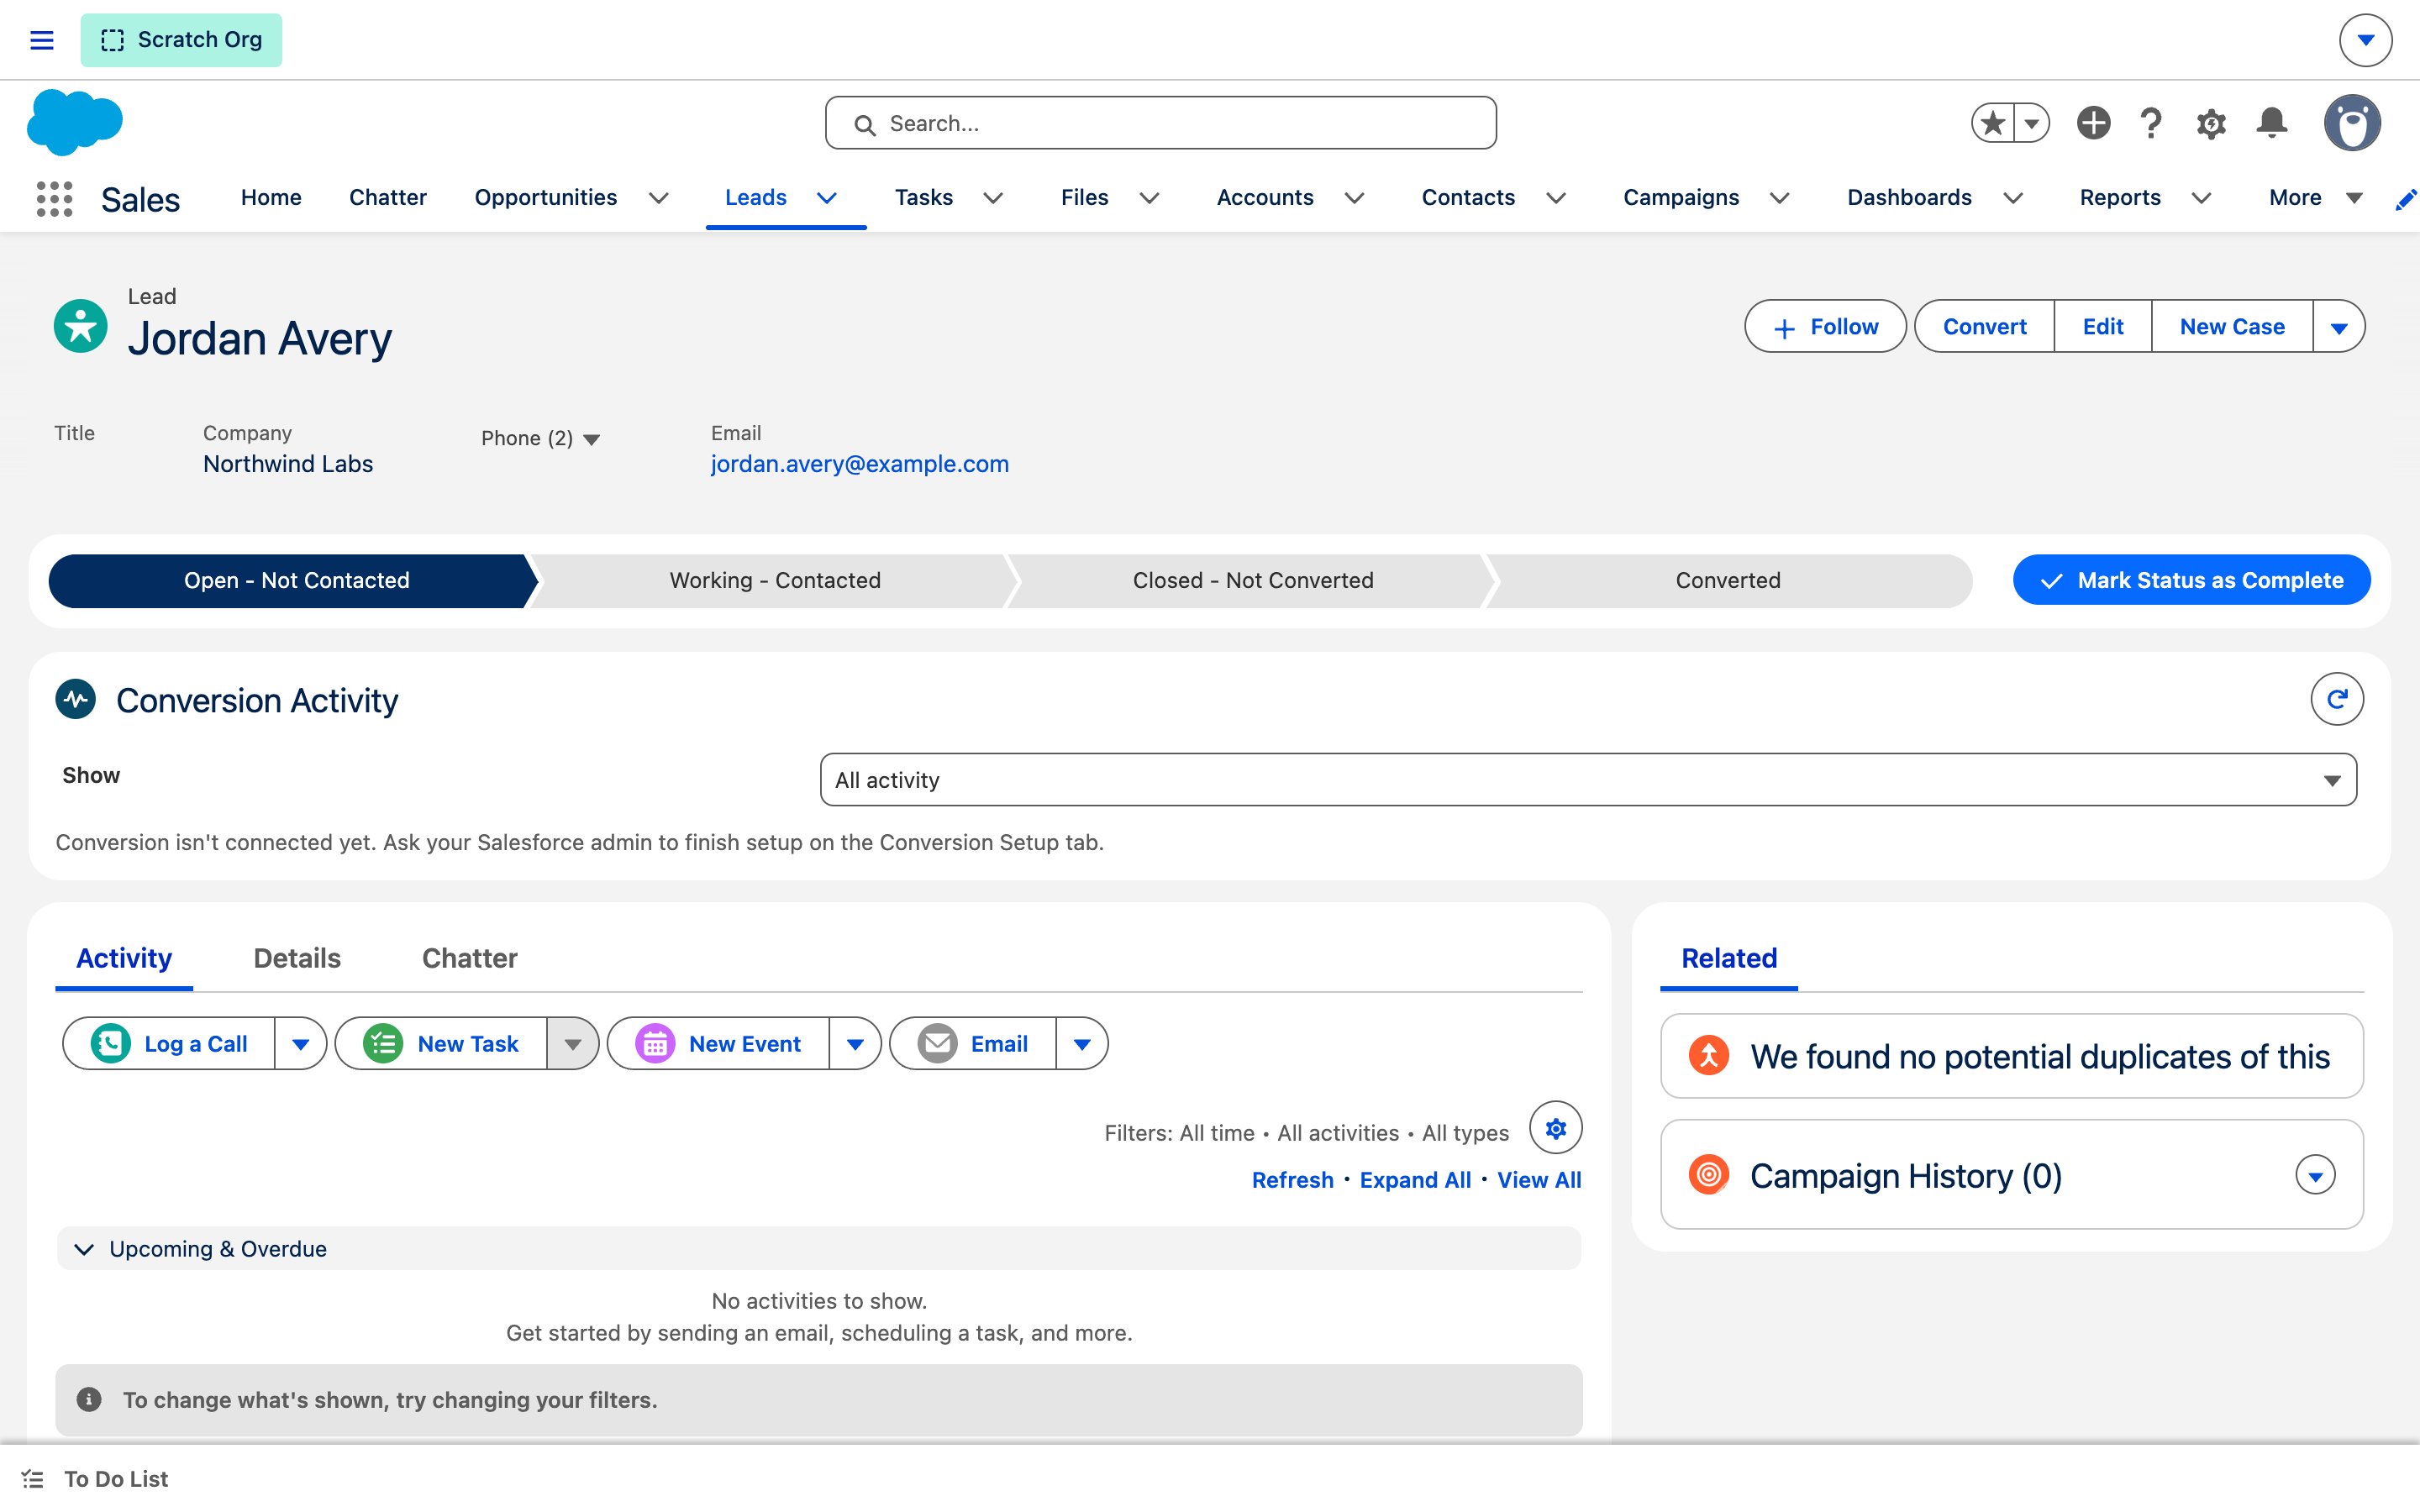
In Components, search for “Conversion”. Conversion Activity appears under Custom - Managed.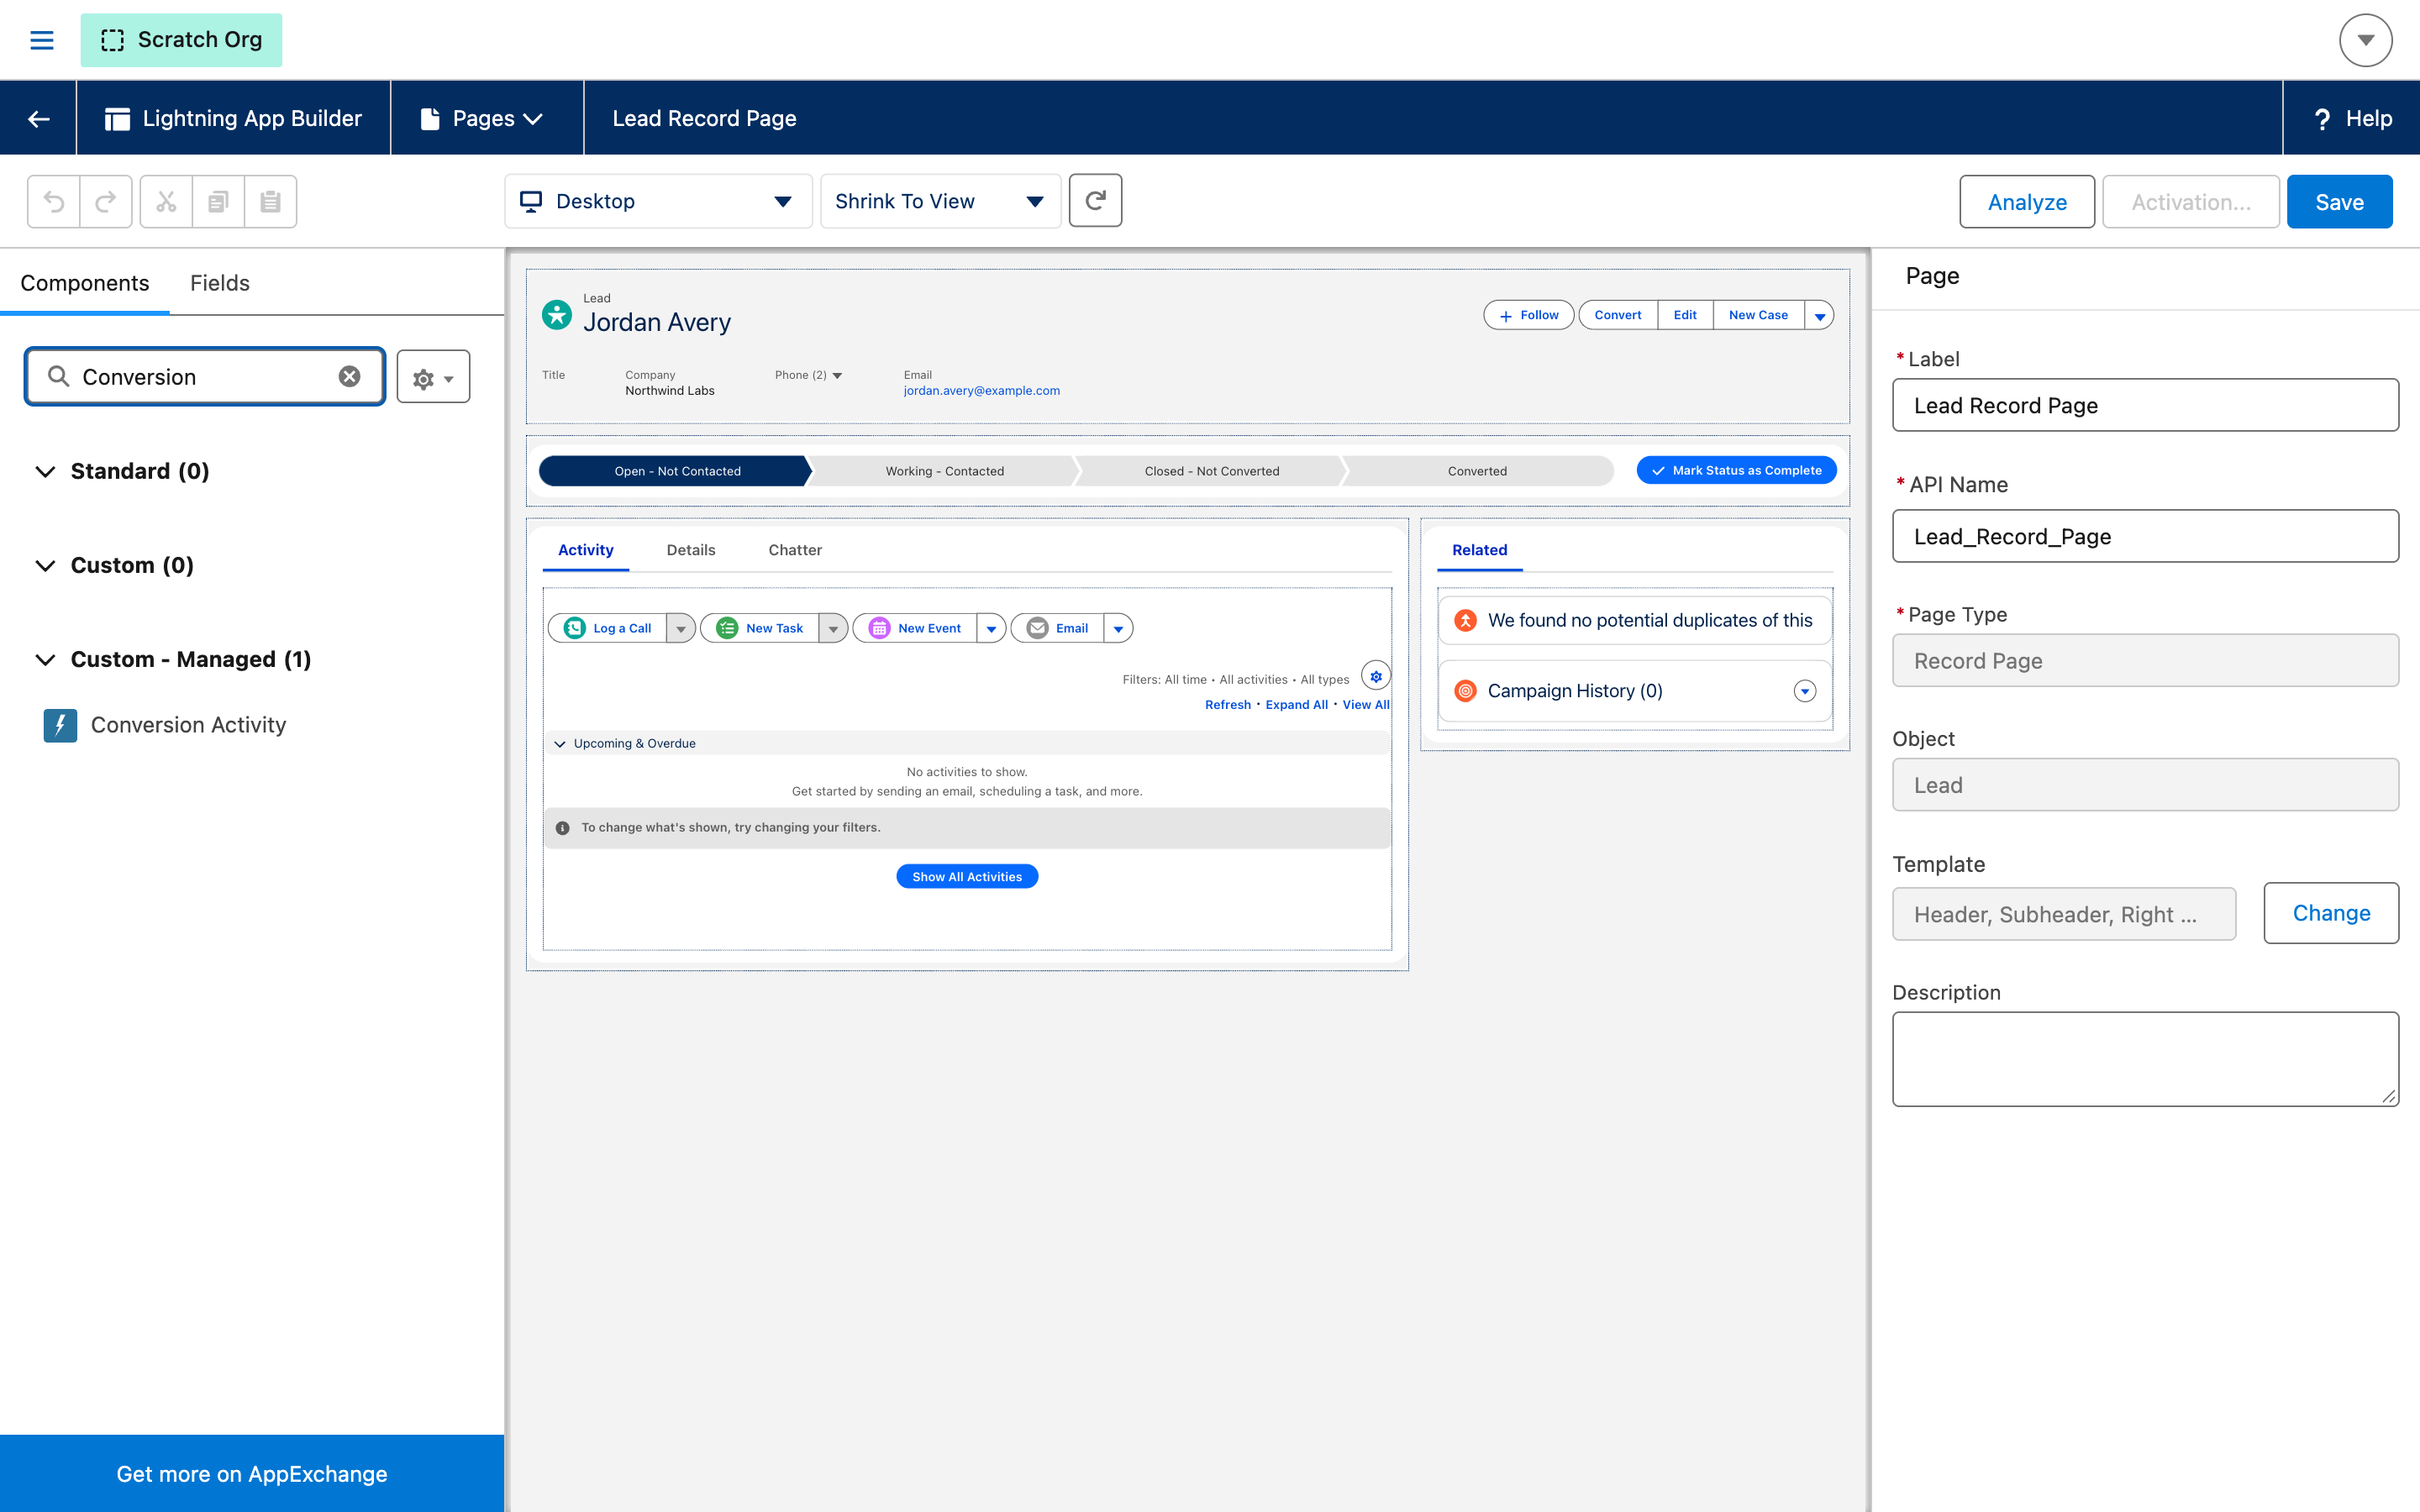
4
Add it to the page
Drag Conversion Activity onto the page. Click it to set its properties.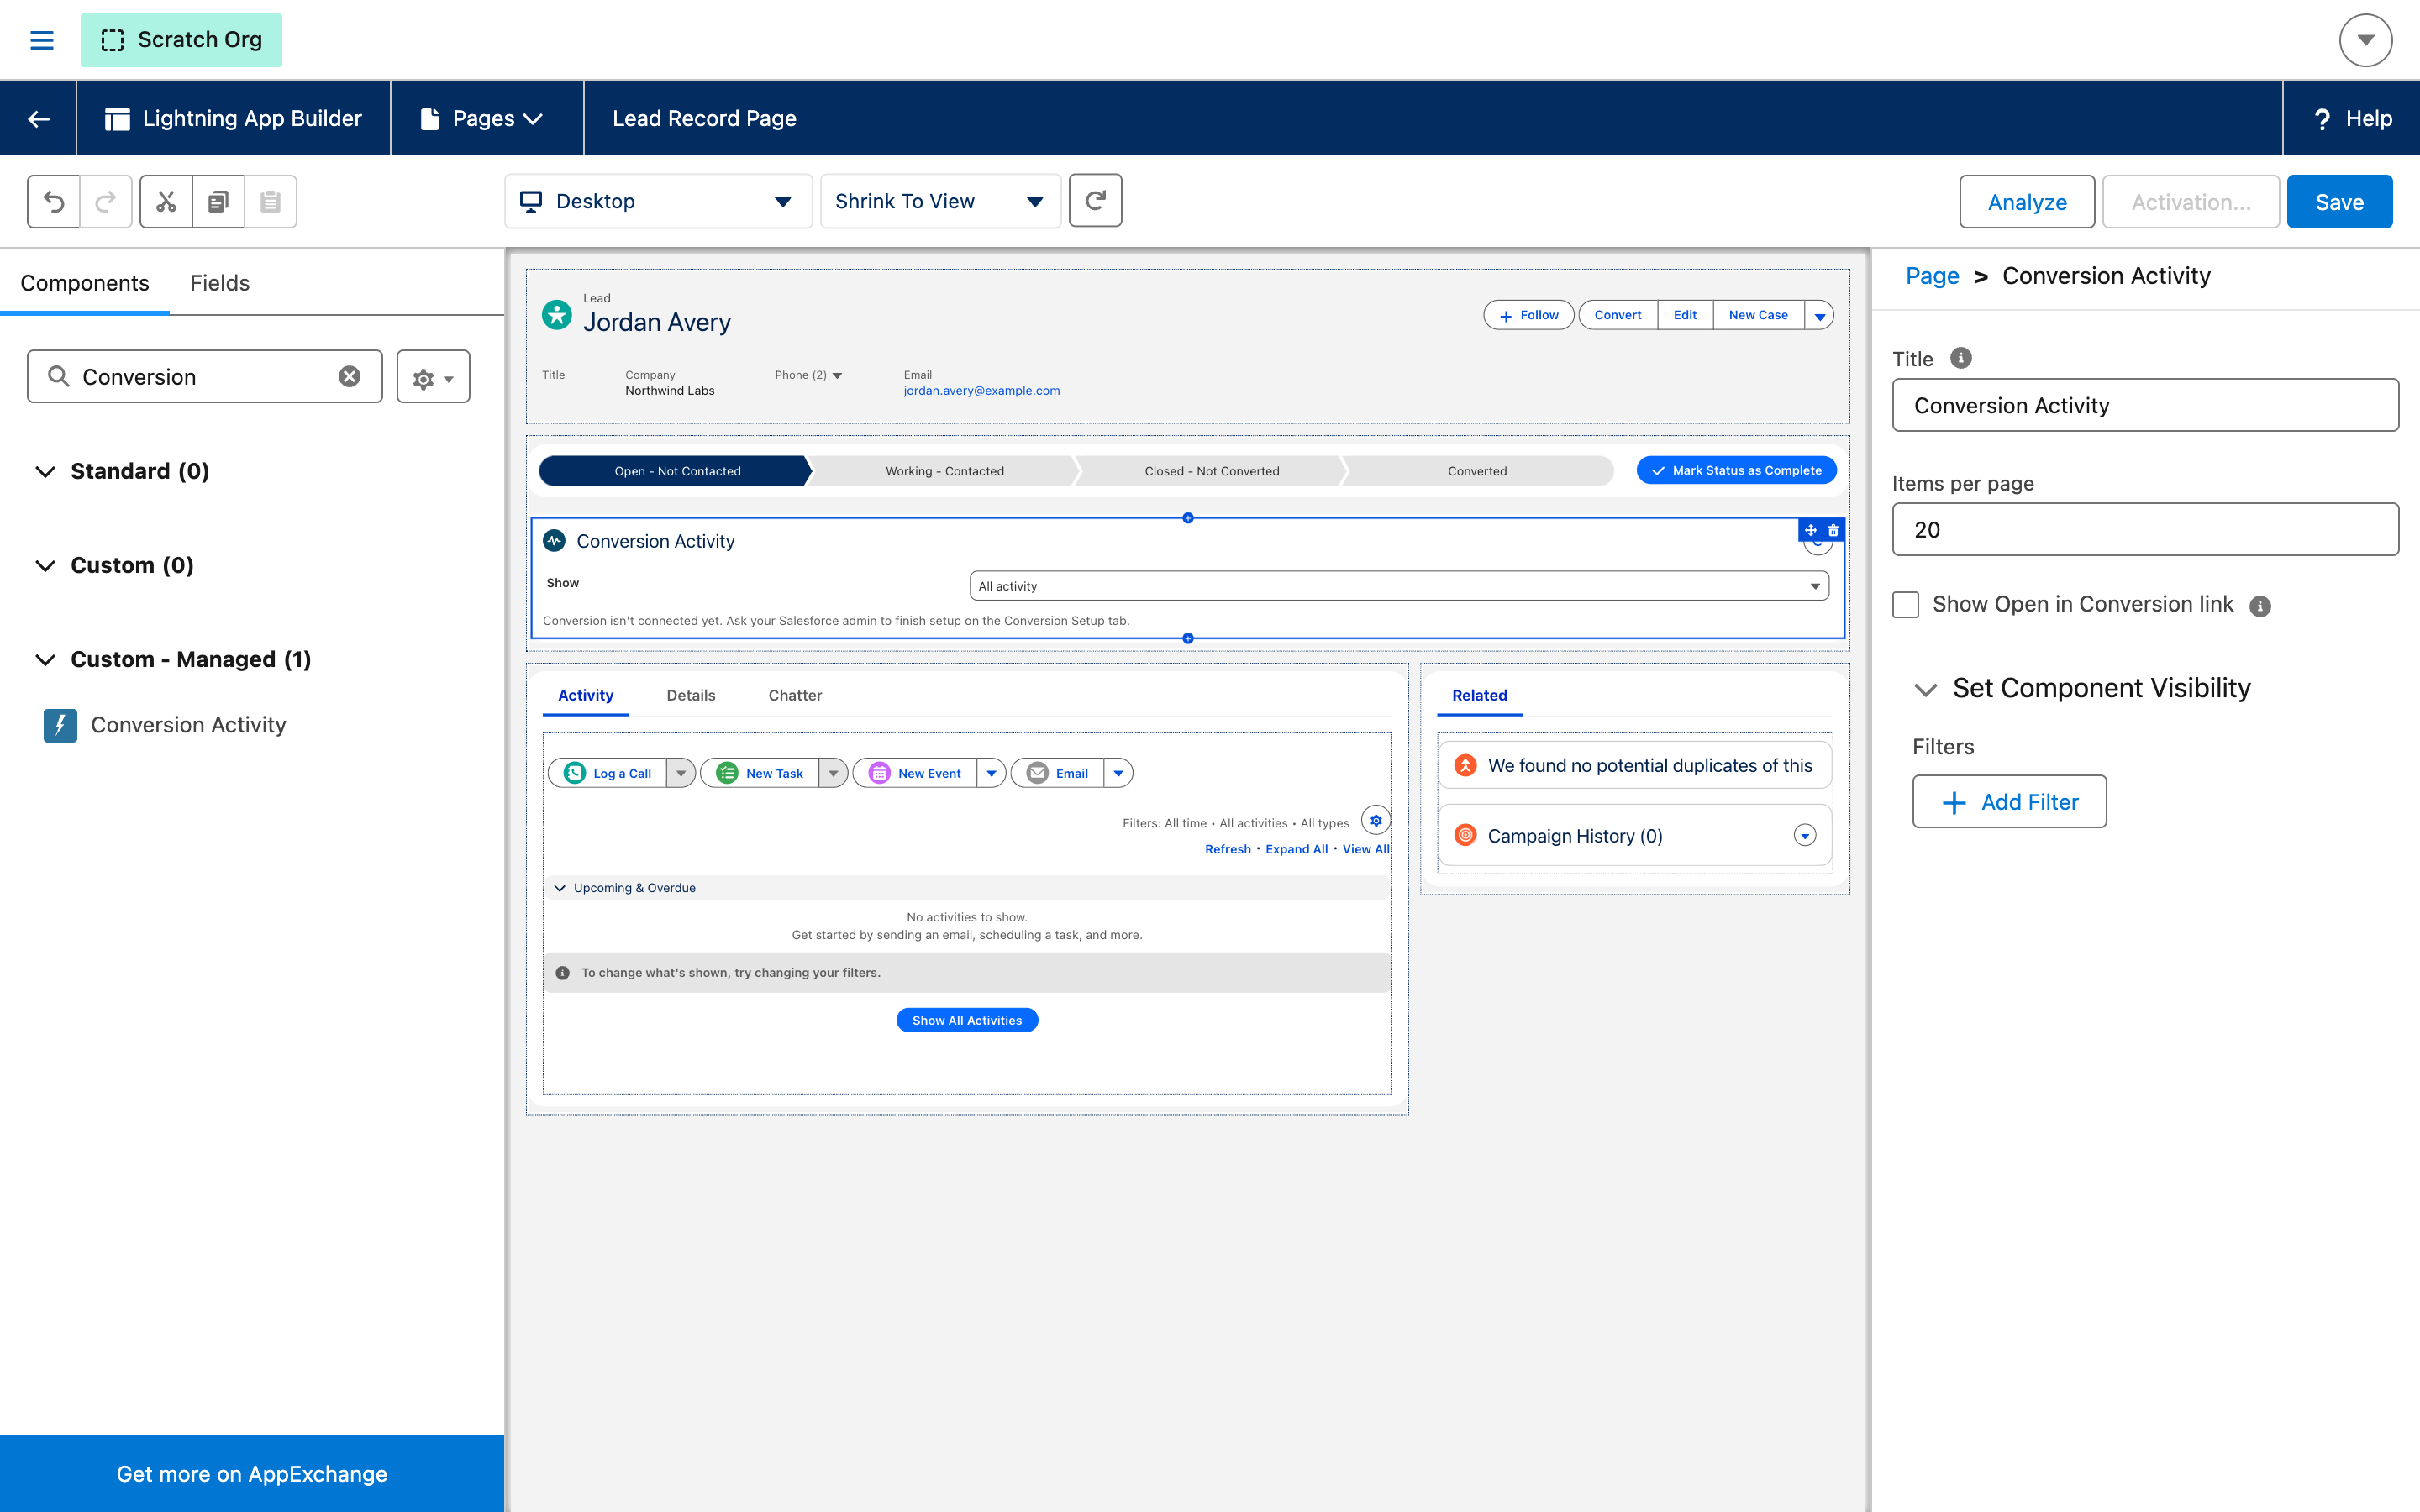
5
Save
Click Save. If Salesforce asks you to activate the page, click Activate. If it doesn’t, the page is already active and you’re done.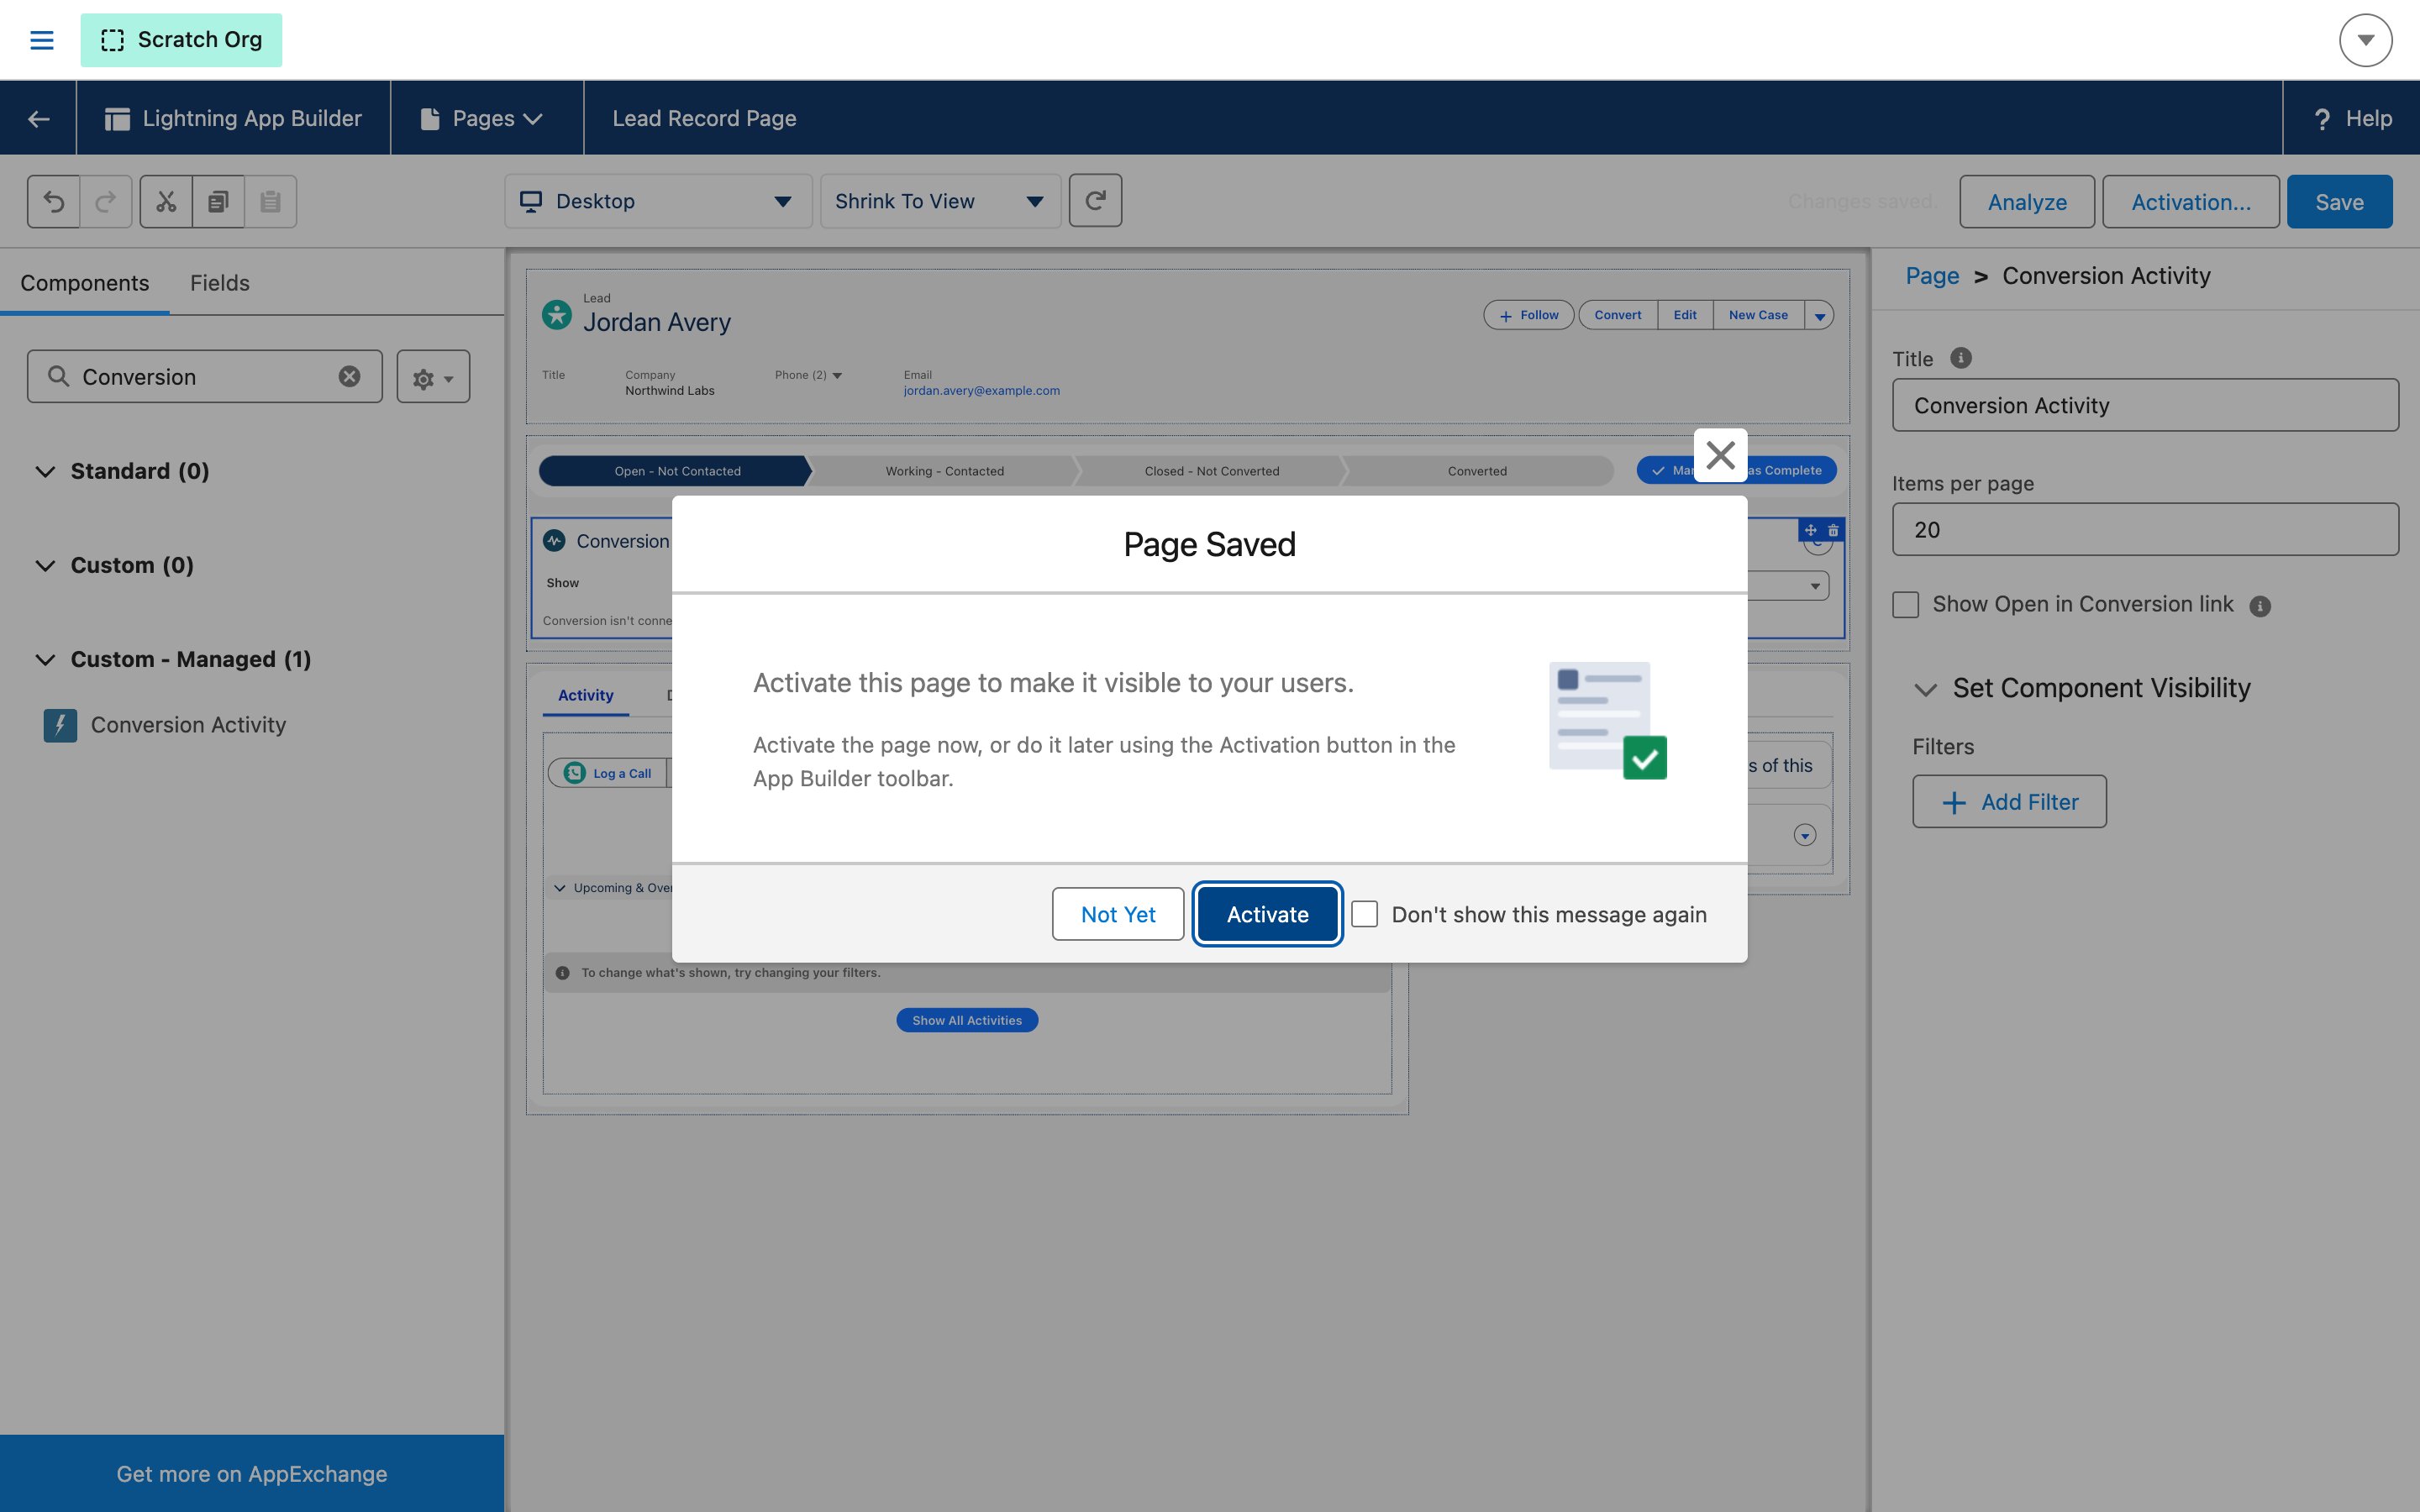
6
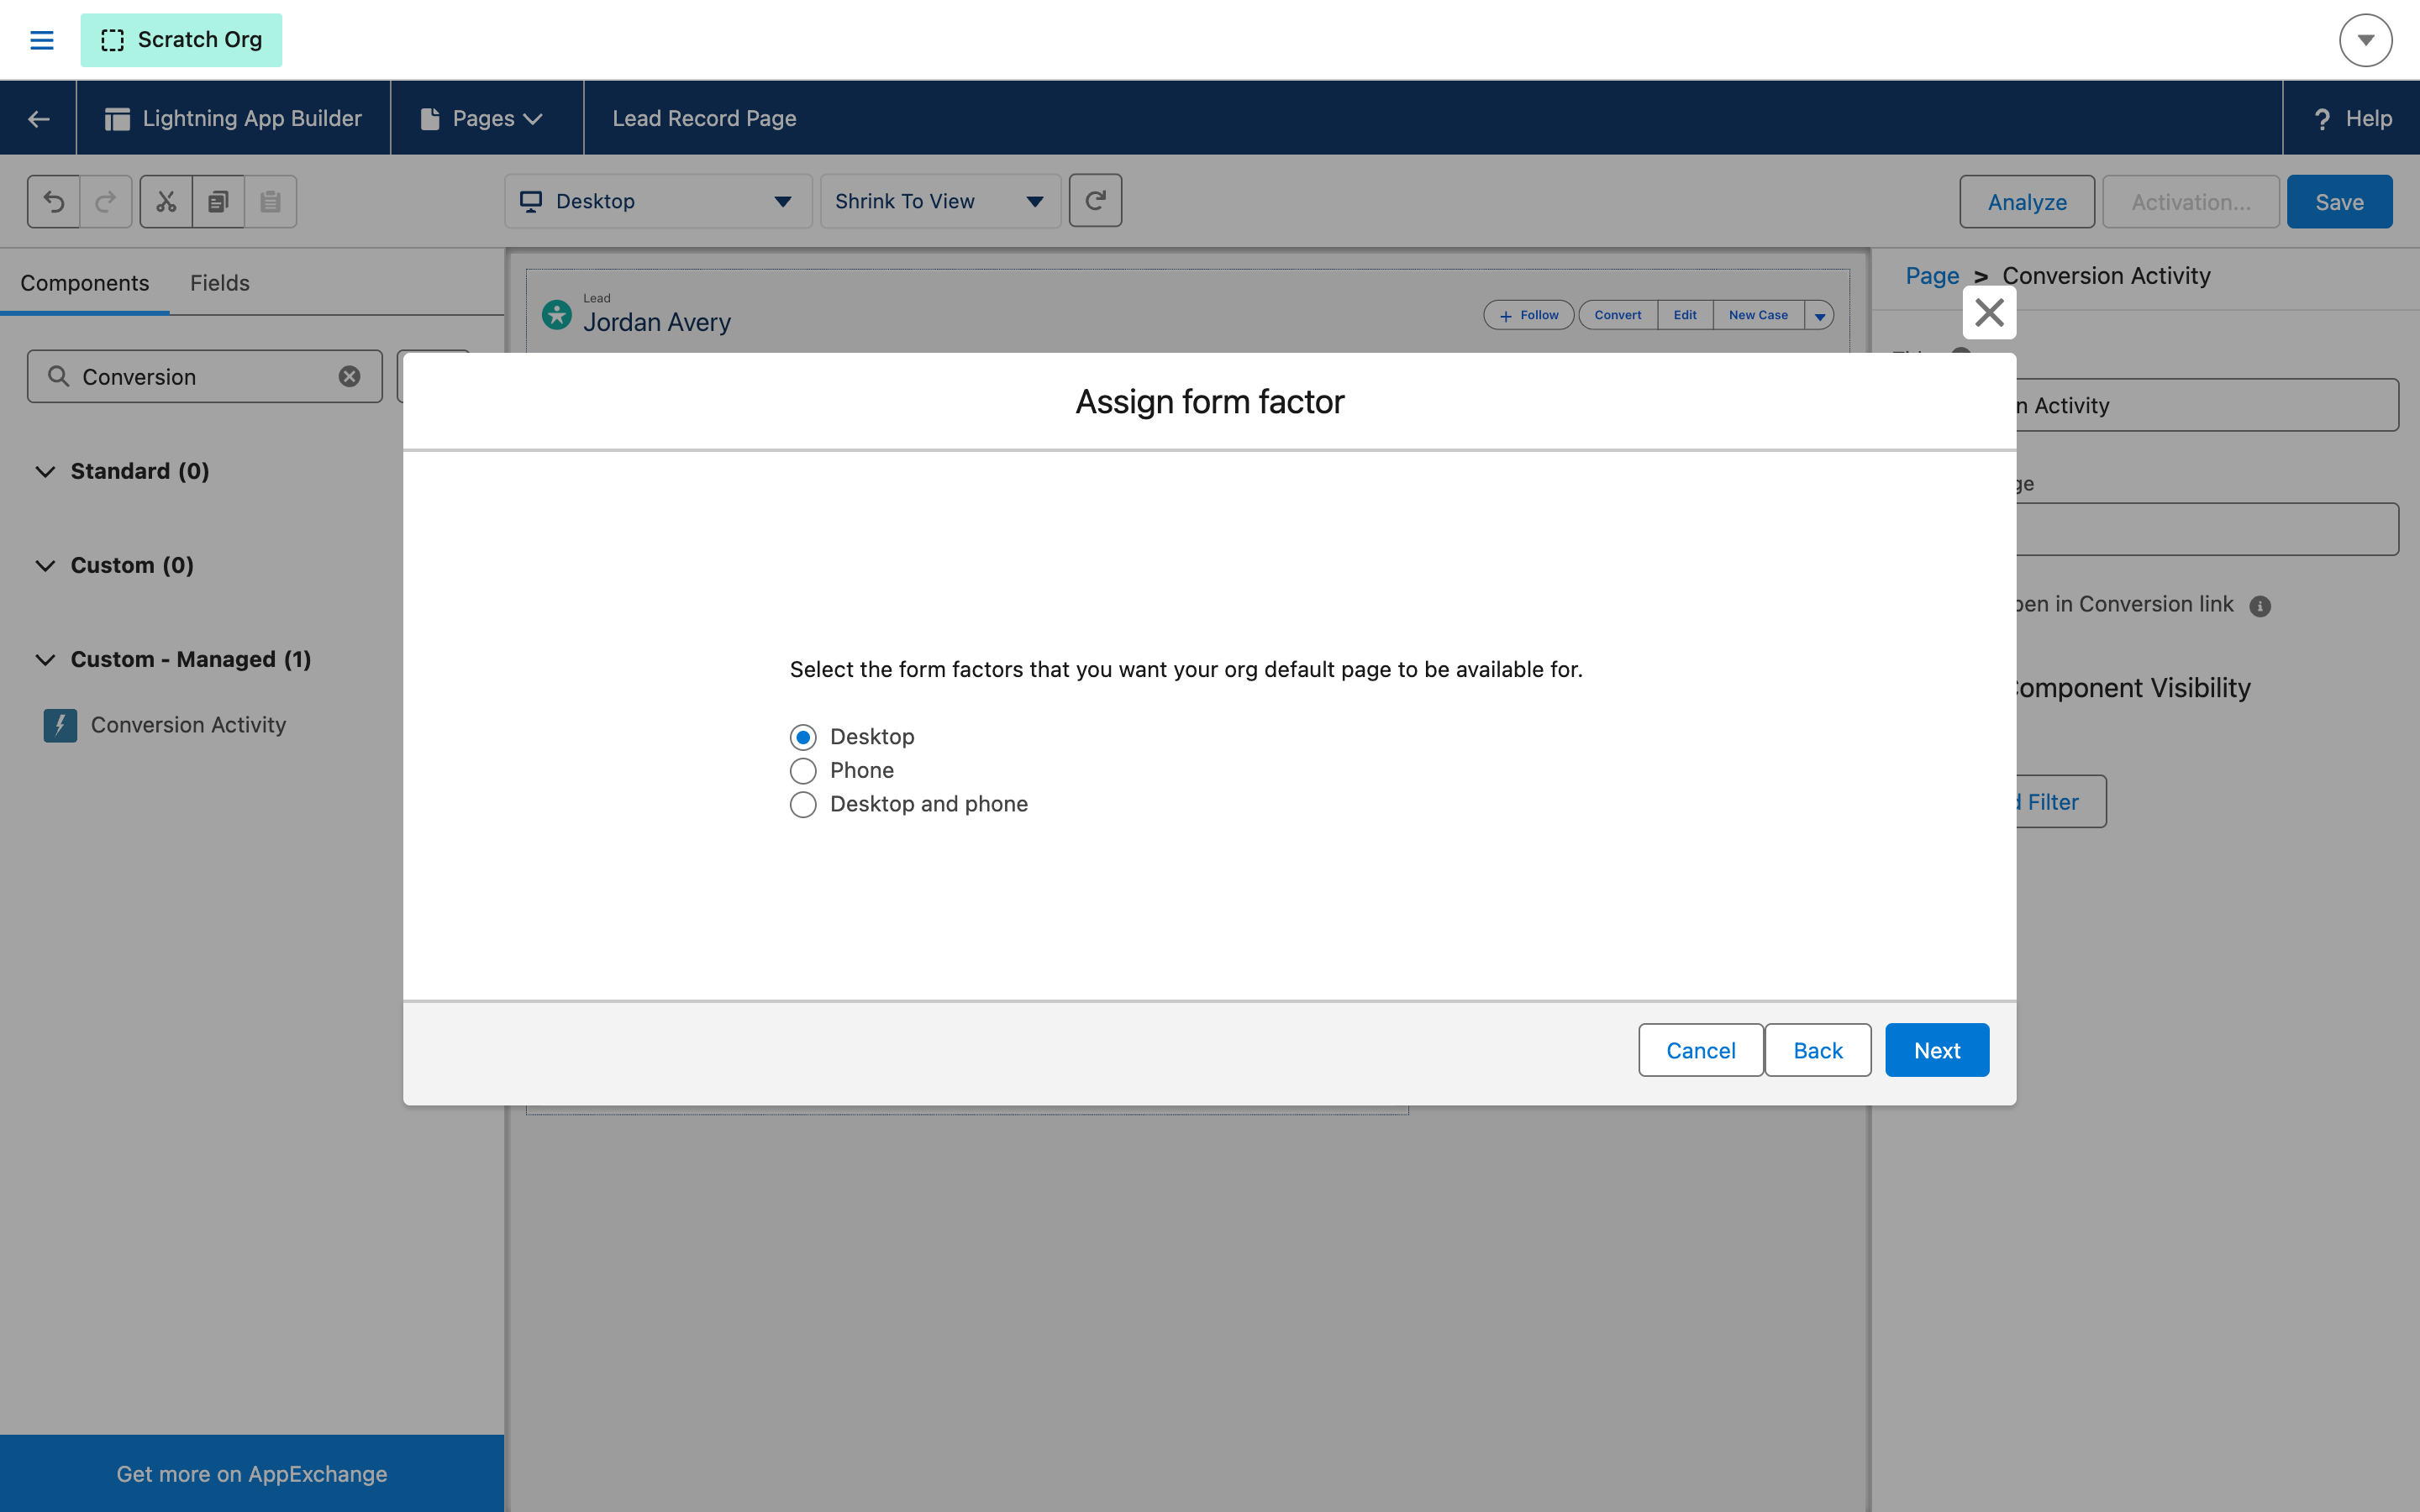
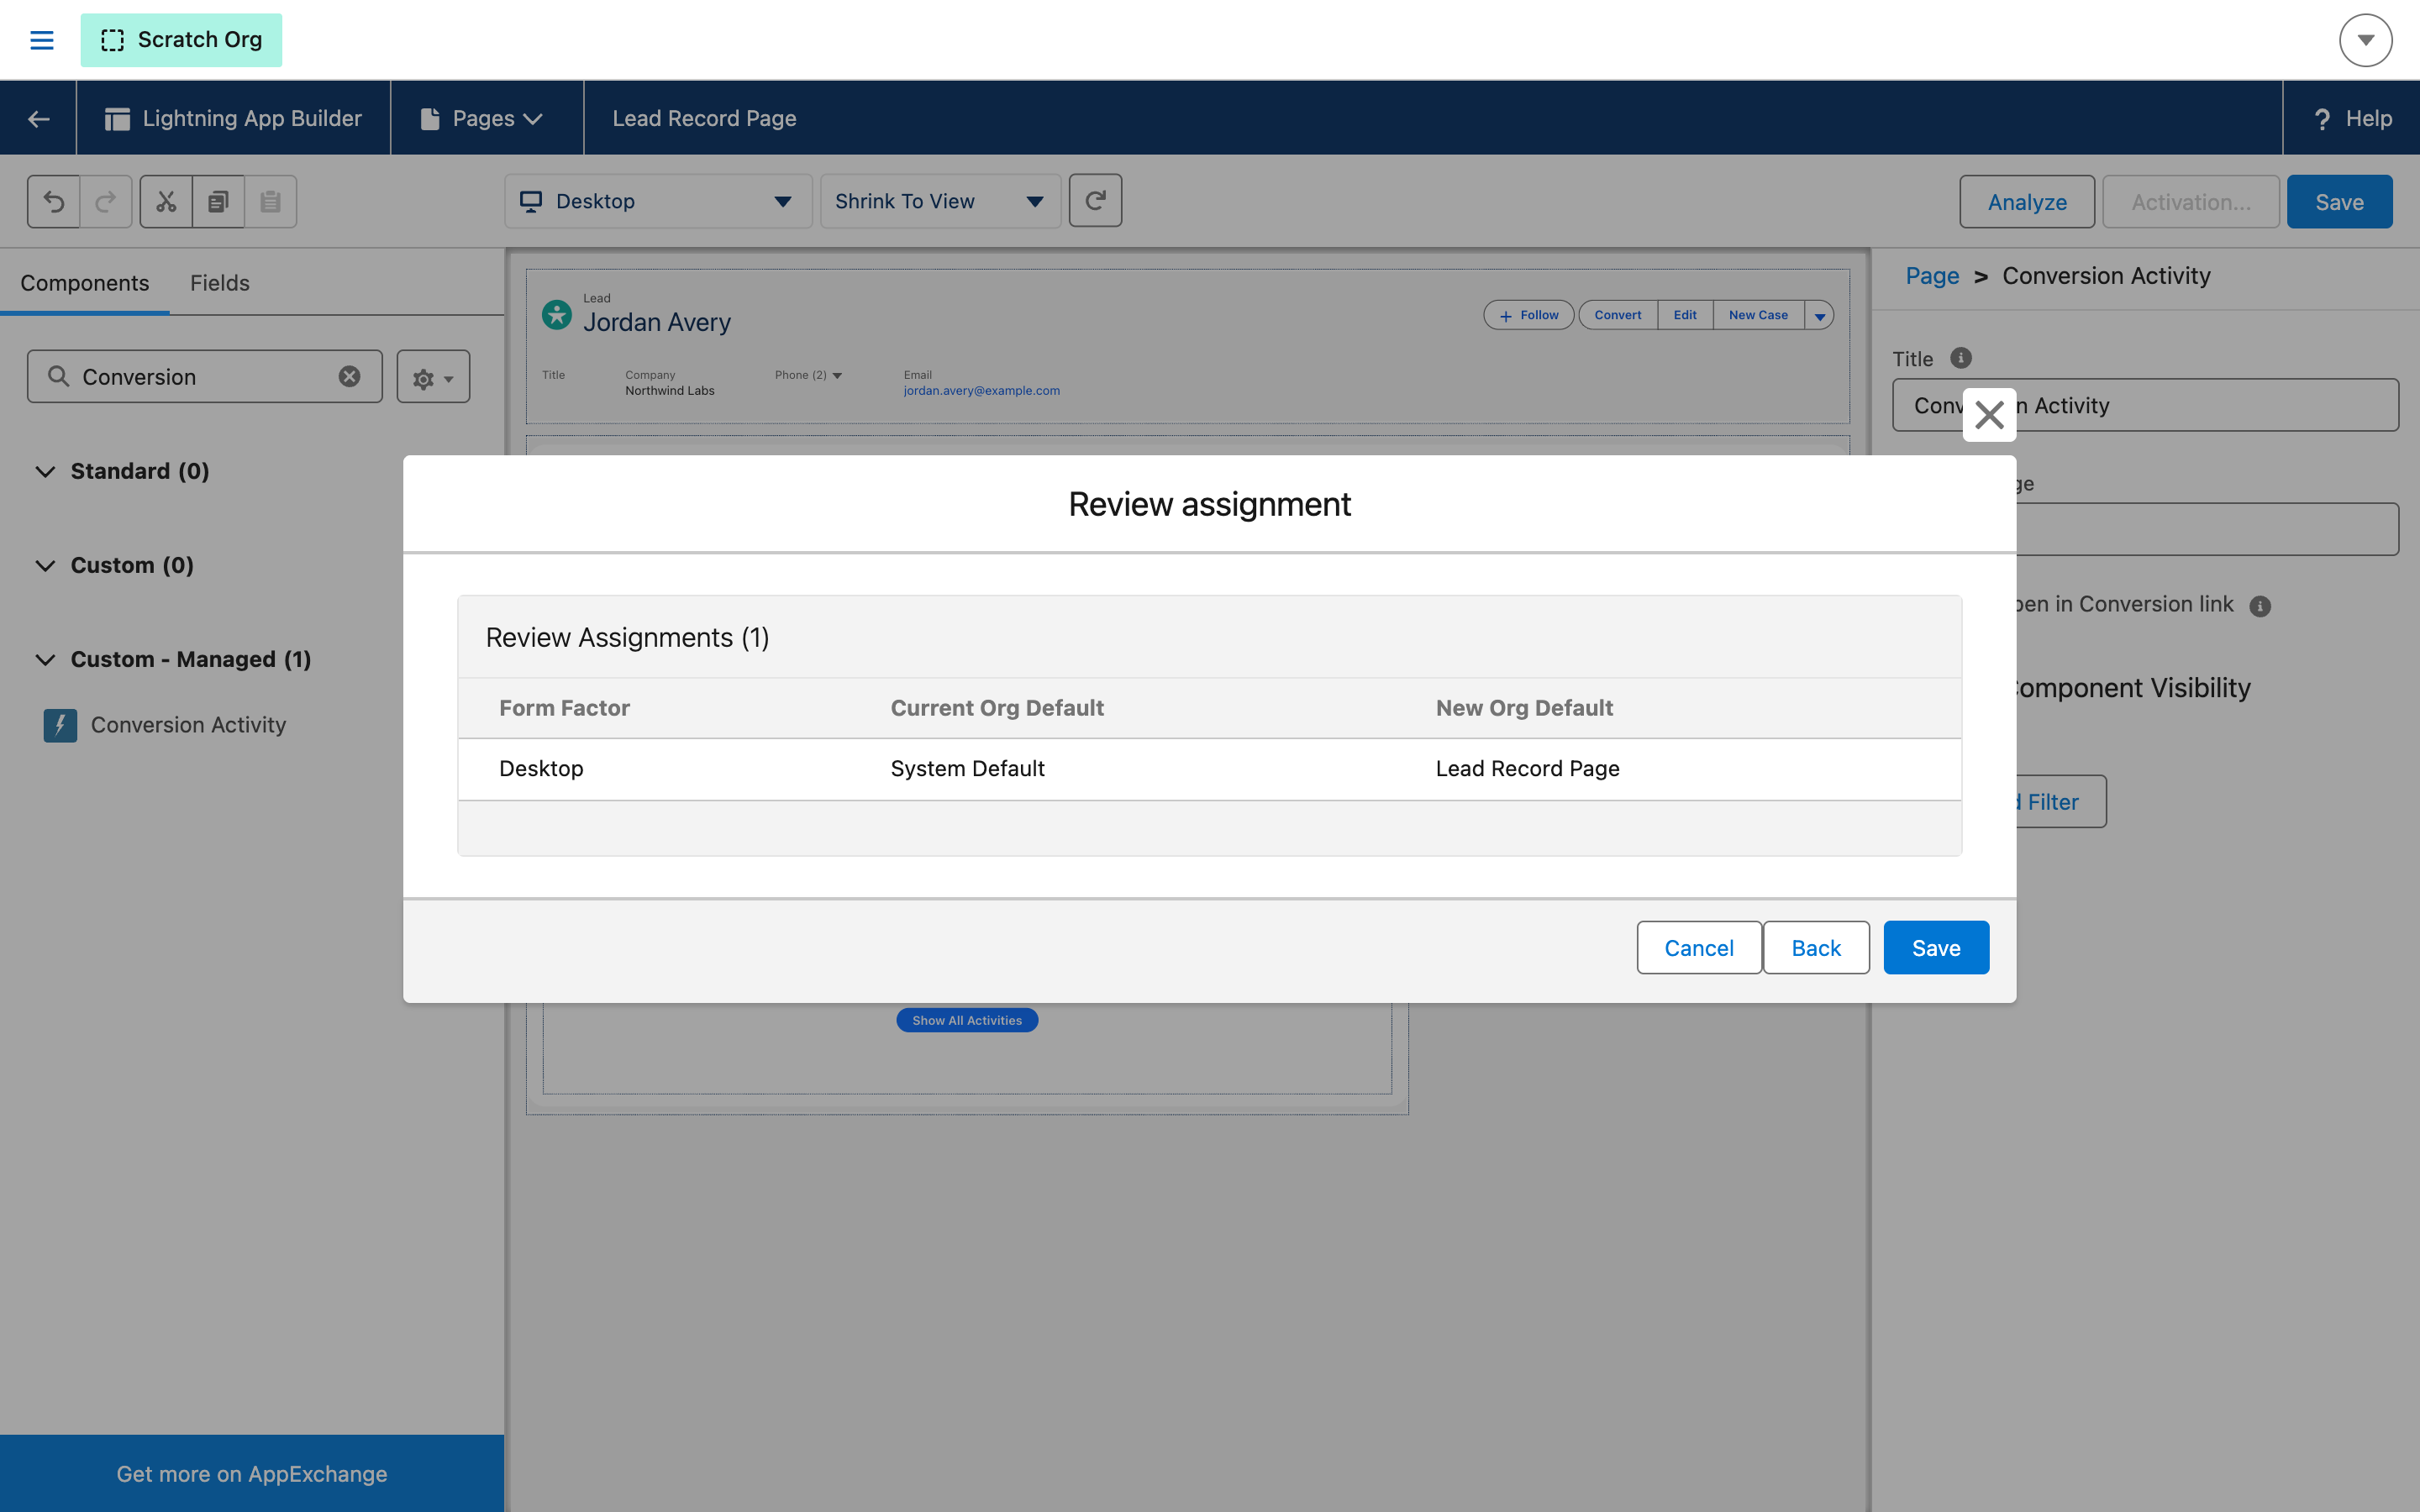
Activate the page
Click Assign as Org Default.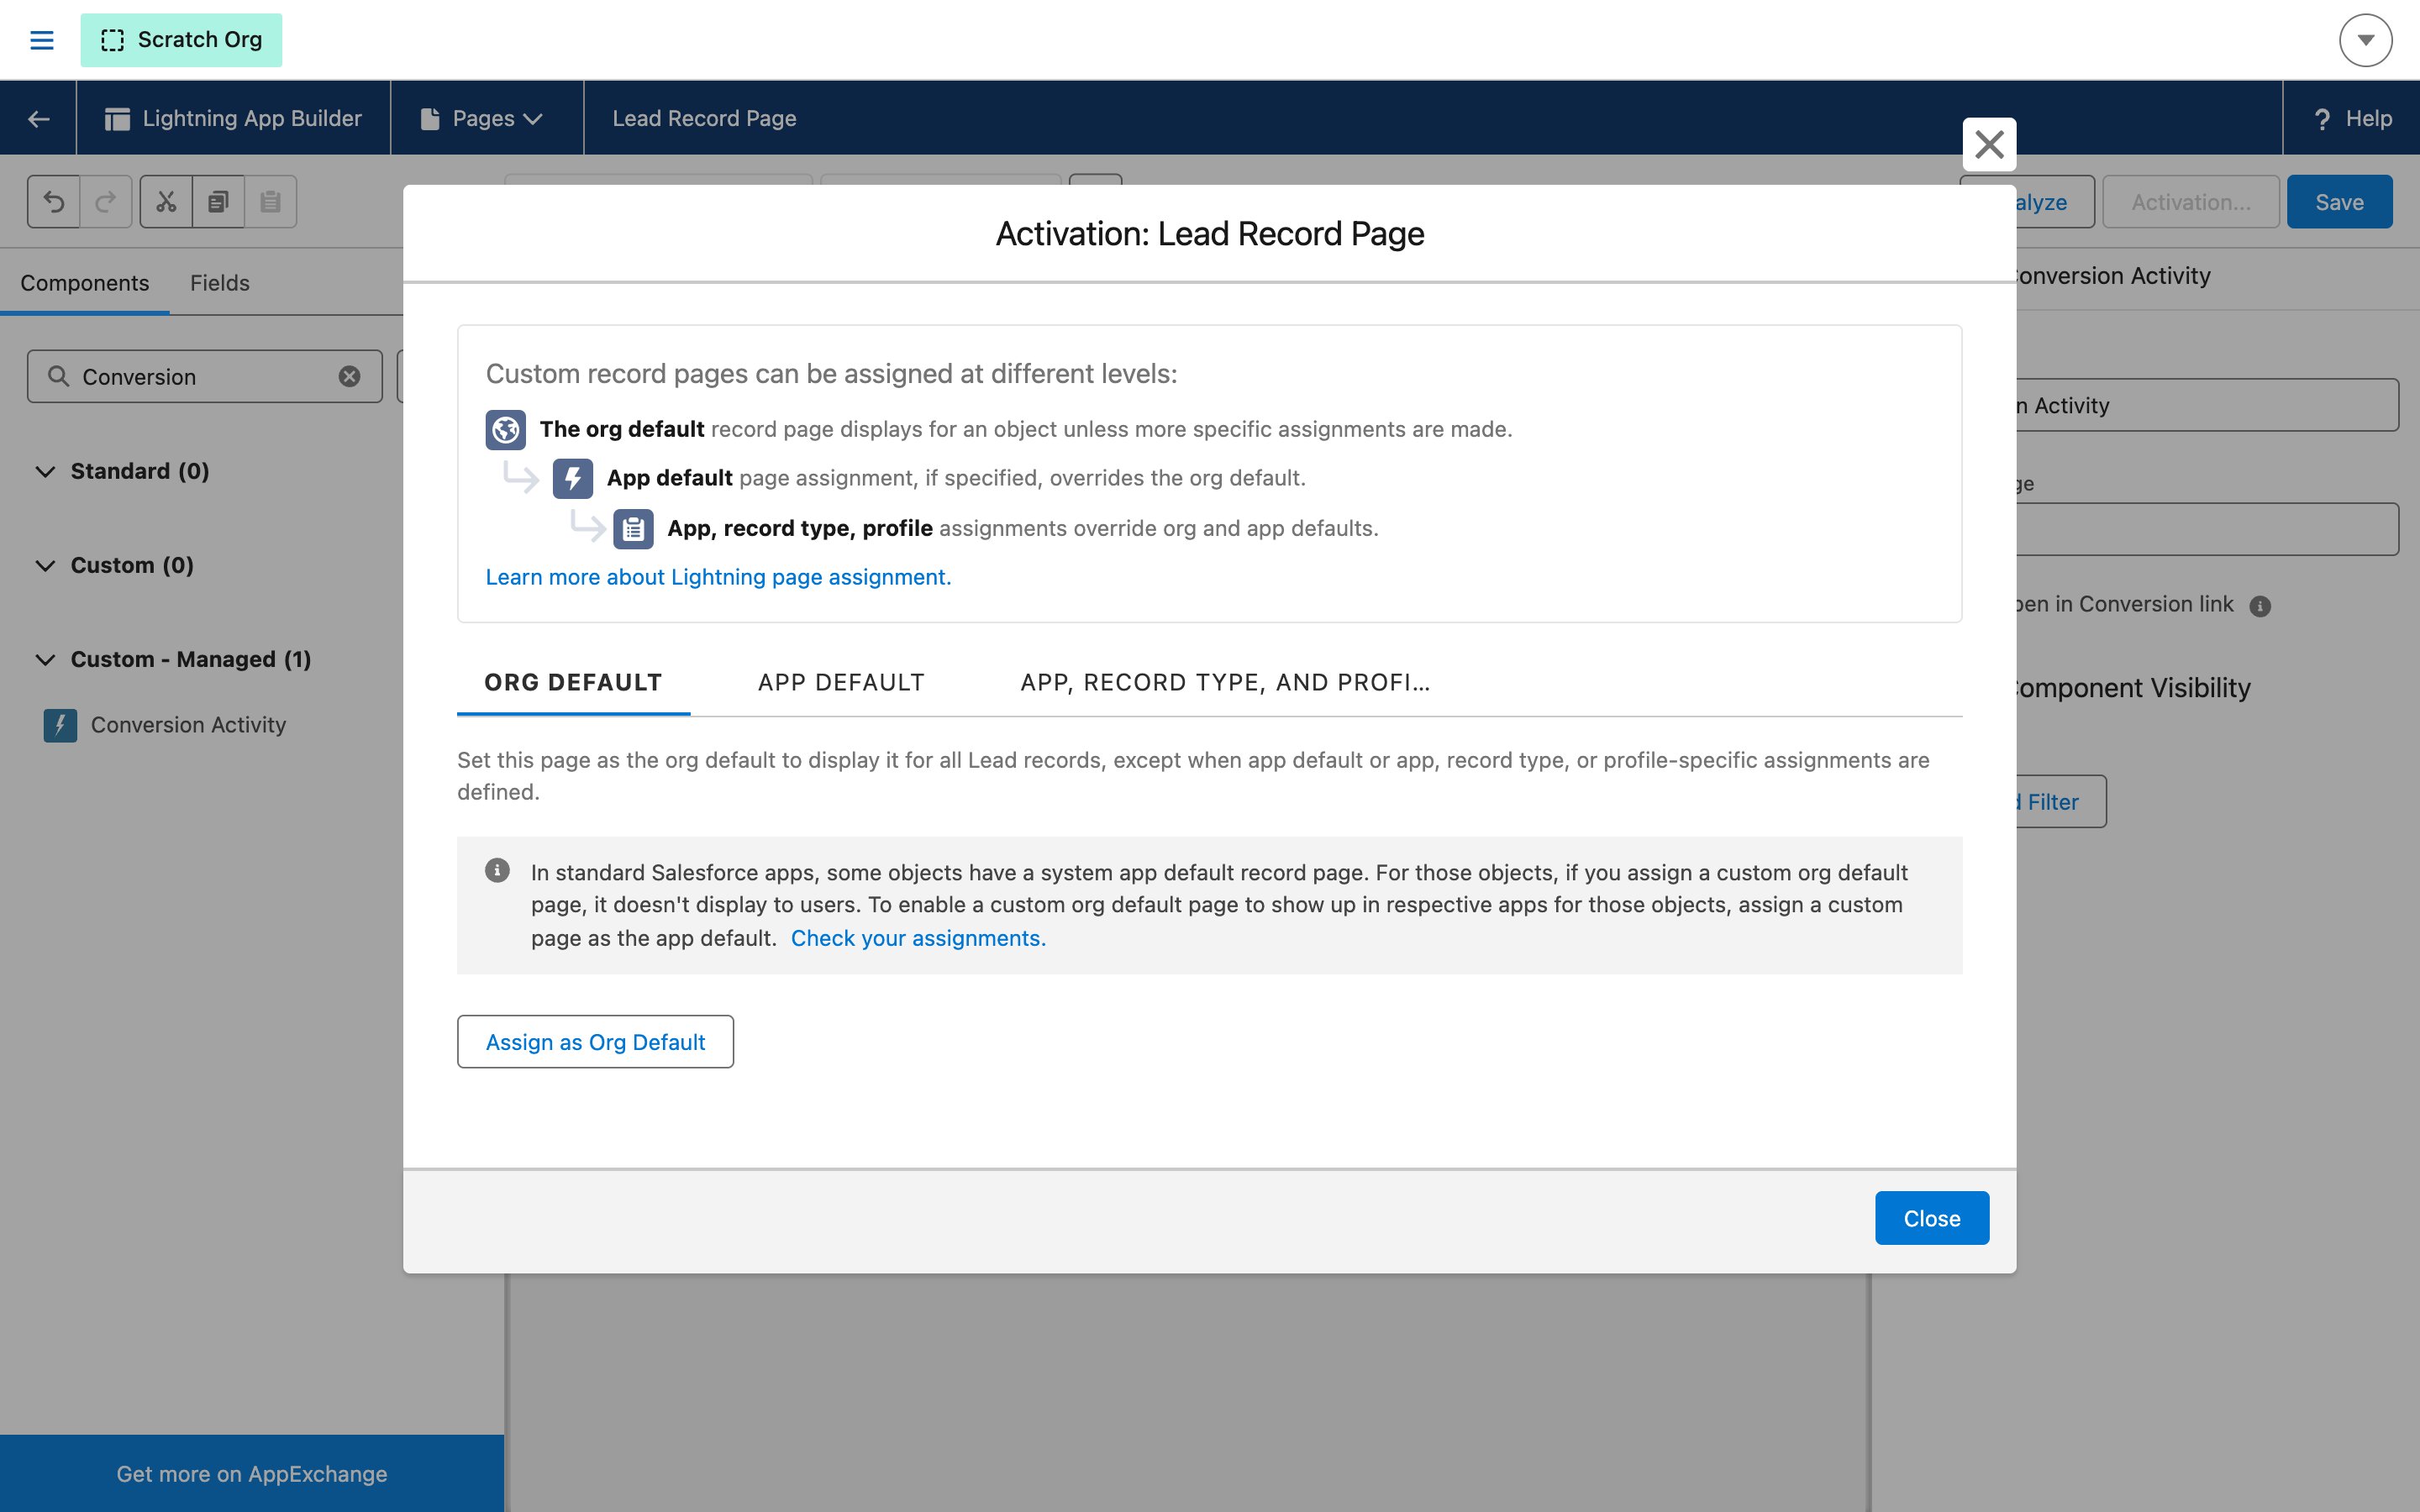
7
Repeat for Contacts and Accounts
Click the back arrow to leave App Builder, then repeat this step from a Contact and an Account.
What the timeline shows
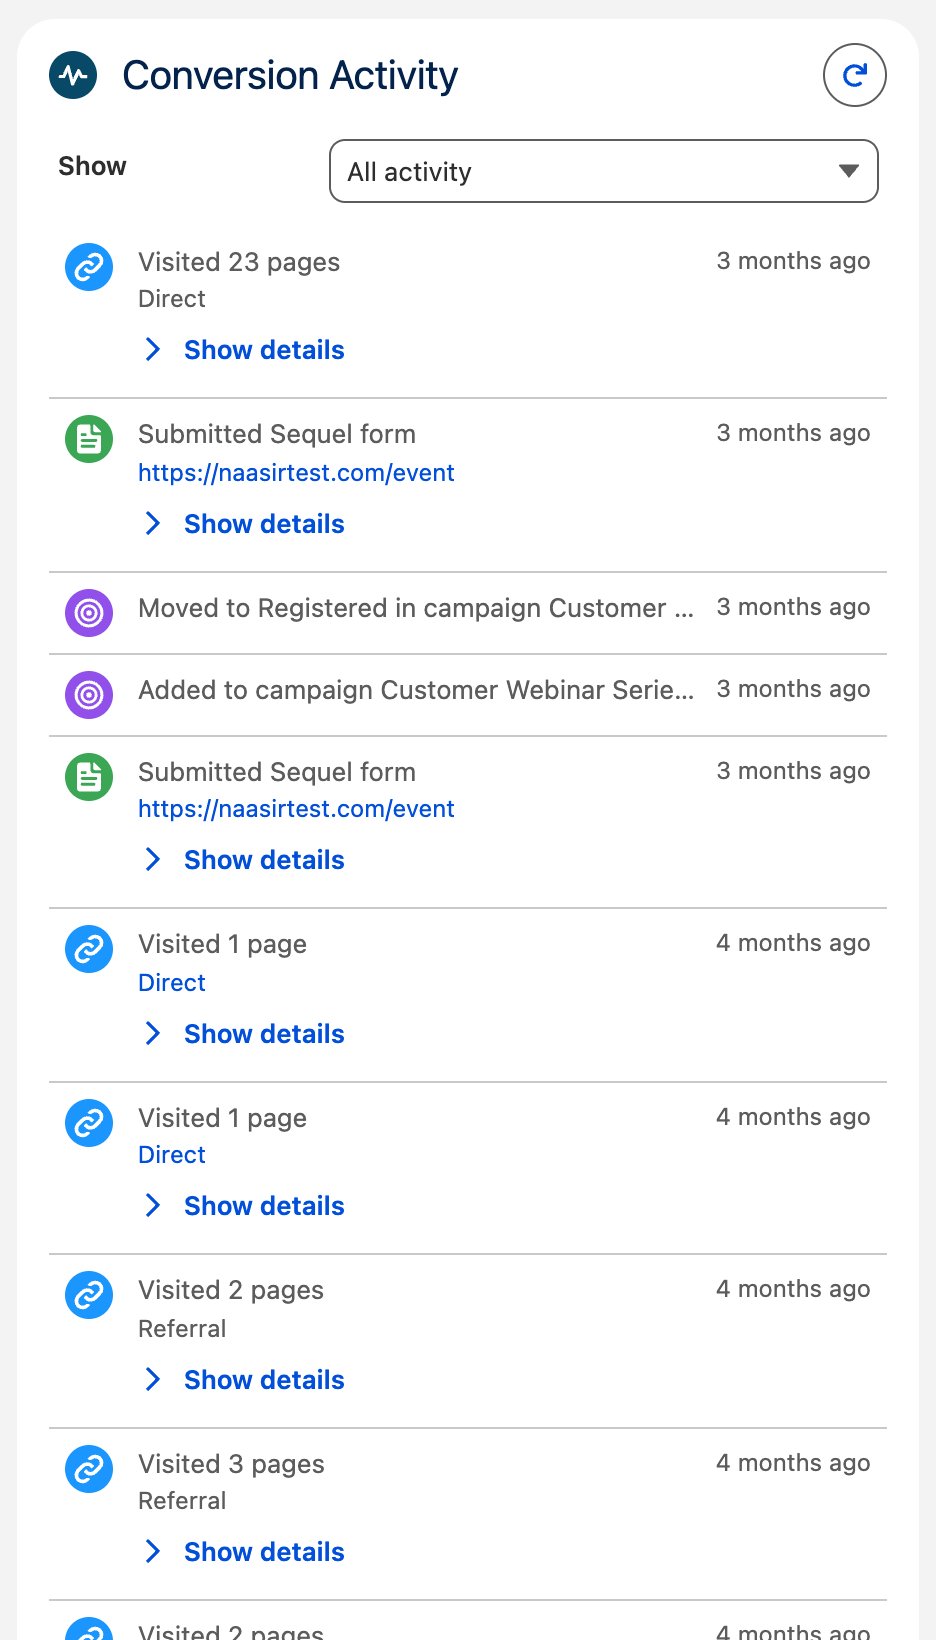
Activity is newest first. Click Show more to load older entries, and the refresh icon to reload.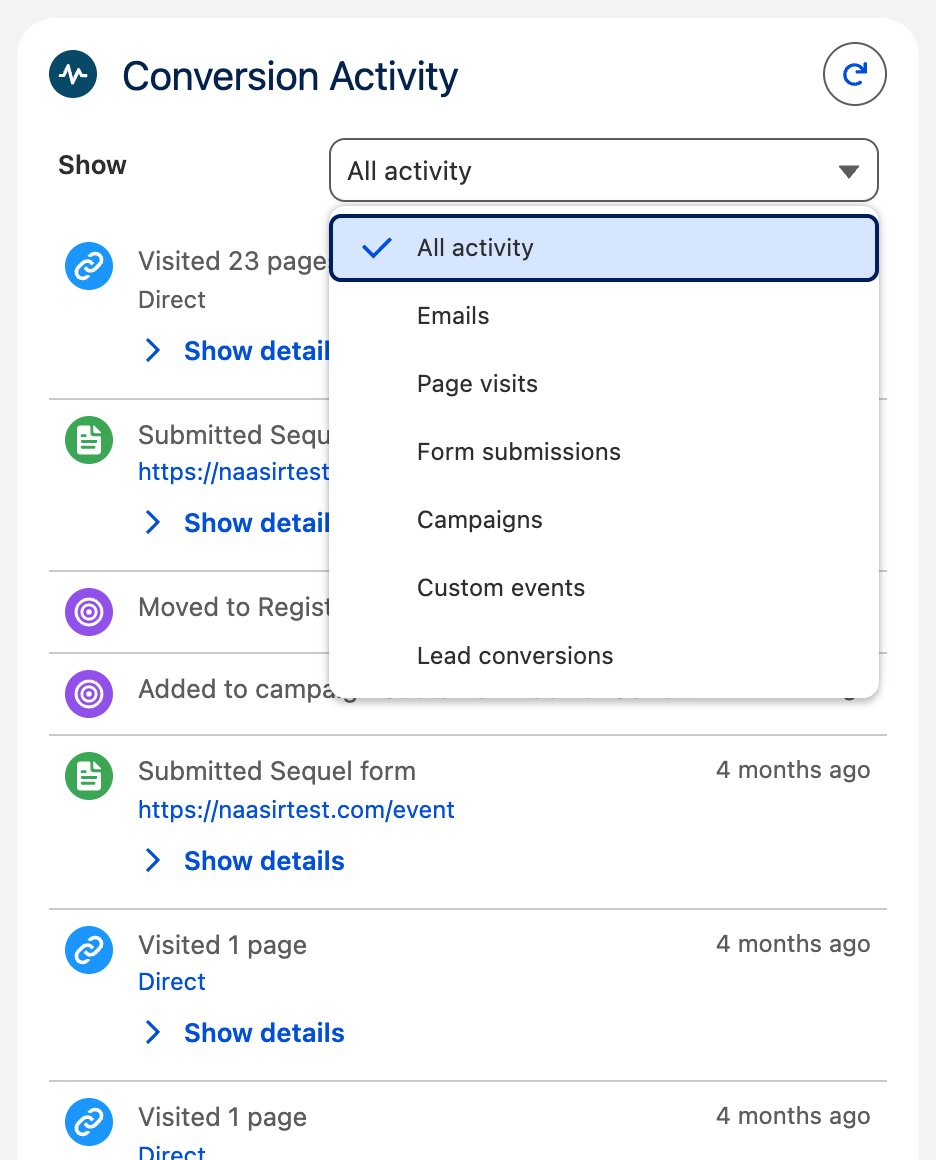
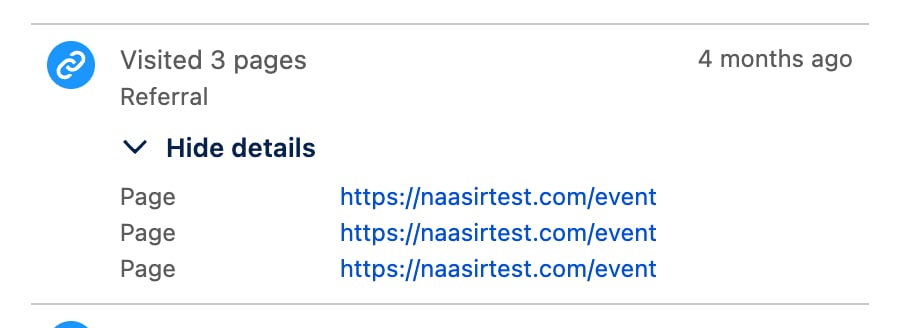
A record appears once the Salesforce sync links it to Conversion. See Contacts and Companies.
Troubleshooting
With callouts off, the Conversion Setup tab says so under Connection: